Self-Host Stirling-PDF: Your Own iLovePDF Alternative
A lease, a pay slip, a letter from your doctor. The documents you quickly want to merge or shrink are often the ones you’d least like to upload to some random website. With Stirling-PDF you get the familiar tools from sites like iLovePDF or Smallpdf on your own server. Your files never leave your home network. In this guide I’ll show you how to set up Stirling-PDF, secure it and get OCR (text recognition) working for your documents.
Quick summary
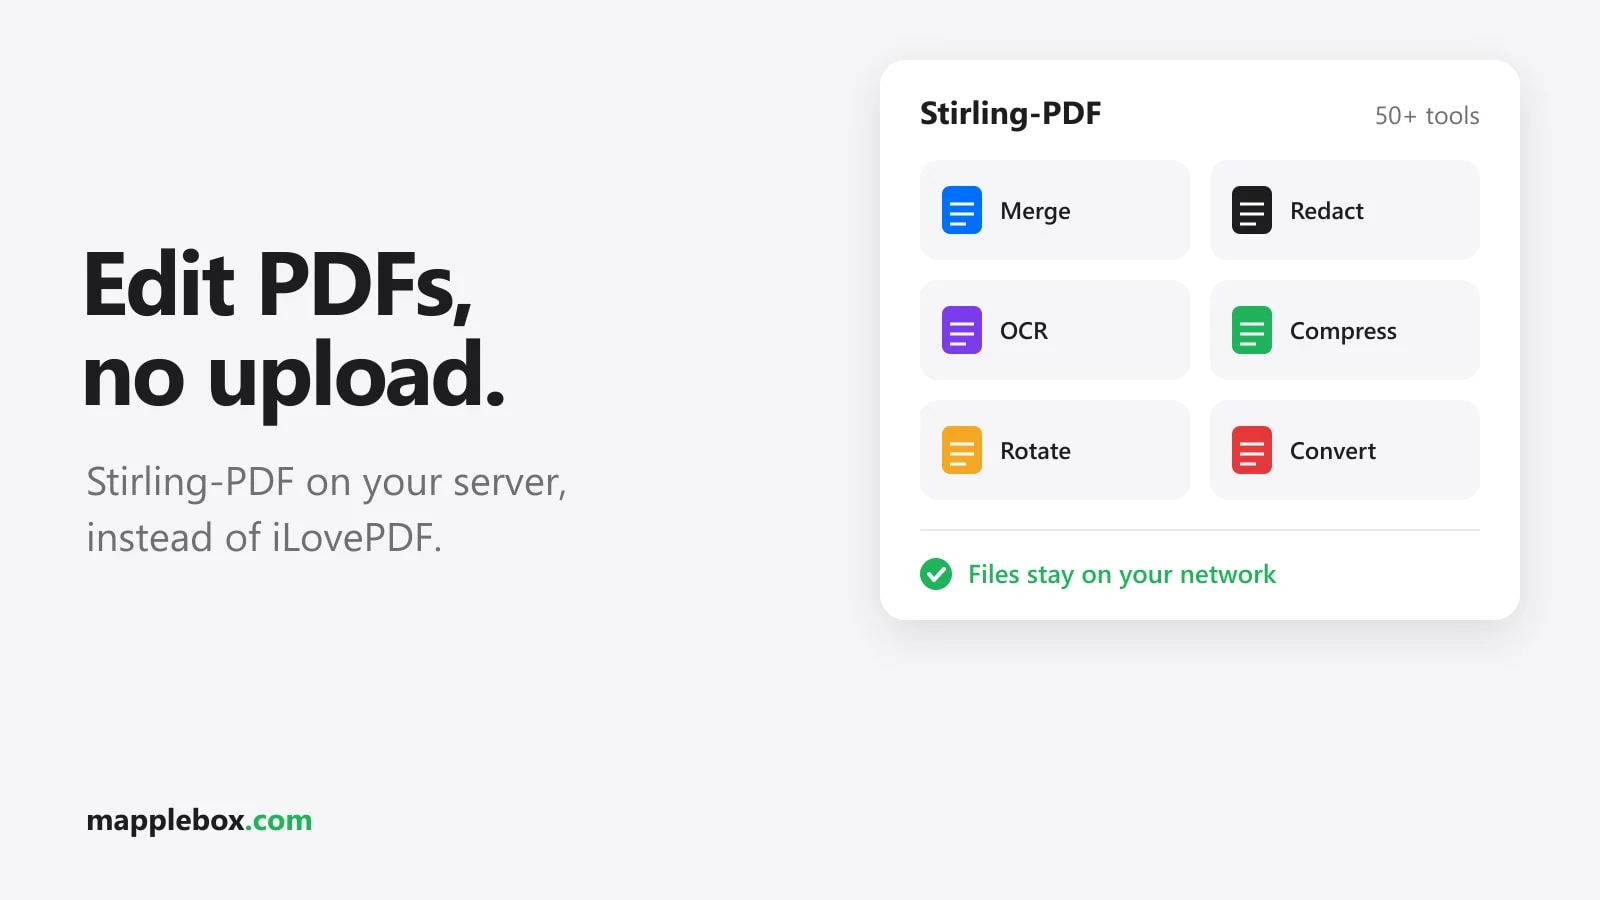
- Stirling-PDF is a web app with more than 50 PDF tools: merge, split, rotate, redact, compress, convert, text recognition and more.
- You open it in your browser, just like an online site. The processing happens on your own server, though.
- It’s meant for anyone who works with PDFs regularly and doesn’t want to send private documents to third parties. It’s handy for the whole family on your home network too.
- You need a small server, for example a mini PC with Proxmox, or any computer with Docker.
Why not just use iLovePDF?
The online services work well. But as soon as you upload a file, it sits on someone else’s servers for a while, usually somewhere you have no control over. For a flyer that doesn’t matter. For tax documents or a sick note it’s a different story. On top of that, the free versions have limits, for example on file size or the number of tasks per day. Stirling-PDF doesn’t have those limits, because you provide the computing power yourself.
I run Stirling-PDF at both locations of my homelab, each in its own LXC container with 2 cores and 2 GB of RAM. You can read how the homelab is built in My homelab across two sites.
What you need
- A Proxmox host or a Linux computer with Docker and Docker Compose.
- 2 CPU cores, at least 2 GB of RAM and about 8 GB of storage. The official Docker image recommends 4 GB of RAM. For normal documents, 2 GB is enough for me.
- A fixed IP for the container, for example through a DHCP reservation in your router.
- About 20 minutes. Most of that is waiting for downloads.
I use a Minisforum mini PC for this . Stirling-PDF also runs on much weaker hardware, though.
Step 1, option A: Install on Proxmox with a helper script
This is how I did it myself. The Proxmox VE Helper-Scripts are a collection of community scripts that create a ready-made LXC container. LXC is a lightweight Linux container that needs fewer resources than a full virtual machine. Open the shell of your Proxmox host and run:
bash -c "$(curl -fsSL https://raw.githubusercontent.com/community-scripts/ProxmoxVE/main/ct/stirling-pdf.sh)"Before you run someone else’s script as root, take a quick look at it on GitHub. The script suggests 2 cores, 2 GB of RAM and an 8 GB disk on Debian. You can keep those values. During the installation it asks you one question: whether you want to use Stirling-PDF with a login. Just press Enter, which turns the login on. Without a login, anyone on your network can use the tool and change the settings.
The script installs Stirling-PDF natively as a Java application under /opt/Stirling-PDF and sets up a systemd service called stirlingpdf. It also adds LibreOffice for Office conversions and Tesseract for text recognition. It downloads all Tesseract language packs. That takes a while and uses several GB. In my container, more than 5 of the 8 GB are now in use. So don’t make the disk any smaller.
At the end, the script shows the address where Stirling-PDF is reachable: http://192.168.1.x:8080.
Step 1, option B: Install with Docker Compose
Without Proxmox, use the official Docker image. Create a folder and switch into it:
mkdir ~/stirling-pdf && cd ~/stirling-pdfIn it, create a file called docker-compose.yml:
services:
  stirling-pdf:
    image: docker.stirlingpdf.com/stirlingtools/stirling-pdf:latest
    container_name: stirling-pdf
    ports:
      - '8080:8080'
    volumes:
      - ./stirling-data/configs:/configs
      - ./stirling-data/logs:/logs
      - ./stirling-data/customFiles:/customFiles
      - ./stirling-data/pipeline:/pipeline
      - ./stirling-data/storage:/storage
      - ./stirling-data/tessdata:/usr/share/tessdata
    environment:
      - SYSTEM_DEFAULTLOCALE=en-US
    mem_limit: 4g
    restart: unless-stopped
Start the container with:
docker compose up -dThe image with the tag latest comes with login and admin settings built in. There’s also latest-ultra-lite, which needs only 2 GB of RAM. It lacks OCR and Office conversion, though, so I don’t recommend it for this guide. If you want to control updates yourself, replace latest with a fixed version number. To update, run docker compose pull and then docker compose up -d in the same folder. The variable SYSTEM_DEFAULTLOCALE sets the interface language for new users.
Step 2: First login and security
Open http://192.168.1.x:8080 in your browser. For both options, the default login according to the official docs is the user admin with the password stirling. Anyone who has read the docs knows these credentials. With Docker, Stirling-PDF creates this default admin itself and asks you to set a new password with at least 8 characters on the first login. The helper script instead writes admin and stirling into /opt/Stirling-PDF/.env through the variables SECURITY_INITIALLOGIN_USERNAME and SECURITY_INITIALLOGIN_PASSWORD. According to the docs, Stirling-PDF doesn’t ask accounts created this way for a new password. If you don’t get a prompt, change the password yourself in your account settings right after the first login. Either way, pick a long password of your own, ideally from your password manager.
With Docker you can skip the default admin entirely. To do that, set two variables in the environment block before the first start. They only take effect as long as no user exists yet:
      - SECURITY_INITIALLOGIN_USERNAME=<your-username>
      - SECURITY_INITIALLOGIN_PASSWORD=<your-password>
You add more users, for family members for example, in the settings under Workspace → Users with Invite people. If you haven’t set up email sending, choose Create account directly there and set the username, password and role yourself. According to the developers, the free version allows up to 5 users, which is enough for a home network. After 5 wrong password attempts, Stirling-PDF locks an account for 120 minutes.
Don’t put the interface on the internet unprotected. For access on the go, use a VPN like Tailscale or a reverse proxy with HTTPS. With a reverse proxy, keep the upload limit in mind. By default, nginx only allows 1 MB per request, so large scans will fail. How I additionally secure my Caddy with CrowdSec is covered in CrowdSec with Caddy and nftables.
Step 3: The tools you’ll actually use
The tool list is long. The search field finds the right tool faster than scrolling. These four are the ones I use most:
- Merge: Upload several PDFs, set the order with drag and drop, download one file. Typical for job applications or paperwork for your accountant.
- Redact: There’s an automatic version that searches for words like your bank account number, and a manual one where you mark areas. A black box on its own often just covers the text, and it can still be copied from underneath. So for sensitive documents, leave the option on that converts the result into an image PDF. Afterwards, search the finished PDF for the redacted word. If the search finds nothing, it’s gone.
- Compress: Makes scanned PDFs smaller so they fit through the upload limit of government portals. The higher the level, the worse the image quality. Try a medium level first.
- OCR: Recognizes text in scanned pages and places it invisibly under the image. After that you can search the PDF and copy text.
There’s also rotating pages, splitting, deleting pages, watermarks, signatures, and converting Word files or images to PDF and back. You can chain several steps into a pipeline, for example OCR first, then compress.
Step 4: OCR languages
For text recognition to read your documents cleanly, including accented letters, pick the document’s language in the OCR tool. The tool only shows languages that are installed on the server.
- Docker: According to the docs, the standard images already include English, German, French, Portuguese and Simplified Chinese. For other languages, put
.traineddatafiles from the Tesseract project into the./stirling-data/tessdatafolder and restart the container. - Helper script: All languages are already installed here. You can check for a language in the container shell, for German for example with
tesseract --list-langs | grep deu. - Your own Debian install: install the matching Tesseract package, for German
apt install tesseract-ocr-deu.
Don’t delete the file eng.traineddata. Stirling-PDF always needs English, even if you only want to recognize text in another language.
Stirling-PDF and Paperless
Stirling-PDF is a toolbox for individual files. It doesn’t archive or sort anything. If you want to file away your mail and invoices for good and find them again later, use Paperless-ngx for that. For me the two work together. I prepare a file in Stirling-PDF, merging or redacting it, and then upload it to Paperless. Paperless runs its own OCR, so you don’t need to do that in Stirling-PDF first. I show what my Paperless setup with AI sorting looks like in Paperless-ngx 3 with AI: sort documents automatically.
Check that it works
- The login page at
http://192.168.1.x:8080loads. - Helper script: in the container shell,
systemctl status stirlingpdfshows the statusactive (running). - Docker:
docker compose psshows the container as running, anddocker compose logs -fshows no errors. - As a functional test, merge two small PDFs and run OCR over a phone scan. If you can search for a word in the PDF afterwards, everything is set up.
Common problems
The page doesn’t load after starting. Stirling-PDF is a Java application and needs about a minute after starting. Wait a moment and reload.
Converting Word to PDF fails. Stirling-PDF uses LibreOffice in the background for this. With the helper script, a separate service called unoserver handles it. Check it with systemctl status unoserver, and systemctl --failed shows you any failed services. With Docker you need the normal image, because the ultra-lite version can’t do this.
The helper script update aborts. You start an update by typing the command update in the LXC console. I had a container I’d created more than a year earlier. There, the update script reports “Legacy installation detected” and asks you to recreate the container with the current script. That’s because the structure of the installation has changed. For me it was no big deal: create a new LXC, set up the users again, delete the old container. Only delete the old container once the new one is running, though, and make a backup of it in Proxmox first. Your users and settings live in the /opt/Stirling-PDF/configs folder, and according to the docs that’s also where the built-in database is. If you want to keep them, copy the folder into the new LXC from the Proxmox host shell:
pct exec <old-id> -- tar czf /root/configs.tgz -C /opt/Stirling-PDF configs
pct pull <old-id> /root/configs.tgz /root/configs.tgz
pct push <new-id> /root/configs.tgz /root/configs.tgz
pct exec <new-id> -- systemctl stop stirlingpdf
pct exec <new-id> -- tar xzf /root/configs.tgz -C /opt/Stirling-PDF
pct exec <new-id> -- systemctl start stirlingpdf
The container runs out of space. All the OCR languages, LibreOffice and temporary files need room. With less than 1 GB free, large jobs abort. Enlarge the disk in Proxmox under Resources: select the root disk, then Volume Action → Resize.
Large files won’t upload through the reverse proxy. Raise your proxy’s upload limit, in nginx with client_max_body_size. Stirling-PDF itself allows up to 2000 MB by default.
You can monitor whether your Stirling-PDF is still reachable with Uptime Kuma. How I set that up with push notifications to my phone is covered in Uptime Kuma and ntfy in the homelab.
Wrapping up
Stirling-PDF is one of those tools I just use after installing it, without thinking about it much. Setup with the helper script or Docker takes only a few minutes. After that you can merge, redact, shrink and make PDFs searchable without uploading private documents to an online service. Change the admin password right away, keep the interface on your home network or behind a VPN, and give the container enough storage. Then it just runs.
Did this guide help you? You can buy me a coffee on Ko-fi. It keeps MappleBox ad-free.