Proxmox VE Helper-Scripts: Install Services With One Command
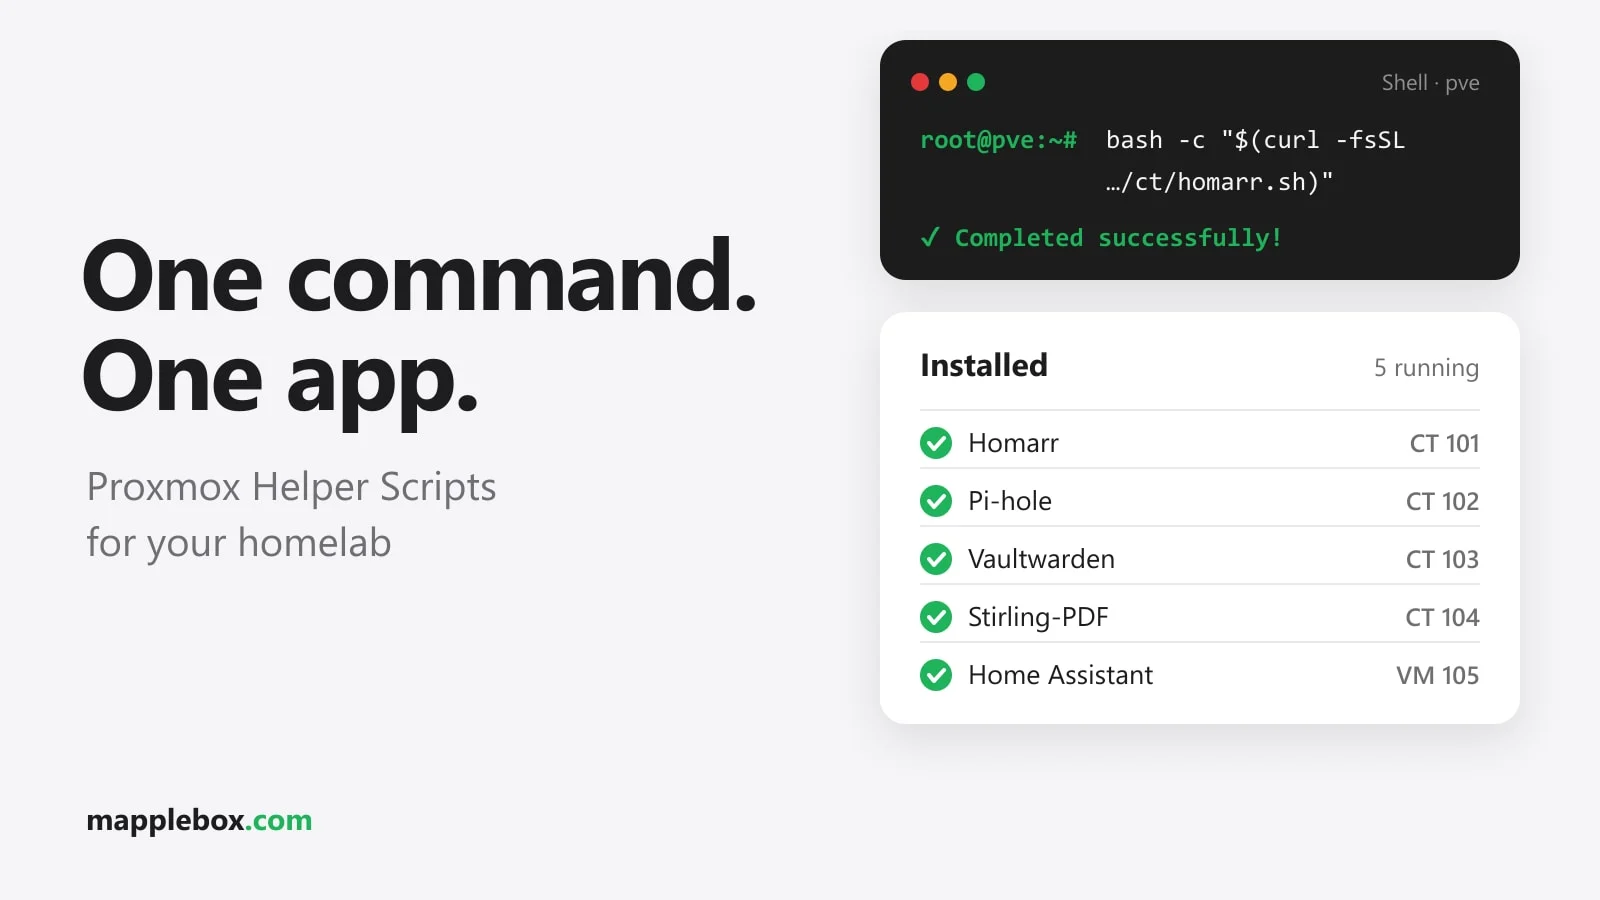
You’ve installed Proxmox and now want to run services like Vaultwarden, Pi-hole or a dashboard on it. Doing that by hand means creating a container, downloading a template, installing packages and setting up the service. The Proxmox VE Helper-Scripts do all of that for you. You paste one command into your Proxmox host’s shell, answer a few questions and get a finished LXC with the service already running. In this guide I’ll show you how it works, which settings you should know about and how to use the scripts safely.
Quick summary
- The Helper-Scripts are a collection of Bash scripts that create a container or VM on Proxmox VE and install a service inside it.
- They’re a good fit for anyone who wants to try out a service quickly or run it long term without building every installation themselves.
- You need a Proxmox VE host, root access to its shell and an internet connection.
- The scripts run with full privileges on your host. That’s why you should take a quick look at the code and make a backup before updates.
What the Helper-Scripts are
The scripts were originally written by the developer tteck, who maintained them in his own repository. In November 2024 the community took over the project. Since then it lives on GitHub at community-scripts/ProxmoxVE, and the old repository is archived. The README still says “In memory of tteck”. The official website is community-scripts.org, and the old address community-scripts.github.io/ProxmoxVE redirects there.
An LXC is a Linux container. It shares the kernel with the Proxmox host, so it needs far fewer resources than a VM. Most Helper-Scripts create exactly this kind of LXC. For a few cases like Home Assistant OS there are also scripts that create a VM. According to the README, Proxmox VE 8.4 as well as 9.0, 9.1 and 9.2 are currently supported.
Every script comes with sensible defaults. The Stirling-PDF script, for example, creates an unprivileged Debian 13 container with 2 cores, 2048 MB of RAM and an 8 GB disk, and at the end it tells you the URL with port 8080. You don’t need to know which Java version or dependencies the program needs.
I’ve created more than 40 containers and VMs across four Proxmox hosts this way, including Homarr, Glance, Apache Guacamole, Stirling-PDF, Docmost, Caddy, Pelican Panel and Wings, Pi-hole, Vaultwarden and Home Assistant as a VM. Not everything, though: I run Paperless-ngx with Docker Compose, for example. You can see how the hosts are spread out in My homelab across two locations.
What you need
- A Proxmox VE host running a supported version. A mini PC is plenty. If yours runs too hot around the clock, setting the CPU governor to powersave helps.
- A browser with access to the Proxmox web interface, or an SSH connection to the host as root.
- Enough free space on your storage, for example
local-lvm. The script checks this first and warns you. - A DHCP server on your network (usually your router) if you go with the default settings.
Step 1: Find the script on the website
Open community-scripts.org and search for the service you want. Every script page has a description, a changelog and, under Details, links to the install and update code. Read the notes there too, for example when login credentials get saved to a file.
The command always has the same format. Only the name at the end changes:
bash -c "$(curl -fsSL https://raw.githubusercontent.com/community-scripts/ProxmoxVE/main/ct/stirling-pdf.sh)"ct/ stands for container scripts. VM scripts live under vm/, for example vm/haos-vm.sh for Home Assistant OS. Tools for the host itself are under tools/pve/.
Step 2: Read the script first
The command above downloads code from the internet and runs it as root on your host right away. It’s the same idea as the well-known curl | bash pattern: you don’t see what runs beforehand. A bug or a tampered script would have full access to the host and every container and VM on it. So take two minutes and have a look.
The easiest way is to open the URL from the command in your browser, in this case https://raw.githubusercontent.com/community-scripts/ProxmoxVE/main/ct/stirling-pdf.sh. Or download the script to a file on the host and read it with less:
curl -fsSL https://raw.githubusercontent.com/community-scripts/ProxmoxVE/main/ct/stirling-pdf.sh -o /tmp/stirling-pdf.sh
less /tmp/stirling-pdf.sh
Press q to quit less. If nothing looks odd, run the exact file you just read instead of downloading the code again:
bash /tmp/stirling-pdf.shThe defaults sit at the top of the script as var_cpu, var_ram, var_disk, var_os and var_version. The actual installation inside the container is handled by a second file under install/, here install/stirling-pdf-install.sh. The shared logic for menus and container creation now lives in its own repository, community-scripts/core. The script downloads these parts and the install script fresh from GitHub while it runs, even if you start it from /tmp. So you’re checking the app-specific logic, not every single line. Pay most attention to downloads from unfamiliar addresses and to commands that change anything outside the new container.
Only use commands that point to raw.githubusercontent.com/community-scripts/. Copies in forums, videos or forks can be outdated or modified.
Step 3: Run the script in the Proxmox shell
In the Proxmox web interface, click your node on the left (not a container) and then Shell. Paste the command there and press Enter. The first time, the script asks whether it may send diagnostic data. According to the dialog, that’s only details like RAM, CPU and container name, no user data. You can say no.
Next you’ll see a menu with these options:
- Default Install: uses all of the script’s default values.
- Advanced Install: walks you through every setting step by step.
- User Defaults and App Defaults: use values you saved earlier. The global ones are stored in
/usr/local/community-scripts/default.vars. - Settings: change the diagnostics setting and edit saved defaults.
Default Install
Default Install gives you an unprivileged container with the next free ID, on the bridge vmbr0, with an IP from DHCP and the resources defined in the script. If you have more than one storage, the script asks where the template and container should go. This is the best choice when you’re starting out.
Advanced Install
Advanced Install goes through everything in about 30 steps. The Back button takes you one step back, and in the first step Exit quits the script. The most important settings:
- Container Type: Unprivileged is preselected and recommended. An unprivileged container maps root inside the container to a regular user on the host. If someone breaks out of the service, they don’t get root rights on the host.
- Root Password, Container ID and Hostname: without a password, you’re logged in automatically through the Proxmox console.
- Disk Size, CPU Cores, RAM Size: don’t go below the defaults. They’re tuned for the program.
- Network Bridge, IPv4 and VLAN: this is where you set a fixed IP in the format
192.168.1.50/24plus a gateway. For services that a reverse proxy points to, a fixed IP or a DHCP reservation in your router makes sense. - Other options like tags, time zone, SSH access, nesting or GPU passthrough can stay as they are the first time.
At the end the script shows you a summary. It only starts once you confirm. You can save your chosen values as App Defaults so you don’t have to enter them again next time.
Debian or Alpine?
Almost all scripts use Debian, currently Debian 13 in most cases. Some services also have an Alpine script whose name starts with alpine-. Alpine containers are smaller, but they use musl and the apk package manager, and most guides online assume Debian. As a beginner, go with the Debian version.
Step 4: What ended up in the container
At the end the script prints the URL where your service can be reached. So you know where things are later, take a quick look around the container. Open the container in Proxmox and go to its console, or run pct enter <ID> on the host.
ls /opt
systemctl list-units --type=service --state=running
ls /root- The application usually lives under
/opt/<app>, so for Stirling-PDF that’s/opt/Stirling-PDF. - The service runs as a systemd service. For Stirling-PDF there are two, called
stirlingpdfandunoserver. You’ll find the name in the install script. - Some scripts save login credentials in a file like
/root/<app>.creds. On my setup there are files like this for Docmost, Guacamole and the Pelican Panel, for example. Copy the contents into your password manager and change default passwords after your first login. - In the Proxmox UI the container gets the tag
community-scriptand a description with a logo under Notes in the summary. That way you can tell later which containers came from a script.
Step 5: Updates with the update command
Every script container gets the command update at /usr/bin/update. It calls the matching script from GitHub again, this time in update mode. If there’s a new version, it usually stops the service, installs the update and starts the service again. When there are breaking changes, it warns you first and asks.
Take a snapshot on the host beforehand. A snapshot saves the container’s current state so you can return to it. pct list shows you your container’s ID. In the web interface you can also select the container, then Snapshots and Take Snapshot. If the update goes wrong, one command brings you back:
# on the Proxmox host
pct snapshot <ID> before-update

# inside the container
update

# if something broke, back on the host
pct rollback <ID> before-update

# once everything works, delete the snapshot later
pct delsnapshot <ID> before-update
Snapshots only work on storage types that support them, such as local-lvm (LVM-Thin) or ZFS. If the container sits on a plain directory storage like local, pct snapshot fails with an error. In that case, make a backup with vzdump <ID> first. Delete old snapshots when you’re done, or they’ll keep taking up more space. Apart from that, every setup needs regular vzdump backups to a different device.
The post-install script for fresh Proxmox hosts
Besides the service scripts, there are tools for the host. The best known is the post-install script:
bash -c "$(curl -fsSL https://raw.githubusercontent.com/community-scripts/ProxmoxVE/main/tools/pve/post-pve-install.sh)"It asks about each step one at a time. It fixes the package sources, disables the pve-enterprise repository (which doesn’t work without a subscription) and enables pve-no-subscription instead. Optionally it removes the subscription notice at login, turns off High Availability and Corosync on a single host, updates Proxmox and reboots. If you run a cluster, leave HA and Corosync on. The script is meant for fresh installs. On a host you’ve been running for a while, read carefully what each question changes before you answer.
PVE Scripts Local: the scripts with a web interface
If you’d rather click than type, the same team offers PVE Scripts Local (repository community-scripts/ProxmoxVE-Local). It’s a web interface where you browse, download and run scripts with a live terminal in your browser. It keeps track of what’s installed on which host and recognizes existing containers by their tags. You install it with a helper script, too:
bash -c "$(curl -fsSL https://raw.githubusercontent.com/community-scripts/ProxmoxVE/main/ct/pve-scripts-local.sh)"After that you can reach it at http://192.168.1.x:3000. I run it in a Debian LXC with 2 cores and 4 GB of RAM. So the interface can start scripts on your hosts, you store SSH credentials for Proxmox in it. Those are kept in an SQLite file at data/settings.db. That’s why you should turn on the optional login and never make the interface reachable from the internet. For access from outside, use Tailscale or a VPN.
Check that it works
- On the host,
pct listshows the new container with the status running. - Inside the container,
systemctl status <service>shows “active (running)”. ss -tlnpinside the container lists the port the service is listening on.- The URL from the end of the script output opens in your browser.
Common problems
The container doesn’t get an IP. Check that the bridge is correct and that a DHCP server is running on your network. If you use a VLAN, the VLAN tag has to be set in Advanced Install.
The installation stops partway. Often there isn’t enough RAM or disk space. For some errors the script offers to try again with more resources. Otherwise, delete the half-finished container and start over.
The update reports “Legacy installation”. Sometimes an app’s structure changes so much that the script can only update new containers cleanly. In that case, create a fresh container and move your data over.
A script has disappeared. The collection is maintained by volunteers. If a script needs too much upkeep, it gets removed. The Habitica script, for example, was removed on November 28, 2025. I still run two Habitica containers that I created with it before then. The service keeps running, but update can no longer find its script. How I run Habitica manually now is in Self-hosting Habitica.
Bind mounts don’t work. A bind mount makes a folder from the host available inside the container. In unprivileged containers, the user IDs don’t match the ones on the host. You’ll find more on bind mounts and shared folders in LXCs in Migrating LXCs with bind mounts.
Related guides for individual services
- Homelab dashboard with Homarr and Glance
- Apache Guacamole: remote desktop in the browser
- Self-hosting Stirling-PDF
- Docmost as a Notion alternative
- Caddy as a reverse proxy with HTTPS
- Install Home Assistant on Proxmox
- Your own game server with Pelican Panel
Wrapping up
For me, the Helper-Scripts are the fastest way to try out a new service on Proxmox and keep it running. To get started, Default Install with Debian is all you need. Build three habits: skim the script first, only use the official repository and take a snapshot before every update. To find out when a service goes down, Uptime Kuma with ntfy is a good next step.
Did this guide help you? You can buy me a coffee on Ko-fi. It keeps MappleBox ad-free.