Install Proxmox on a Mini PC: Set Up Your First Server
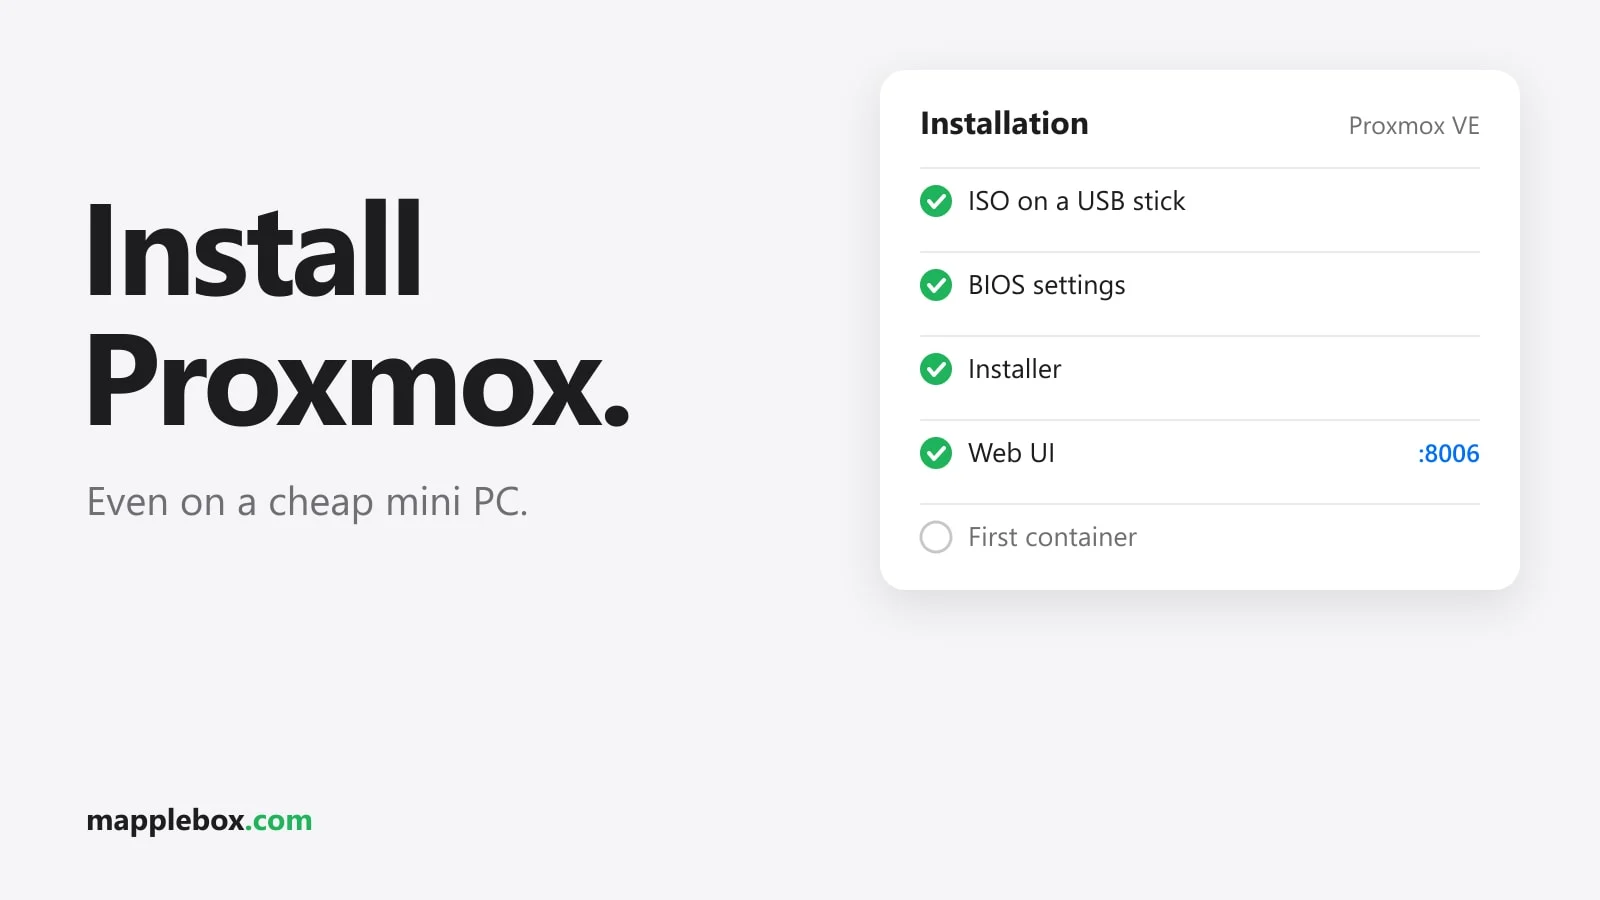
Installing Proxmox sounds like data center work, but on a small mini PC you can get it done in about an hour. In this guide you set up Proxmox VE step by step, from the BIOS and the installer to the repositories and your first container. Most of the pitfalls come before and after the install itself: wrong BIOS settings, a forgotten static IP, or the enterprise repository throwing errors on your first update. This guide helps you avoid them so your first server starts up cleanly. I now run four mini PCs with Proxmox VE 9, and every time the installation was the easiest part.
If you are just getting started and first want to know what a homelab even is, read my overview Starting a homelab. This guide only covers the installation.
What is Proxmox VE?
Proxmox VE is a free operating system based on Debian. It runs virtual machines (VMs) and lightweight Linux containers (LXC) on a single device. You manage everything through a web interface in your browser, so after the installation you no longer need a monitor or keyboard.
What hardware you need
Proxmox runs on almost any 64-bit PC with virtualization support. For a homelab that runs around the clock, I think mini PCs are the best choice because they are quiet and use little power. These three classes work well for getting started:
| Class | Examples | Good for | What to watch for |
|---|---|---|---|
| Budget | Mini PC with Intel N100 or N150 | Pi-hole, Vaultwarden, Paperless, a few small containers | 4 cores, very power efficient, Intel QuickSync for video. Usually only one RAM slot, often only one NVMe slot and a Realtek network card |
| Mid-range | Used office mini PCs: Lenovo ThinkCentre Tiny, HP EliteDesk Mini, Dell OptiPlex Micro | Several services plus a VM like Home Assistant | Often two RAM slots and an Intel network card. Check the CPU generation, newer ones use less power |
| My setup | Minisforum MS-01, MS-A2, N5 Pro | Lots of containers and VMs, NAS, transcoding | Much more performance, more ports, more heat. Not needed to get started |
To be honest, I don’t use an N100 or N150 mini PC myself. My machines are a size bigger because my homelab has grown over the years. For a first Proxmox server with a few containers, those small Intel chips are a common and sensible choice, for example a mini PC with an Intel N150*. If you want a bit more headroom, look for a good deal on a Lenovo ThinkCentre Tiny (refurbished)*. If you are thinking about a bigger mini PC, my buying guide Mini PCs for your homelab uses my Minisforum machines as examples.
RAM: 16 GB is enough to start, 32 GB gives you room to grow. In a homelab you almost always run out of RAM before you run out of CPU. On devices with only one slot, it makes sense to buy one large module right away, for example a DDR5 SO-DIMM module*. Check the spec sheet first to see which RAM type and maximum size your device officially supports.
SSD: Use an NVMe SSD, not a USB hard drive or an SD card. Proxmox constantly writes logs and status data, and cheap storage doesn’t handle that well. A 1 TB NVMe SSD* gives you enough space for the system, containers and ISO files.
What you need for the installation
- A USB flash drive* with at least 8 GB. Everything on it will be erased.
- A monitor and a USB keyboard, but only once for the installation.
- An Ethernet cable to your router or switch. Wi-Fi is not an option for the Proxmox host, because the network bridge for your VMs and containers needs a wired connection.
- A free IP address on your home network that your router does not hand out through DHCP (the service that assigns addresses automatically). In this guide I use
192.168.1.10as an example.
Step 1: Download the ISO and create the USB drive
Download the latest Proxmox VE ISO straight from the official download page at proxmox.com. The current release is Proxmox VE 9.2, which is based on Debian 13 “Trixie”. Then you write the ISO to the USB drive. Two tools work well for this:
- balenaEtcher: Pick the ISO, pick the drive, click Flash. The easiest option for beginners.
- Ventoy: You install Ventoy on the drive once, and after that you just copy as many ISO files onto it as you like. Handy if you install systems often.
Simply copying the ISO file onto the drive won’t work. If you use Rufus, you have to choose DD mode, otherwise the drive often won’t boot. With the two tools above you don’t have to worry about that.
Step 2: Set up the BIOS before the first boot
Depending on the manufacturer, you usually get into the BIOS by pressing Del, F2 or F1 right after you turn the PC on. The menus look different on every device, but you should find these settings:
- Virtualization: Turn on Intel VT-x or AMD-V (sometimes called SVM). Without this option, no VM will start.
- VT-d or IOMMU: Turn it on. You’ll need it later if you want to pass hardware like a graphics unit or a disk controller through to a VM.
- Boot order: Move the USB drive to the top, or use the boot menu (often
F7,F11orF12). - Secure Boot: Since version 8.1, Proxmox VE also boots with Secure Boot turned on. If the drive still won’t start, try turning Secure Boot off, especially with Ventoy.
- Power on after a power outage: This option is often called “Restore on AC Power Loss”. Set it to “Power On” and your server will start again by itself after a power outage.
Step 3: Run the Proxmox installer
Boot from the USB drive and choose Install Proxmox VE (Graphical) in the menu. The installer then walks you through a few pages:
- License: Accept the EULA.
- Target disk: Pick your NVMe SSD. Careful, it will be completely erased. Under Options you choose the file system. The default is ext4 with LVM, and that is exactly what I recommend if you only have one SSD. ZFS only shows its strengths with two or more drives and needs more RAM. Btrfs is still marked as a technology preview.
- Country, time zone, keyboard: Pick your own country, time zone and keyboard layout. The installer also uses the country to choose a package mirror near you.
- Password and email: The password is for the
rootuser and needs at least 8 characters. Use a long password that you don’t use anywhere else. Proxmox uses the email address for notifications, for example when a backup fails. - Management network: This is the most important step. Pick the network card your cable is plugged into. For the hostname, enter a fully qualified domain name (FQDN), such as
pve.example.lan. Then add the static IP with its subnet, for example192.168.1.10/24. Use your router’s IP as the gateway (often192.168.1.1) and your router as the DNS server too. - Summary: Check everything, click Install and wait. After the reboot, unplug the USB drive.
Step 4: Log in to the web interface
After the reboot, the mini PC shows the address of the web interface on the monitor. On your regular computer, open https://192.168.1.10:8006 in your browser. The certificate warning is normal, because Proxmox starts out with a self-signed certificate. Log in with root, your password and the realm Linux PAM.
Next you’ll see a message saying you don’t have a valid subscription. You can just close it. It’s harmless and doesn’t limit any features. There are scripts that remove it, but you don’t need them.
Step 5: Switch the repositories and install updates
Out of the box, the enterprise repository is active, and it only works with a paid subscription. Without a subscription you’ll get error messages when you update. To fix this, turn off the enterprise repos and add the free no-subscription repository.
The easiest way is through the web interface. Click your node on the left, then Updates > Repositories. Select the entries with pve-enterprise and the ceph entry with enterprise, and click Disable for each one. Then click Add and choose No-Subscription.
If you’d rather use the shell (click your node, then Shell): Proxmox VE 9 uses the new deb822 format with .sources files. This is how you add the no-subscription repo:
# Add the no-subscription repository for Proxmox VE 9
cat > /etc/apt/sources.list.d/proxmox.sources <<EOF
Types: deb
URIs: http://download.proxmox.com/debian/pve
Suites: trixie
Components: pve-no-subscription
Signed-By: /usr/share/keyrings/proxmox-archive-keyring.gpg
EOF
To turn off the enterprise repos, open /etc/apt/sources.list.d/pve-enterprise.sources and /etc/apt/sources.list.d/ceph.sources with nano and add a line Enabled: no to each entry. Then bring the system up to date:
# Fetch package lists and install all updates
apt update && apt full-upgrade

# Check the installed version
pveversion
Always use apt full-upgrade, never just apt upgrade. Proxmox updates often bring new packages that a plain upgrade won’t install. After a kernel update, reboot once.
My tip for mini PCs: set the CPU governor
By default, Proxmox likes to let the CPU clock up. In a small case that means more heat, a louder fan and higher power use, even though most services barely need any performance. One of my mini PCs ran way too hot all the time because of this. I show how to fix it with the powersave governor in Mini PC with Proxmox running too hot.
Step 6: Create your first container
For a first test, a small Debian container works best:
- On the left, click the local storage, then CT Templates > Templates, and download a current Debian template.
- Click Create CT in the top right, set a hostname and password, and pick the template.
- To start, 8 GB of disk, 1 CPU core and 512 MB of RAM are enough. For the network, choose the bridge
vmbr0and either DHCP or a static IP of your own. - Start the container and log in through Console.
If that works, you’re ready for real services. Good first candidates are Pi-hole as an ad blocker and later Vaultwarden as your own password manager. Plan for one service per container from the start. That makes updates and moving things around later much easier, as I describe in Migrating Proxmox LXC containers.
Backups: Before important data ends up on the server, set up a regular backup job under Datacenter > Backup, ideally to a NAS or an external drive. My homelab guide explains how to approach it.
Common installation problems and how to fix them
- Web interface not reachable: Usually the wrong network card was picked in the installer, or the IP doesn’t match your home network. On the monitor, check with
ip awhich card has a link, and fix the settings in/etc/network/interfaces. Then apply them withifreload -a. An IP that your router has already given to another device causes exactly the same problem. - Black screen in the installer: This is often caused by the graphics driver. In the boot menu, highlight the install entry, press
eand add the parameternomodesetto the line that starts withlinux. Then pressCtrl+XorF10to boot. The menu also offers a text mode installer as an alternative. - Network drops out under load: Many cheap mini PCs have Realtek network cards. They usually work fine, but some models cause trouble under Linux, such as dropped connections. Keep your system up to date, because newer kernels often bring better drivers. If you run into this, search the Proxmox forum for your exact chip.
- Errors during apt update: Almost always an enterprise repo is still active. Check under Updates > Repositories that all enterprise entries are really disabled.
Wrapping up
Installing Proxmox is no black magic. With an affordable mini PC, an NVMe SSD, 16 GB of RAM and an Ethernet cable, you have everything you need. Most of the work is in the preparation: setting up the BIOS correctly, planning a static IP and switching the repositories after the install. Once that’s done, your server is running and you can focus on the fun part, your first own services.
Which mini PC are you starting with, and which step are you stuck on right now? Let me know in the comments and I’ll be happy to help.
* Affiliate link: As an Amazon Associate I earn from qualifying purchases. It costs you nothing extra. More info
Did this guide help you? You can buy me a coffee on Ko-fi. It keeps MappleBox ad-free.