How to install Claude Code skills and plugins
Claude Code can do more than it ships with. Skills and plugins teach it new abilities, for example a sense for Apple-style design or a fixed workflow it follows the same way every time. In this guide you’ll learn what skills and plugins actually are, how to install them and what to check before you trust a source you don’t know. As the example I’m using what I installed myself: the apple-design skill from GitHub and two plugins from Anthropic’s official marketplace. I then used the skill to rework the design of my German site mapplebox.de, and further down I show you what changed.
Quick summary
- Claude Code is Anthropic’s AI coding agent. It runs in the terminal, in the desktop app and in editors like VS Code, and it can read and edit files and run commands.
- A skill is a folder with a file called
SKILL.md. It holds instructions in plain text that Claude loads whenever they fit the task. - A plugin is an installable package that can bundle skills, slash commands (commands starting with
/), agents and hooks. Plugins come from marketplaces, which are catalogs Claude Code knows about. - You install a skill by copying its folder to
~/.claude/skills/. You install a plugin with/plugin install name@marketplace. - Skills and plugins work with the permissions Claude Code has on your computer. Read them first and only install from sources you trust.
What you need
- A paid Claude plan (Pro, Max, Team or Enterprise) or an Anthropic Console account with API credit. The free plan doesn’t include Claude Code.
- Claude Code in the terminal or the desktop app. Step 1 shows how to install it.
- For the skill from GitHub: Git. Git is a program that downloads a repository (repo), which is a project folder on GitHub, to your computer. On Windows you get it from git-scm.com. On macOS the system offers to install it the first time you type
gitin the terminal. You can also skip Git and download the repo as a ZIP file (see Step 2). - A terminal, the window where you type commands. On macOS, open the “Terminal” app with Spotlight search (Cmd+Space). On Windows, start “PowerShell” from the Start menu. The
~sign in paths stands for your user folder, so/Users/yournameon a Mac andC:\Users\yournameon Windows. - A project to work on, for example your website’s custom CSS. That’s optional, but it lets you see right away what a skill does.
Skill, plugin, marketplace: the difference
A skill is the smallest piece. It’s a folder that contains at least a SKILL.md. The top of the file has a short header (called frontmatter) with a name and a description, and the actual instructions follow below it. Claude reads the description to decide whether the skill fits the current task. You can also call a skill directly by typing / and its name, for example /apple-design. Personal skills live in ~/.claude/skills/<name>/SKILL.md and work in all your projects. Skills in .claude/skills/ inside a project folder only work in that project.
A plugin is a package that can bring several building blocks: skills, slash commands, agents (specialized helpers Claude starts for subtasks), hooks (commands that run automatically at certain points) and MCP servers (services that give Claude new tools). You install plugins from a marketplace. Anthropic’s official marketplace is called claude-plugins-official, and according to the docs Claude Code adds it for you the first time you start an interactive terminal session.
One example is the humanizer skill. It holds rules against typical AI phrasing, the stock phrases and sentence patterns that make text sound machine-written. When you ask Claude for a text, the skill makes it stick to those rules.
Step 1: Install Claude Code
If you already use Claude Code, skip this step. Otherwise open a terminal and run Anthropic’s installer. On macOS, Linux and WSL (Windows Subsystem for Linux, a Linux running inside Windows):
curl -fsSL https://claude.ai/install.sh | bashOn Windows in PowerShell:
irm https://claude.ai/install.ps1 | iexThen open a new terminal window and check with claude --version that it worked. Change into a project folder and start Claude Code with claude. On first start you log in with your Claude account. The desktop app already includes Claude Code, you’ll find it in the “Code” tab. Other ways to install are listed in Anthropic’s docs. A running Claude Code conversation is called a session, a word you’ll see a few more times below.
A tip for Windows: if you have Git for Windows installed, Claude Code can run commands through Bash. Without it, Claude Code uses PowerShell.
Step 2: Install a skill from GitHub
Lots of skills are public on GitHub. I installed apple-design from the repository emilkowalski/skills. The skill sums up design principles from Apple’s WWDC talks and translates them for the web: buttons react the moment you press them, motion runs on springs, translucent surfaces make it clear what’s in front and what’s behind, plus rules for typography and for people who have reduced motion or transparency turned on. The repo is MIT licensed, so you can use the skill freely as long as the license text stays with it.
Download the repo and copy only the skill’s folder into your personal skills folder. The license file sits in the repo’s root, so copy it along. Type these commands into a regular terminal outside Claude Code. Run cd Downloads first so the repo lands in your downloads folder. On macOS and Linux:
git clone https://github.com/emilkowalski/skills.git
mkdir -p ~/.claude/skills
cp -r skills/skills/apple-design ~/.claude/skills/
cp skills/LICENSE ~/.claude/skills/apple-design/
On Windows in PowerShell, the folder lives in your user profile:
git clone https://github.com/emilkowalski/skills.git
New-Item -ItemType Directory -Force "$HOME\.claude\skills"
Copy-Item -Recurse skills\skills\apple-design "$HOME\.claude\skills\"
Copy-Item skills\LICENSE "$HOME\.claude\skills\apple-design\"
Without Git, click “Code” on the repo page and then “Download ZIP”. The ZIP unpacks into a folder called skills-main. Skip git clone and write skills-main/ instead of skills/ in the commands above (on Windows skills-main\ instead of skills\).
You should end up with ~/.claude/skills/apple-design/SKILL.md and a LICENSE file next to it. On macOS the .claude folder is hidden in Finder, press Cmd+Shift+Period to show hidden folders. The repo’s README also mentions its own installer. I went the manual way because I only wanted this one skill and this way I know exactly what lands on my machine.
Before you use a skill, open the SKILL.md in an editor and read it. It’s plain text, so you see exactly what Claude will get as instructions. If the folder also contains scripts, look at those too.
According to the docs, Claude Code picks up new skills in ~/.claude/skills/ even in a running session, so you don’t need to restart. One exception: if you only created the ~/.claude/skills folder during the session, run /reload-skills, and run it again after every later change until you restart Claude Code.
Step 3: Install plugins from the official marketplace
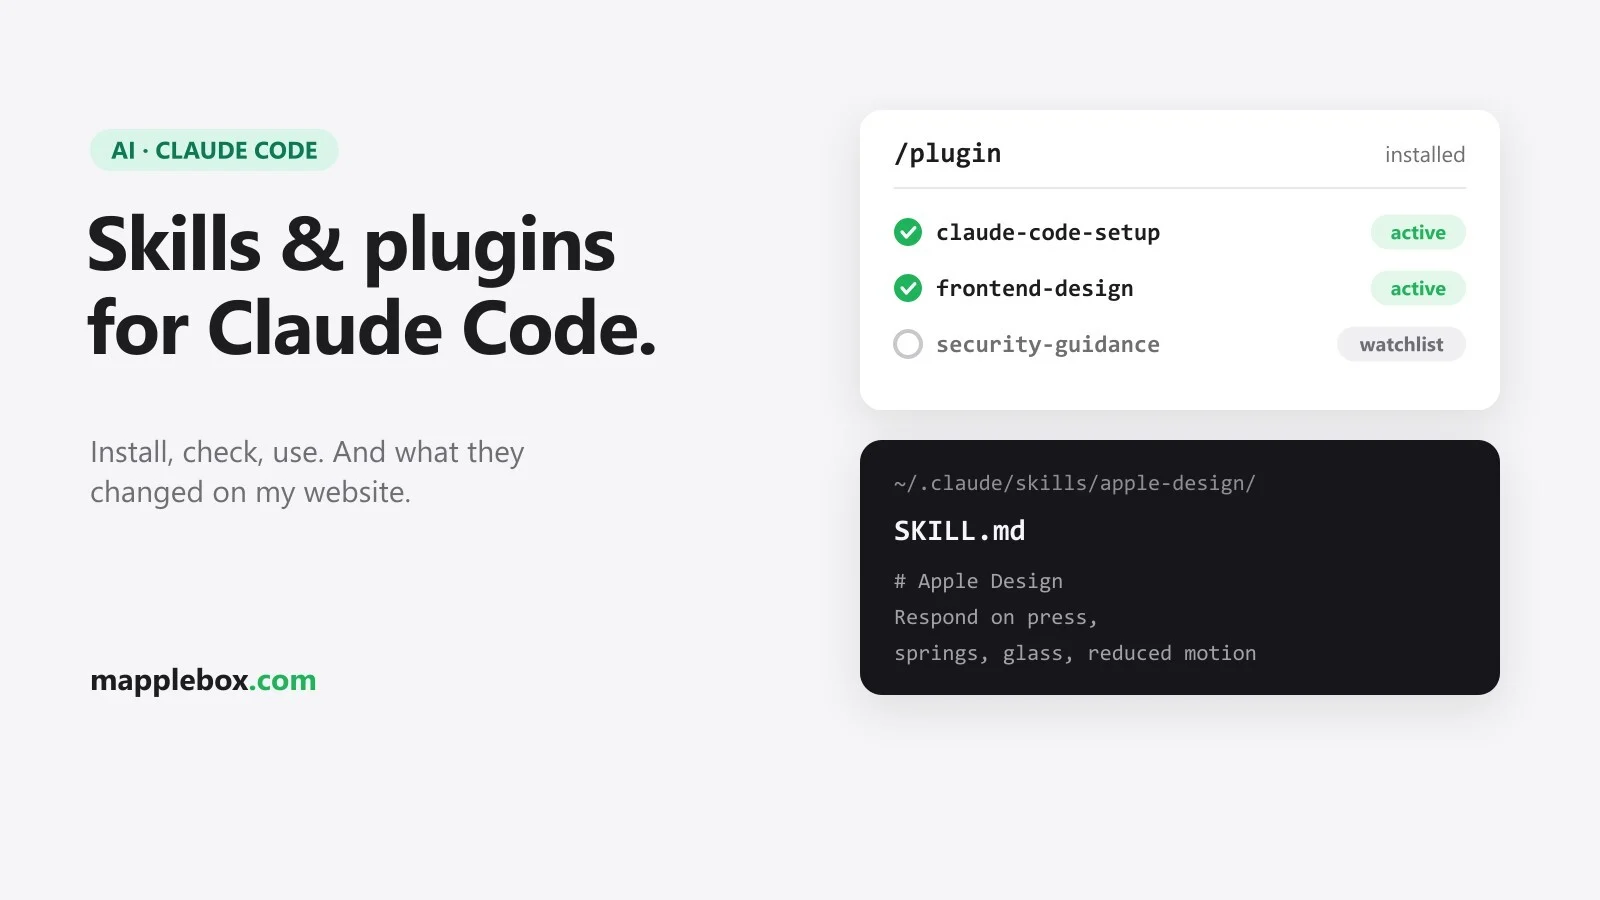
I installed two plugins from claude-plugins-official:
claude-code-setuplooks at a project and recommends automations that fit, such as hooks, skills, MCP servers, subagents and slash commands. According to its README it doesn’t change any files, it only makes suggestions.frontend-designhelps with interfaces and web pages and aims to keep them from looking like generic AI design. According to its README, Claude uses the skill automatically when you ask for frontend work.
In the terminal, start Claude Code and type the install command with the plugin name and the marketplace:
/plugin install claude-code-setup@claude-plugins-officialInside a session the command first opens the plugin’s details so you can review it before installing. Under “Will install” you see what the plugin brings. Then you pick the scope, meaning who the plugin is for:
- “Install for you (user scope)”: for you in every project on this computer. That’s what I picked.
- “Install for all collaborators on this repository (project scope)”: for everyone who works in this repository.
- “Install for you, in this repo only (local scope)”: only for you and only in this repository.
At the end Claude Code shows a summary. If it says “Plugin is now active.”, you can use it right away. If it says “Run /reload-plugins to apply.”, Claude Code reloads the plugins once the panel closes. If it shows a warning and leaves the plugin pending, run /reload-plugins --force. Repeat the same for the second plugin:
/plugin install frontend-design@claude-plugins-officialIf you’d rather browse, type just /plugin. The panel opens on the “Discover” tab with all plugins from your marketplaces. In the desktop app, go to the “Code” tab, click the + next to the prompt box, then “Plugins” and “Add plugin”.
You can also install plugins straight from your shell without a running session. The shell is the command line in your regular terminal, outside Claude Code. This uses user scope by default, and the plugins load the next time you start Claude Code:
claude plugin install claude-code-setup@claude-plugins-official
claude plugin install frontend-design@claude-plugins-official
With a user scope install, Claude Code adds the plugins to ~/.claude/settings.json under enabledPlugins. Mine looks like this:
"enabledPlugins": {
  "claude-code-setup@claude-plugins-official": true,
  "frontend-design@claude-plugins-official": true
}
You don’t have to edit this file yourself. Looking at it helps when you want to know what’s currently active.
Step 4: Use skills in your daily work
Most skills don’t need to be called. You describe your task as usual, and Claude loads the matching skill when its description fits. If you want to be sure, name the skill in your prompt or call it directly with /apple-design.
For claude-code-setup, open Claude Code in your project folder and ask something like “recommend automations for this project”. For frontend-design, a normal frontend task is enough, for example “build me a landing page for my podcast”. Skills from plugins show up in the / menu as /<plugin>:<skill>, with the plugin name in front.
What the apple-design skill changed on mapplebox.de
On the day I installed it, I asked Claude to use the skill for a design pass over the custom CSS of mapplebox.de. Claude added a new block at the end of the CSS file and left the rest untouched. Here’s what changed:
- The header stays at the top while you scroll and is now slightly see-through with a blur behind it, similar to Apple’s menu bars. A thin divider line only shows up once content scrolls underneath.
- In the hero, the big section at the top of the homepage, the headline, text and buttons now share one left edge.
- Buttons are now pills with round ends, at least 44 pixels tall so they’re easy to hit on a phone, and they shrink a tiny bit the moment you press them. That way you know right away that your tap registered.
- On the guide cards the title now carries the hierarchy, and the excerpt is limited to three lines. Articles have a consistent 20 pixel corner radius that matches the featured image.
- Code inside running text has a subtle background, and code blocks have more space at the top so the copy button doesn’t cover anything.
- If you’ve set your operating system to reduce transparency or increase contrast, you get a solid header without the glass effect. That runs through media queries, CSS rules that only apply with certain settings, here
prefers-reduced-transparencyandprefers-contrast.
Here’s the rule for the buttons as an example. The first line handles the pill shape and minimum height, the second the short press effect:
.wp-block-button__link, .wp-element-button { border-radius: 999px !important; font-weight: 600; min-height: 44px; display: inline-flex; align-items: center; justify-content: center; padding: .7em 1.35em !important; }
.wp-block-button__link:active, .wp-element-button:active { transform: scale(.97); transition-duration: 90ms; }
After that I also ran the skill over my link page, links.mapplebox.de. It added press states for the links, sizes in rem instead of pixels, spacing for the edges of phones with a notch (safe area insets), visible focus rings for keyboard users and better contrast.
One thing I kept on purpose: the hand-drawn curl at the bottom of the page. A pure Apple look would clean it away, but I want MappleBox to stay a bit DIY. A skill is a set of instructions. You still decide which style fits your project, and you look at the result before it goes live.
What to check before you install someone else’s skill or plugin
Skills and plugins run with the permissions Claude Code has on your computer. Anthropic’s docs say an installed plugin can run any code with your user privileges, for example through hooks or MCP servers. Skills act as instructions and influence what Claude does with its tools. A plugin’s details view shows a notice saying Anthropic doesn’t control what’s inside plugins. It applies no matter which marketplace a plugin comes from.
- Only install from sources you trust. According to the docs, the name
claude-plugins-officialis reserved for marketplaces from Anthropic’s own GitHub repos. - Read the
SKILL.mdbefore you copy it. For plugins, check “Will install” in the details view and open the source code with “View on GitHub”. Look closely athooks/hooks.json,.mcp.jsonand thebin/folder. - Check the license. MIT lets you use and change the skill, and you keep the license text with it.
- Plugins from the official marketplace update automatically by default. The files you read can change later.
If you also want to connect Claude to services in your homelab, like Proxmox or your calendar, read my guide on running MCP servers securely first.
Check that it works
- Type
/skillsin a session.apple-designshould show up in the list. You can also type just/and search the menu for the name. - Call
/apple-designwithout a question. According to itsSKILL.md, the skill then only replies with a short sentence saying it’s ready and waits for your question. - Open
/pluginand press Tab to get to the “Installed” tab. Both plugins should be listed with their scope. - In your shell,
claude plugin listprints the same list with version, scope and status. - In the desktop app, go to the “Code” tab, click the + next to the prompt box, then “Plugins” and “Manage plugins”.
Common problems
The skill doesn’t show up
Check the path first. The SKILL.md has to sit directly in the skill’s folder, so ~/.claude/skills/apple-design/SKILL.md. A common mistake is one level too many, like ~/.claude/skills/skills/apple-design/, when you copy the whole repo folder. The file’s header also has to start with --- on the very first line. If you created the ~/.claude/skills folder during a running session, run /reload-skills, and again after every later change until you restart Claude Code.
Claude doesn’t use the skill on its own
Claude uses the description in the header of the SKILL.md to decide whether a skill fits. If your task is far from that description, the skill stays out. Name the skill in your prompt or call it directly with /apple-design.
The marketplace is unknown
On a computer where Claude Code has never run interactively in the terminal, the official marketplace isn’t registered yet. A claude plugin install from a script then fails. Add the marketplace once beforehand:
claude plugin marketplace add anthropics/claude-plugins-officialThe plugin is installed but not active yet
After an install from the shell, the plugin only loads on the next start. In an open session, run /reload-plugins. If that shows a warning, use /reload-plugins --force. If the plugin doesn’t load at all, you’ll find the reason in /plugin on the “Errors” tab.
Wrapping up
I found these plugins through a TikTok that showed four free Claude Code plugins: Claude Code Setup, Agent Skills, Frontend Design and Security Guidance. I installed two of them, the other two are on my watchlist. It didn’t take much: one folder copied, two commands typed. The apple-design skill made the biggest difference for me, because it gives Claude concrete rules to fall back on in every design pass. Take a minute before each install to read what you’re getting, and look at what Claude builds with a skill before you keep it.
Which skills or plugins do you use in Claude Code? Tell me in the comments, I’m still looking for watchlist candidates.
Did this guide help you? You can buy me a coffee on Ko-fi. It keeps MappleBox ad-free.