Homelab Beginner Guide 2026: How to Get Started Right
You want to start a homelab and have no idea where to begin? In this guide you go step by step, in an order that makes sense: pick the hardware, install Proxmox, set up your first services, access them safely from anywhere, then add backups and monitoring. By the end you’ll have your own small server running your first services with backups and monitoring in place, and you’ll know the typical beginner mistakes before they happen to you. Mine started small with a single device. Today four mini PCs run Proxmox in Berlin and France, with 57 containers and VMs between them.
What is a homelab and what’s in it for you?
A homelab is a small server at home where you run your own services. Instead of storing photos, documents or passwords with big cloud providers, the software runs on your own hardware. This is called self-hosting.
Here are a few services you can run yourself. I run all of them:
- Movies and TV shows: Plex streams your media library to any TV and any phone.
- Documents: Paperless scans, searches and sorts letters, bills and contracts. Mine handles the whole family’s paperwork.
- Passwords: Vaultwarden is your own password manager and works with the Bitwarden apps.
- Smart home: Home Assistant controls lights, heating and sensors, all locally.
- Ad blocking: Pi-hole blocks ads and trackers for every device on your network.
On top of that, there’s something that’s hard to measure: you learn a huge amount about networks, Linux and servers. That knowledge helps you outside the homelab too, whether at work or the next time your family has a router problem.
What to know before you start: time, learning curve, power
Before you dive in, plan realistically. A homelab takes time. Your first service might run after one evening, but it usually takes weeks until everything is stable and you understand what you’re doing. And it never fully ends: updates, new ideas, and now and then something breaks.
The learning curve is steep at the beginning. You’ll google terms, read forums and break things. That’s completely normal and part of the process. Just don’t put your most important data on a system you don’t understand yet.
Then there’s power. A server runs around the clock. An old gaming PC with a big graphics card draws a lot more at idle than a mini PC. My tip is to go with a mini PC, which is exactly why my whole homelab runs on mini PCs. Work out beforehand what a device uses when it runs 24/7, so your power bill holds no surprises later.
Step 1: Pick your hardware and start small
You don’t need a server rack to get started. An old laptop or a retired office PC is plenty for trying out your first services. A laptop even has a built-in battery that bridges short power outages. What matters is that the device has a 64-bit processor with virtualization support (Intel calls it VT-x, AMD calls it AMD-V) and an SSD.
If you want to buy something new, I think a mini PC is the best choice: quiet, power-efficient, small enough for a shelf and still strong enough for many services at once. I use devices from Minisforum, such as the Minisforum MS-01*. Which model fits your use case and what to look for when buying is covered in the buyer’s guide Mini PC for your homelab.
The most important part of the hardware is the memory (RAM). Every service needs RAM, and when it runs out, everything slows down or services crash. For most homelab services, the CPU is bored most of the time. 16 GB is enough to start, and 32 GB gives you room to grow. When buying, make sure the RAM can be upgraded later. Many mini PCs take standard DDR5 SO-DIMM modules* that you can simply add.
For context: my servers now have between 32 and 128 GB of RAM. That’s the result of several years of growth, though. To start, you only need a fraction of that.
Step 2: Install Proxmox
The best operating system for your server is Proxmox VE, which runs on all of my devices too. Proxmox is a free operating system with one job: running other systems inside it. You install it once on the device and then manage everything through a web interface in your browser. You’ll find the detailed walkthrough with every step and the BIOS settings in Install Proxmox on a mini PC.
Proxmox has two kinds of guests, and you should know the difference:
- VM (virtual machine): a complete, simulated computer with its own operating system. It needs more resources but is fully isolated. Good for Home Assistant OS or TrueNAS.
- Container (called LXC in Proxmox): a lightweight Linux that shares the kernel with the host. It starts in seconds and needs very little RAM. The first choice for most services.
You may have heard of Docker too. Docker is another container technology where an app comes packaged with everything it needs. Many self-hosting projects ship their software as a Docker image. My tip is to run Docker inside an LXC or a VM, since the two combine well. That’s how I do it most of the time.
Here’s how to install Proxmox:
- Download the current Proxmox VE ISO from the official Proxmox website.
- Write the ISO to a USB stick with a tool like balenaEtcher or Ventoy.
- Check in the BIOS that virtualization (VT-x or AMD-V) is turned on, then boot from the stick.
- Follow the installer: choose the target disk, set a password and email, and assign a fixed IP address from your home network, for example
192.168.1.10. - After the reboot, open
https://192.168.1.10:8006in your browser and log in asroot.
The certificate warning in your browser on first visit is normal, because Proxmox starts out with a self-signed certificate. Without a subscription, click your node on the left in the web interface, then Updates > Repositories. Select the entry with pve-enterprise and click Disable. If the list also shows a Ceph repository marked enterprise, disable it the same way, or apt update stops with an error. Then use Add to choose the free No-Subscription repository. Then bring the system up to date from the shell:
# fetch package lists and install all updates
apt update
apt full-upgrade

# show the installed Proxmox version
pveversion
Step 3: Set up your first services in a sensible order
Now comes the fun part. My tip: don’t install everything at once. Take on one service at a time, let it run for a few days and understand it before you add the next one. This order works well for beginners:
- Pi-hole: A DNS server with an ad filter. DNS is the phone book of the internet. It translates names like
example.cominto IP addresses. Pi-hole answers these requests for your whole network and sends ad domains into the void. Small, easy to understand and you notice the difference right away. I show you how to set it up in Set up Pi-hole in a Proxmox LXC. - Vaultwarden: Your own password manager. It matters a lot, but it’s also sensitive, so only set it up once you have backups under control (see step 5). You’ll find the guide in Self-host Vaultwarden.
- Paperless-ngx: Turns your pile of paper into a searchable archive. You can even let an AI sort your documents automatically, which is how mine runs. Find out how in Paperless with AI.
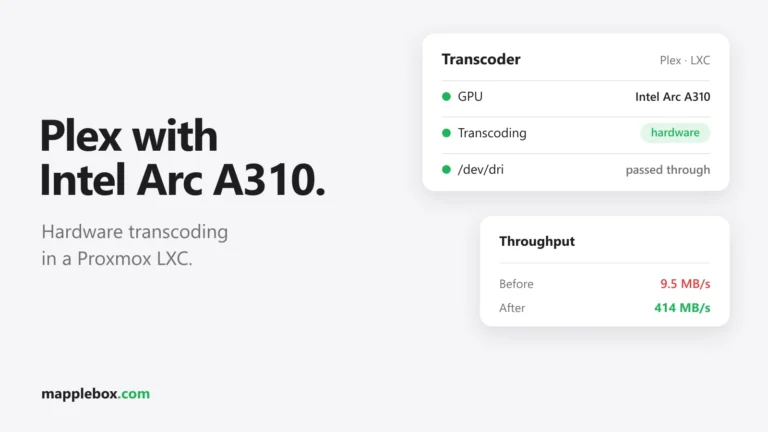
- Plex: Your own Netflix for your own media library. With a suitable graphics unit, Plex converts videos smoothly for any device. How to do that with an Intel Arc A310 is covered in Plex with an Arc A310.
- Home Assistant: The hub for your smart home. It’s best to run it as its own VM, because Home Assistant OS is easiest to maintain that way. That’s how I run it too. Mostly worth it if you already have smart devices at home.
For Plex and Paperless you’ll eventually need storage for movies and documents. At first, a bigger SSD in the server is enough. Later a NAS (network storage box) with its own drives pays off, for example with CMR NAS hard drives*. I use a UniFi UNAS Pro in France and a TrueNAS VM in Berlin.
Step 4: Access your services safely from anywhere
At some point you’ll want to reach your services when you’re away from home. This is where the most dangerous beginner mistakes happen. The number one rule: never forward ports for admin interfaces like Proxmox, Pi-hole or your router to the internet. Automated scanners probe these interfaces all the time.
The easiest safe option is Tailscale. Tailscale builds a private, encrypted network between your devices. You install the app on your phone and laptop, add Tailscale to a container in your homelab, and you can reach your services as if you were at home. No open ports, no firewall tinkering. I even use Tailscale to connect both of my sites through so-called subnet routers, which share the entire home network. More on that in My homelab across two sites.
Here’s how to get Tailscale into an unprivileged LXC. Shut the container down, then on the Proxmox host add these two lines to /etc/pve/lxc/<CTID>.conf so the container may use the network device /dev/net/tun. <CTID> is your container’s number.
lxc.cgroup2.devices.allow: c 10:200 rwm
lxc.mount.entry: /dev/net/tun dev/net/tun none bind,create=file
Start the container again and install Tailscale inside it with curl -fsSL https://tailscale.com/install.sh | sh. Then sign it in with tailscale up, which shows you a login link. The details are in the official Tailscale guide for LXC.
Later, when you want to reach services under nice names, you add a reverse proxy. A reverse proxy takes in all requests in one place and forwards them to the right service, for example paperless.example.com to your Paperless container. Caddy is a good fit because it fetches HTTPS certificates automatically, and it does this job for me. Make sure your internal hostnames are only reachable from your home network or through Tailscale.
If you really have to make a service public, do it only through the reverse proxy and with extra protection. I put CrowdSec in front, which blocks suspicious IP addresses. I show how that works in CrowdSec with Caddy. To start with, though, Tailscale is all you need.
Step 5: Set up backups before it hurts
Something breaks in every homelab eventually. An SSD dies, an update goes wrong or you accidentally delete the wrong container. With passwords and documents, having no backup really hurts.
The well-known rule of thumb is 3-2-1: three copies of your data, on two different media, with one of them in another location. You don’t have to get this perfect from day one. A copy outside the server is a must, though.
Proxmox comes with its own tool for this: vzdump. Under Datacenter > Backup you create a job that regularly backs up all VMs and containers, for example to a NAS or an external drive. Mine runs weekly to the NAS. Make sure to test a restore at least once, because only then do you know your backup actually works.
First, Proxmox needs to know the target as a storage. For an NFS share on your NAS, go to Datacenter > Storage > Add > NFS, enter an ID such as nas-backup, put the NAS’s IP under Server, pick the share under Export and select backups under Content. For a Windows or Samba share, choose SMB/CIFS instead. On the shell, the same thing looks like this:
# add an NFS share from your NAS as backup storage (adjust the values)
pvesm add nfs nas-backup --server 192.168.1.x --export /path/to/share --content backup
After that you can also start a backup by hand:
# manual backup of the container with ID 101 to the storage "nas-backup"
vzdump 101 --storage nas-backup --mode snapshot --compress zstd
Step 6: Set up monitoring so you notice outages
As soon as other people in your household use your services, you want to know about an outage before they do. Simple monitoring is enough for that. Uptime Kuma is a good fit. It regularly checks whether your services are reachable. Pair it with ntfy, which sends a push notification to your phone when something goes down. That’s how I run it. You can set up both in a small container in a few minutes. Find out how in Uptime Kuma and ntfy.
Common beginner mistakes and how to avoid them
- Underestimating heat: If the CPU keeps boosting its clock speed, a mini PC gets hot fast. One of my mini PCs ran far too hot all the time because of this. The fix is a different CPU governor (the setting that controls how the CPU scales its speed). The details are in Mini PC too hot.
- Too little RAM: Every new service wants “just a little” memory, and at some point the host is full. That happened to me too. Plan for headroom or buy a device you can upgrade.
- No backups: Putting backups off until later is tempting, and that’s what I did at first. Usually you only notice they’re missing when something is gone. Set up the backup job right after installing.
- Services exposed to the internet: A quick port forward is tempting. Use Tailscale instead and only open what really has to be public, secured behind a reverse proxy.
- Everything in one container: One service per LXC makes updates, backups and later moves much easier. I explain how to move containers between hosts in Migrate a Proxmox LXC.
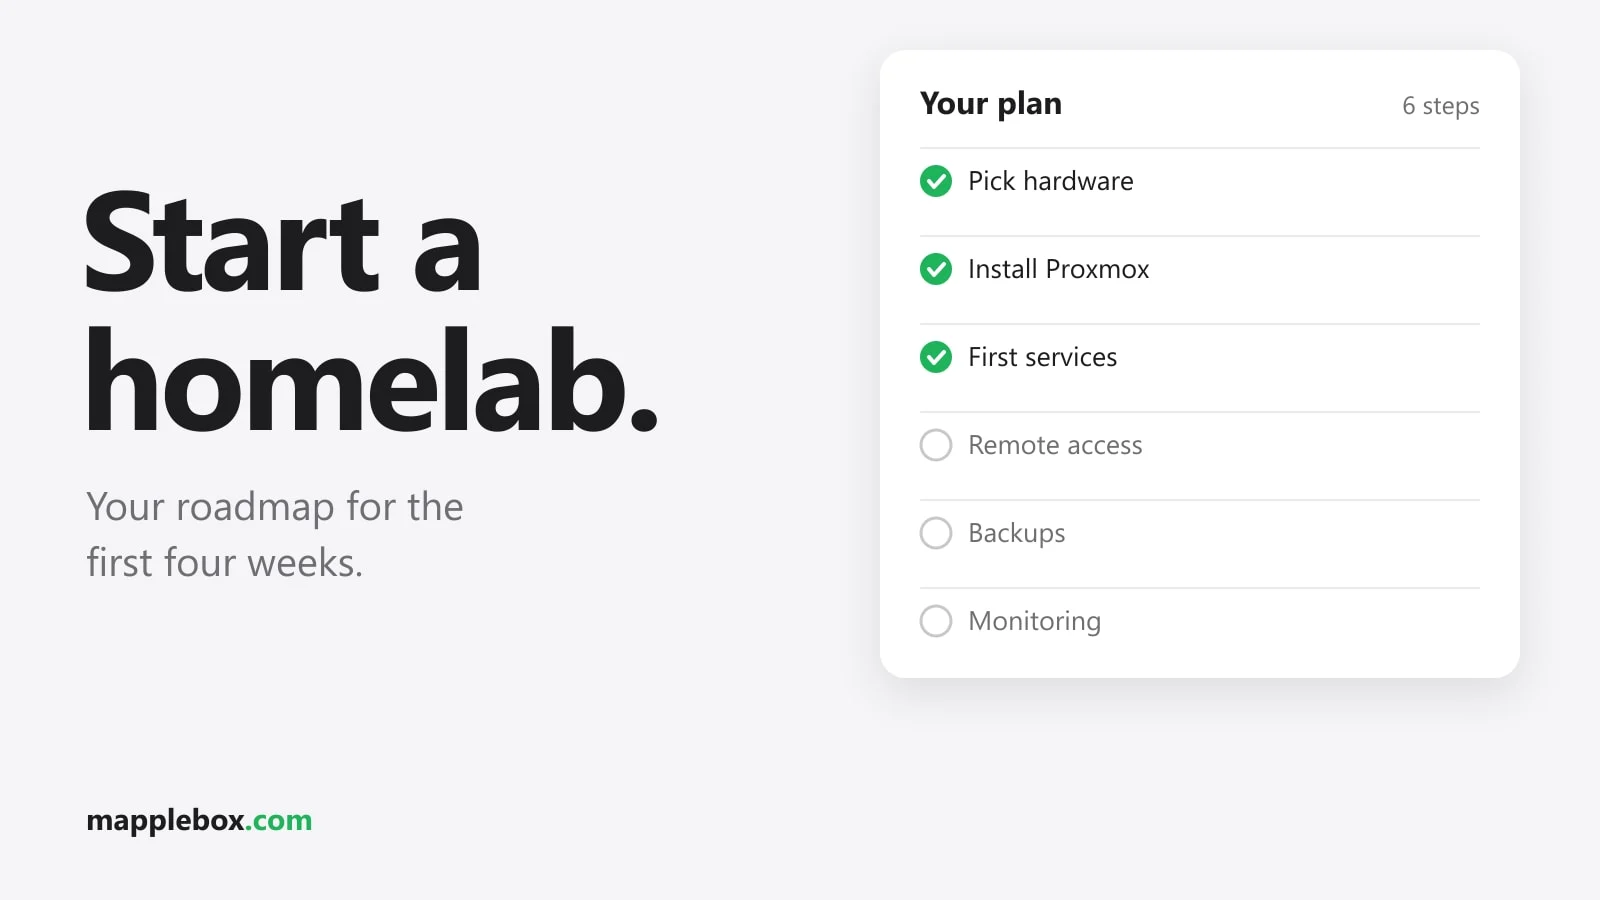
Your roadmap for the first four weeks
To keep track, you can split the first four weeks like this. Take more time if you need it.
| Week | Goal | What you can do afterwards |
|---|---|---|
| Week 1 | Set up the hardware, install Proxmox, apply updates | Use the web interface, create your first LXC and delete it again |
| Week 2 | Set up Pi-hole, create a backup job with vzdump, test a restore | Run and back up services on your home network |
| Week 3 | Set up Tailscale, install Vaultwarden or Paperless | Access everything safely from anywhere, self-host your first important data |
| Week 4 | Set up Uptime Kuma and ntfy, try your next service like Plex or Home Assistant | Notice outages and grow your homelab step by step |
Once that’s running, you can tackle topics like a reverse proxy, a NAS or a second server. At some point I even added Claude as an assistant that I use to query Proxmox through chat. You can read how to set that up safely in Claude in your homelab.
Wrapping up
Starting a homelab is easier than it looks from the outside. You don’t need expensive equipment. What you need is patience and a sensible order: hardware, Proxmox, a first small service, then backups, safe remote access and monitoring. Everything else grows over time, just like mine did. For almost every step you’ll find a detailed guide here on the site, based on my own setup.
Just started your first homelab or stuck on a step? Tell me in the comments which hardware you’re starting with and which service you want to run first.
* Affiliate link: As an Amazon Associate I earn from qualifying purchases. It costs you nothing extra. More info
Did this guide help you? You can buy me a coffee on Ko-fi. It keeps MappleBox ad-free.