MCP in the Homelab: Connect Claude to Your Servers Safely
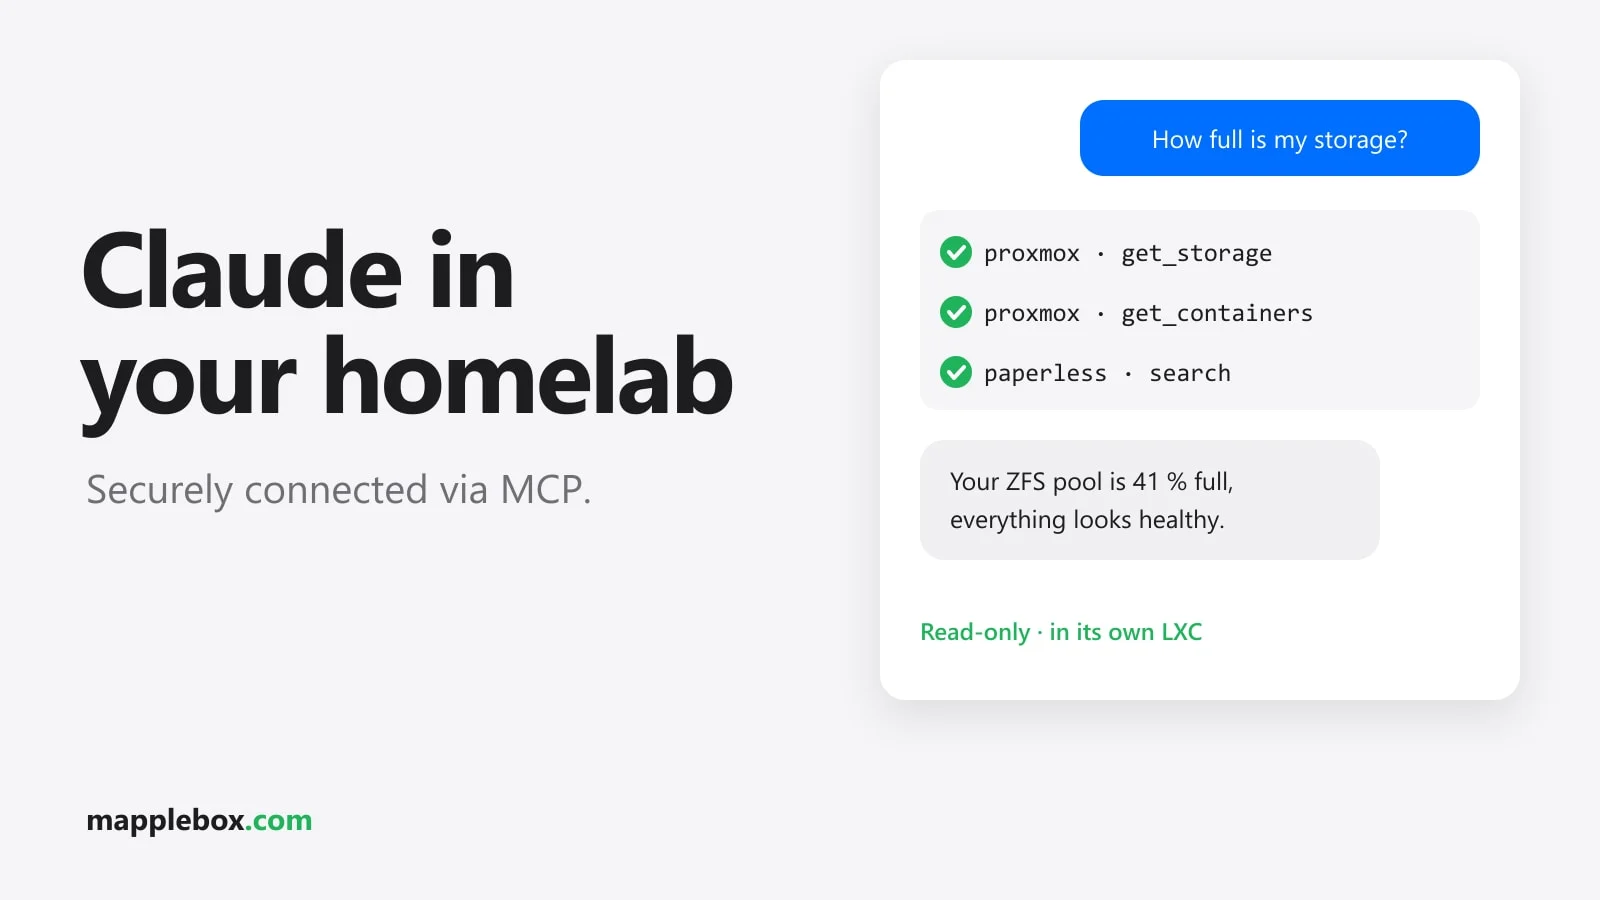
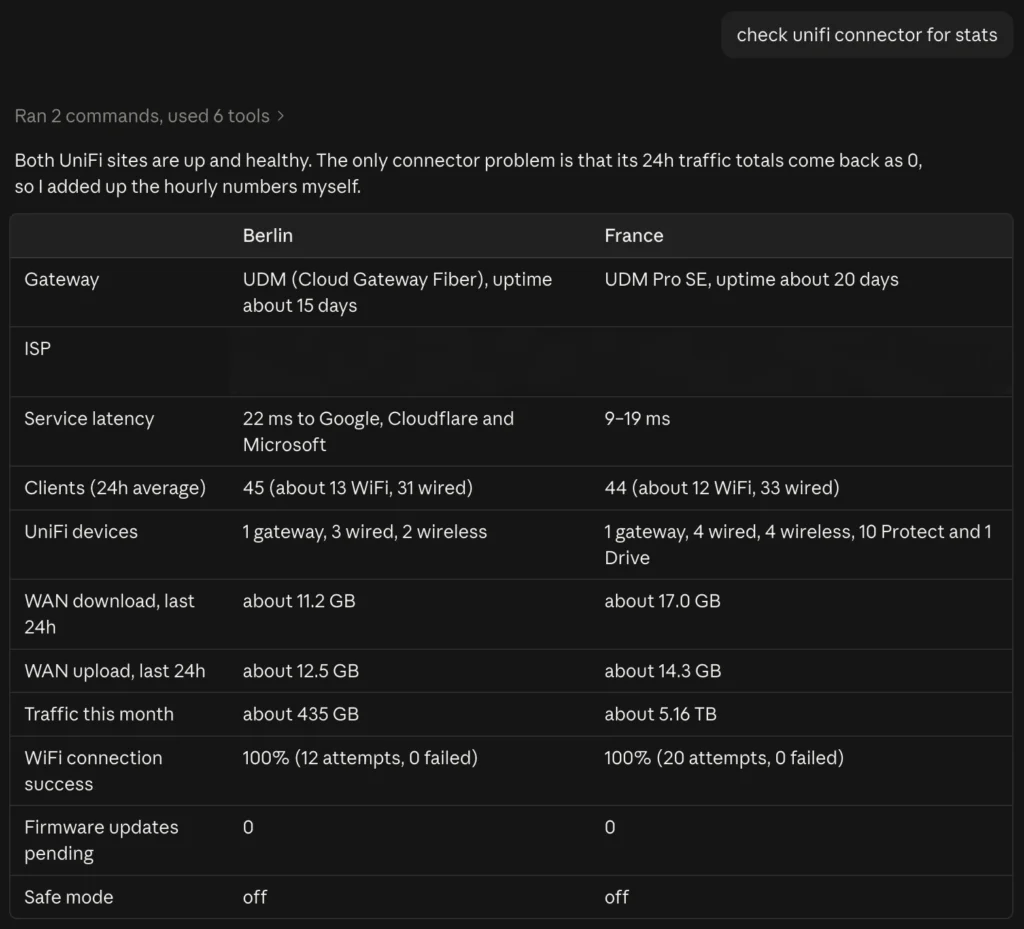
With MCP servers (Model Context Protocol), Claude can look at containers on Proxmox, read your calendar, check your UniFi network and find documents in Paperless. Each MCP server is a small service that wraps an API so an AI assistant can use it as a tool. That’s handy, but an MCP server with Proxmox access is basically an admin login with an HTTP interface. So this guide is mostly about how to secure servers like that. I’ve been running this setup for a few weeks.
Quick summary
- You run MCP servers for Proxmox, your calendar, UniFi and so on yourself, and connect them to Claude Code or the Claude app.
- Each server gets its own LXC (a Linux container on Proxmox), sits behind Caddy as a reverse proxy, and is protected by a bearer token (a secret key in the HTTP header) and a firewall.
- Servers the Claude app needs to reach from the internet also get OAuth and an IP filter limited to Anthropic’s address range.
- You need Proxmox, basic Docker and iptables knowledge, a Caddy server, and your own domain for the public part.
Examples: MCP servers you can connect
- Proxmox, to manage VMs and containers, for example with ProxmoxMCP-Plus. This server can speak MCP directly over Streamable HTTP at
/mcpand requires a bearer key (MCP_API_KEY) on its own. Give it a Proxmox API token that only has the permissions you really need. - iCloud Calendar over CalDAV with
caldav-mcp. Out of the box this server only speaks stdio. Withsupergatewayin front of it, it becomes reachable over HTTP. - UniFi Network with
sirkirby/unifi-network-mcp(now part of thesirkirby/unifi-mcprepo), which I use for both sites. Set the permission mode to “confirm” so you have to approve changes. I turned off deleting policies completely. According to the README, this server’s HTTP mode has no authentication, so it absolutely belongs behind a proxy with a token. - WHOOP for fitness data. There are several community servers for this. Mine has OAuth built in.
- Paperless for documents. Here too there are several community servers, for example baruchiro/paperless-mcp, that work with a Paperless API token.
Step 1: Give every MCP server its own LXC
Give each MCP server its own small, unprivileged LXC on Proxmox and run Docker inside it. That’s a bit more overhead, but the credentials stay separate per service. If the calendar container gets compromised, for example, there’s no Proxmox token and no UniFi password in it.
For Docker to run in an unprivileged LXC, the container needs the nesting and keyctl features. Set them on the Proxmox host (or in the web interface under Options → Features) and restart the LXC afterwards. <vmid> is your container’s ID:
pct set <vmid> --features nesting=1,keyctl=1
pct reboot <vmid>
For the calendar, the container then looks like this, for example: supergateway starts caldav-mcp over stdio and exposes it over HTTP. By default, supergateway serves SSE for stdio servers. With --outputTransport streamableHttp you get Streamable HTTP instead, and the endpoint is /mcp on port 8000:
docker run -d --name caldav-mcp --restart unless-stopped \
  -p 8000:8000 \
  -e CALDAV_BASE_URL=https://caldav.icloud.com \
  -e CALDAV_USERNAME=<your-apple-id> \
  -e CALDAV_PASSWORD=<app-specific-password> \
  supercorp/supergateway \
  --stdio "npx -y caldav-mcp" \
  --outputTransport streamableHttp \
  --port 8000
Don’t type the credentials into the chat. Set them with the script from step 5 instead.
Step 2: Internal access through Caddy with a bearer token
For Claude Code on your computer, internal access is enough. Put the MCP servers behind your Caddy and make them reachable only from the LAN or over Tailscale. On top of that, have Caddy check a bearer token. If the Authorization header is missing or wrong, the request gets a 401:
mcp-proxmox.int.example.com {
	@extern not remote_ip 192.168.1.0/24 100.64.0.0/10
	respond @extern 403

	@noauth not header Authorization "Bearer YOUR-LONG-TOKEN"
	respond @noauth 401

	reverse_proxy 192.168.1.50:8000
}
100.64.0.0/10 is Tailscale’s address range. Adjust the LAN subnet to match your network. The IP and port after reverse_proxy are your MCP server’s. For supergateway and ProxmoxMCP-Plus the default is port 8000. You can generate a long random token with openssl rand -hex 32, for example.
Start ProxmoxMCP-Plus in Streamable HTTP mode and give it the same token as MCP_API_KEY that’s in the Caddyfile. Caddy passes the Authorization header through to the server, which checks it a second time. Here are the matching variables for the .env or the docker run:
MCP_TRANSPORT=STREAMABLE_HTTP
MCP_PORT=8000
MCP_API_KEY=YOUR-LONG-TOKEN
An internal hostname like mcp-proxmox.int.example.com can’t be reached from the internet, so Let’s Encrypt’s normal HTTP challenge doesn’t work for it. You have two options. Either you get the certificate through the DNS challenge, which needs a Caddy build with your DNS provider’s module (the caddy-dns project). Or you add tls internal to the block, and Caddy issues a certificate from its own local CA (certificate authority). In that case your computer has to trust that CA. The root certificate is in Caddy’s data folder under pki/authorities/local/root.crt, which for the Debian package means /var/lib/caddy/.local/share/caddy/pki/authorities/local/root.crt. Copy it to your computer. Claude Code only reads your operating system’s certificate store if you installed it with the native installer, or if you use Node 22.15 or newer with an npm install. Otherwise, point it to the root CA with NODE_EXTRA_CA_CERTS=/path/to/root.crt (see the network configuration docs).
Then add the server in Claude Code with the token in the header. With --scope user it’s available in all your projects:
claude mcp add --transport http --scope user proxmox \
  https://mcp-proxmox.int.example.com/mcp \
  --header "Authorization: Bearer YOUR-LONG-TOKEN"
The “Added …” message only means the configuration was saved. Whether the token is right only shows up with claude mcp list or with /mcp in a running session.
Step 3: A firewall in the LXC so only Caddy gets in
The token in Caddy doesn’t help if someone on the LAN goes straight to the container’s port. So use an iptables rule in the LXC to block everything that doesn’t come from the Caddy container’s IP. Docker ports bypass the normal INPUT chain, so the rule belongs in the DOCKER-USER chain:
iptables -I DOCKER-USER -i eth0 -p tcp -m multiport --dports 8000 ! -s <caddy-ip> -j DROPDon’t forget the -i eth0. Leaving it out cost me an evening. Without it, the rule also drops traffic between containers inside Docker. Caddy then gets a 502 with “i/o timeout” even though the MCP server is running. With -i eth0, the rule only applies to packets coming into the LXC from outside. If the container publishes several ports, say 8080 for mcp-auth-proxy from step 4 as well, list all of them in --dports, for example --dports 8000,8080.
According to the Docker docs, packets only reach DOCKER-USER after DNAT, meaning after Docker has rewritten the host port to the container IP and container port. So --dports compares against the port inside the container. As long as host and container port are the same (-p 8000:8000), that doesn’t matter. If you map them differently, say -p 8001:8000, and want to filter by the host port, use the conntrack module. It only takes one port or one range per rule, so for several ports you create several rules:
iptables -I DOCKER-USER -i eth0 -p tcp -m conntrack --ctorigdstport 8001 ! -s <caddy-ip> -j DROPRules you set with iptables are gone after a reboot. On Debian and Ubuntu you save them with iptables-persistent, and the package restores them at boot:
apt install iptables-persistent
netfilter-persistent save
The saved file /etc/iptables/rules.v4 also contains the rules Docker creates itself. So after the first reboot, check with iptables -L DOCKER-USER -n -v --line-numbers that your rule appears in the chain exactly once.
An unprivileged LXC shares the Proxmox host’s kernel and can’t load kernel modules itself. If iptables stops with a hint about a missing kernel module (missing kernel module), load the module on the Proxmox host, for example with modprobe xt_multiport or modprobe xt_conntrack, and add its name to a file under /etc/modules-load.d/ so it’s still there after a reboot. If it doesn’t work inside the container at all, you can set the same rule in the Proxmox firewall at the container level instead: allow port 8000 only from the Caddy container’s IP and turn on the firewall for that container.
Step 4: Public connectors for the Claude app
If you want to use services like your calendar or WHOOP in the Claude app on your phone or in the browser too, those servers have to be reachable from the internet. The requests then come from Anthropic’s servers. According to Anthropic this applies to all Claude clients, including desktop and the mobile apps. Put two layers in front:
- OAuth 2.1. For the calendar,
mcp-auth-proxyhandles this for me, and the WHOOP server already has OAuth built in. mcp-auth-proxy sits in front of an existing HTTP server or starts a stdio server itself, and offers login with a password, Google, GitHub or another OIDC provider. You’ll find all flags in the docs. - An IP filter in Caddy. Requests to
/mcpare only let through from the outbound IP range that Anthropic publishes on its IP addresses docs page (160.79.104.0/21). The login pages stay public but are password protected, because you have to sign in yourself in the browser.
calendar.example.com {
	@blocked {
		path /mcp*
		not remote_ip 160.79.104.0/21
	}
	respond @blocked 403

	reverse_proxy 192.168.1.51:8080
}
Behind Caddy, mcp-auth-proxy runs without its own TLS on port 8080 and starts caldav-mcp over stdio itself, so you don’t need supergateway here. Set the CALDAV_* variables from step 1 in the environment you start the proxy from. --external-url is the public address you enter for the server in Claude, and --trusted-proxies takes your Caddy’s IP:
./mcp-auth-proxy \
  --listen :8080 \
  --no-auto-tls \
  --external-url https://calendar.example.com \
  --trusted-proxies <caddy-ip> \
  --password <your-password> \
  -- npx -y caldav-mcp
That’s why the Caddy block above points to port 8080 of the calendar container. Before you copy it, check Anthropic’s IP addresses page to see whether the range is still current.
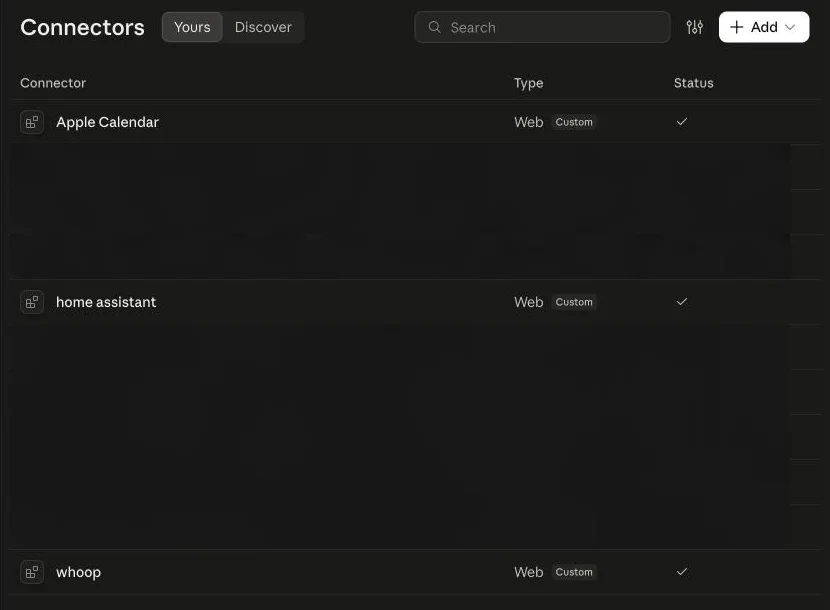
You create the connector itself in Claude under Customize → Connectors. Here’s how you can do it if you have a Pro or Max plan:
- Click “+ Add” and then “Add custom connector”.
- Enter a name, paste your server’s URL, for example
https://calendar.example.com/mcp, and click “Continue”. - Claude shows you the auth settings it detected. Confirm them with a second click on “Continue”.
- Claude usually detects the sign-in method on its own. For servers with OAuth, keep the suggested settings and choose “Sign in now” under Authentication.
- Click “Add” and sign in in the browser window that opens.
According to Anthropic’s help page, custom connectors are available on the Free, Pro, Max, Team and Enterprise plans, with exactly one connector on the Free plan. On Team and Enterprise, an owner has to add the connector for the organization first, and then each member connects on their own with “Connect”. The menus change now and then, so when in doubt, the help page wins.
Expect the internet to find new hostnames very quickly. For me, the first scanners showed up in the logs a few minutes after the certificates were issued. I’ve been running CrowdSec ever since, and how to set it up is in a separate article.
Step 5: Credentials never go into the chat
During setup it’s tempting to just give Claude the API key so it can write the config. Don’t. Instead, put a small script in each container that you run yourself in the shell. The example below asks for each value without showing it, trims spaces at the start and end, and asks again if the value is empty or shorter than the minimum length. Then it writes the value to a .env file that only you can read, and prints only its length, never the value itself. That way you can show Claude the output without a secret ending up in the history. Save it as set-secrets.sh, for example, and run it with bash (bash set-secrets.sh), because read -s and the string operations don’t work in plain sh.
#!/usr/bin/env bash

ask() {
  local prompt="$1" min="${2:-1}" val=""
  while :; do
    read -rsp "$prompt: " val; echo >&2
    val="${val#"${val%%[![:space:]]*}"}"
    val="${val%"${val##*[![:space:]]}"}"
    [ "${#val}" -ge "$min" ] && break
    echo "Too short, at least $min characters. Try again." >&2
  done
  printf '%s' "$val"
}

TOKEN="$(ask 'API Token' 20)"

umask 077
printf 'API_TOKEN=%s\n' "$TOKEN" > .env
echo "API Token: ${#TOKEN} characters"
Load the .env in your docker-compose.yml with env_file. My own script also tests the values directly against the API where that’s possible. What such a test looks like depends on the service, so it’s left out of the example.
Check that it works
- Without a token, Caddy has to refuse:
curl -i https://mcp-proxmox.int.example.com/mcpreturns 401, and 403 from an outside network. If you usetls internal, add--cacert root.crtto every curl check, using the root certificate from step 2. - With the token, you should no longer get a 401:
curl -i -H "Authorization: Bearer YOUR-LONG-TOKEN" https://mcp-proxmox.int.example.com/mcp. - Direct access to the container port from another computer on the LAN, like
curl -m 5 http://192.168.1.50:8000/mcp, times out. That means the firewall rule is working. claude mcp listshows the server as “Connected”. If it says “Failed to connect”,claude mcp get proxmoxshows you why, for example a 401 because of a wrong token.- In the Claude app, the custom connector shows as connected under Customize → Connectors. In a chat, ask something only the connector can answer, like your appointments for tomorrow.
Common problems and fixes
Caddyfile set to 600, reload broken
Since the Caddyfile now contains tokens, it’s tempting to make it root-only (600). I did that, and then the reload failed, because Caddy runs as its own user and can no longer read the file. Set owner root, group caddy and permissions 640 instead:
chown root:caddy /etc/caddy/Caddyfile
chmod 640 /etc/caddy/Caddyfile
systemctl reload caddy
The calendar server crashes
My first attempt was dav-mcp. It tried to speak CardDAV on the CalDAV URL too and crashed. With iCloud, contacts live on a different host than calendars, so that can’t work. For iCloud calendars, use caldav-mcp instead. It runs reliably for me.
iCloud and Advanced Data Protection
For CalDAV with iCloud you need an app-specific password. Your normal Apple password won’t work. If you have Advanced Data Protection turned on, like I do, the CalDAV calendars keep working. iCloud Reminders, on the other hand, can’t be reached this way.
Have you already connected Claude or another assistant to your homelab? Tell me in the comments how you secure it.
Did this guide help you? You can buy me a coffee on Ko-fi. It keeps MappleBox ad-free.