Self-Host Vaultwarden on Proxmox: Password Manager in an LXC
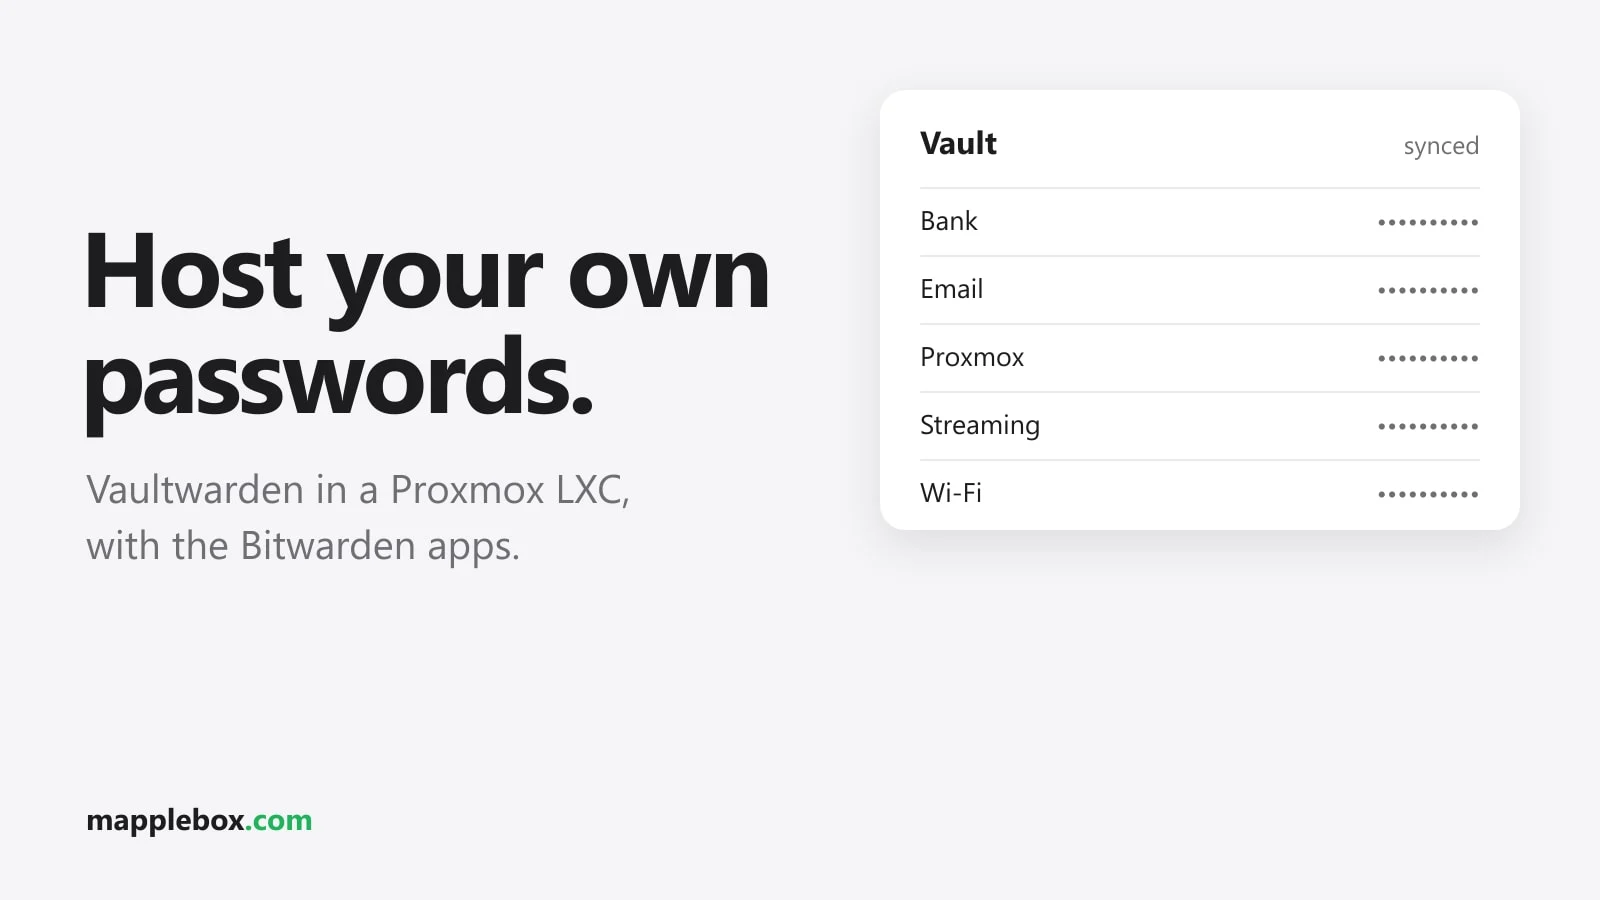
Want your passwords on your own server while still using the familiar Bitwarden apps on your phone, browser and computer? In this guide you set up Vaultwarden in an LXC (a lightweight Linux container) on Proxmox, make it reachable over HTTPS through a Caddy reverse proxy, and configure the settings and backups that really matter. I’ve been running exactly this setup for over a year.
Why self-host a password manager?
The biggest reason is that you know where your data lives. On top of that, Vaultwarden includes features like organizations, shared collections and TOTP codes (the six-digit two-factor codes) without a subscription. That’s handy for a family or a small team.
Self-hosting also comes with risks you should know about:
- If your server dies and you have no backup, all your passwords are gone. The apps do keep a local encrypted copy, but you shouldn’t rely on it.
- Updates and security are your job. Nobody patches anything for you.
- If the server is reachable from the internet, it’s a target. The data in your vault is encrypted on the client with your master password, but a weak master password won’t protect you much.
What is Vaultwarden?
Vaultwarden is a lightweight server implementation of the Bitwarden API, written in Rust. It isn’t an official Bitwarden project, yet the official Bitwarden clients work with it: browser extension, desktop app, iOS, Android and CLI. You only change the server URL in the app. For home use, SQLite is enough as the database, which is why Vaultwarden needs hardly any resources.
What you need
You need a Proxmox host, a reverse proxy with a valid certificate, and somewhere to store backups. The table shows what that looks like for me. My Vaultwarden runs on the Proxmox host at my location in France. I described how my two locations fit together in My homelab across two locations.
| Component | My setup |
|---|---|
| Container | Unprivileged LXC, Debian 12, created with the community script |
| Installation | Native binary in /opt/vaultwarden, running as a systemd service |
| Version | Vaultwarden 1.37.4 |
| Database | SQLite in /opt/vaultwarden/data |
| Port | 8000 with a self-signed certificate |
| Reverse proxy | Caddy in its own LXC, gets Let’s Encrypt certificates via DNS challenge |
| Backup | Weekly vzdump of all guests to my NAS |
Step 1: Create the LXC with the community script
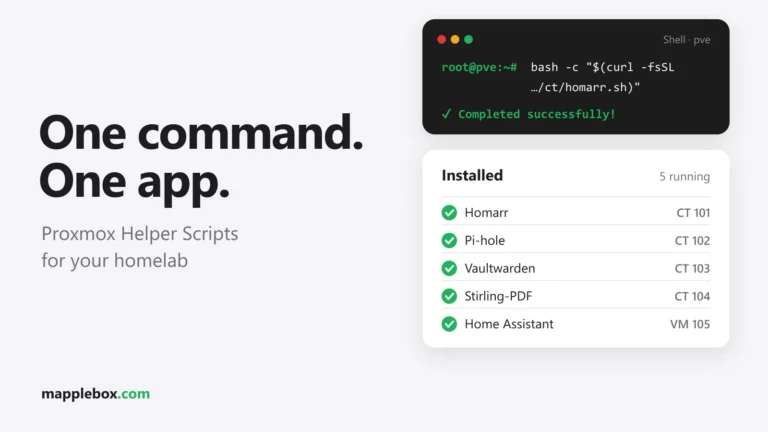
The fastest way to install Vaultwarden is with the community Proxmox VE Helper-Scripts. The script creates a Debian LXC, builds Vaultwarden and the web vault, and sets up a systemd service. Run it in the Proxmox shell of your host:
bash -c "$(curl -fsSL https://raw.githubusercontent.com/community-scripts/ProxmoxVE/main/ct/vaultwarden.sh)"Before you run someone else’s script as root, it’s worth a look at the code on GitHub. If the script asks which container OS you want, pick Debian, because the paths in this guide are for the Debian version. In the dialog you choose CPU, RAM, disk and network. After that the service runs inside the container, and you can check it like this:
systemctl status vaultwarden
/opt/vaultwarden/bin/vaultwarden --version
The configuration lives in /opt/vaultwarden/.env, and the systemd service reads it via EnvironmentFile. The data (database, attachments, icon cache and the RSA key) lives in /opt/vaultwarden/data. Give the LXC a fixed IP, either with a DHCP reservation or a static address, or your reverse proxy will eventually point at nothing.
Step 2: Set up HTTPS with Caddy
The Bitwarden clients and the web vault need HTTPS, because encryption in the browser runs through the Web Crypto API, which is only available in a secure context. The community script sets up Vaultwarden with a self-signed certificate on port 8000. So let Caddy talk to the container over HTTPS and skip certificate checks on that internal hop. To the outside, Caddy serves a valid Let’s Encrypt certificate.
(hsts) {
	header Strict-Transport-Security "max-age=63072000"
}

(insecure_upstream) {
	transport http {
		tls_insecure_skip_verify
	}
}

vault.example.com {
	import hsts
	reverse_proxy https://192.168.1.x:8000 {
		import insecure_upstream
	}
}
tls_insecure_skip_verify is acceptable as long as the connection only crosses your LAN. You don’t need extra configuration for websockets (used for live sync). Since version 1.29, notifications run over the same port, and Caddy passes websocket connections through automatically. To let Vaultwarden see the real client IP, also add IP_HEADER=X-Forwarded-For to the .env.
If your Vaultwarden is publicly reachable, a filter for scanners and brute-force attempts is worth it. On my setup, CrowdSec handles that on the proxy. I explain how that’s built in CrowdSec with Caddy.
Step 3: Configure the important settings
You reach the admin area at https://vault.example.com/admin. Access is protected by the ADMIN_TOKEN. Store it as an Argon2 hash so it never sits on disk in plain text. Vaultwarden has its own command for that:
/opt/vaultwarden/bin/vaultwarden hashPut the resulting string into the .env in single quotes, so the $ characters aren’t read as variables:
ADMIN_TOKEN='$argon2id$v=19$m=65540,t=3,p=4$YOUR-HASH'
DOMAIN=https://vault.example.com
SIGNUPS_ALLOWED=false
Watch out for one pitfall here. As soon as you click Save in the admin panel, Vaultwarden writes a config.json into the data folder. Values in that file take priority over the .env. If a change in the .env seems to be ignored, this is almost always why. It’s best to pick one way and stick with it.
Go through these items in the admin panel:
- Set Domain URL to the real HTTPS address. Links in emails and some features like WebAuthn (passkeys and hardware keys) depend on it.
- Turn off Allow new signups as soon as your own account exists. After that, you add other people by invitation.
- Set up SMTP (outgoing email). I use my hosting provider’s mailbox with STARTTLS on port 587. Without SMTP, invitations and emergency access only work in a limited way.
- Turn on two-factor for your own account, ideally with an authenticator app or a hardware key.
Step 4: Back up your data properly
This is the most important part. The foundation is a Proxmox backup job that backs up the Vaultwarden LXC regularly. Mine runs every Sunday at 3 a.m. for all guests at that location, in snapshot mode with zstd compression. It writes to my NAS and keeps the last four backups. Before updates, I also take a Proxmox snapshot.
For a password manager, that isn’t enough in the long run. Weekly means up to seven days of lost entries in the worst case, and my NAS and server sit in the same house. My recommendation, which I still plan to set up myself, is to also make a consistent daily backup of the SQLite database and copy it, encrypted, to a second location. With the sqlite3 package, the database part works like this:
sqlite3 /opt/vaultwarden/data/db.sqlite3 ".backup '/root/vw-backup/db-$(date +%F).sqlite3'"Don’t just copy the db.sqlite3 file while Vaultwarden is running, because in WAL mode some changes may still be sitting in db.sqlite3-wal. Besides the database, your backup should include rsa_key.pem, the attachments folder (if it exists) and the config.json. Also make a regular export from the web vault as an encrypted JSON file. In an emergency, you can import it into any Bitwarden-compatible instance.
Step 5: Connect the apps and browser extension
Install the official Bitwarden app or extension. On the login screen, pick “Self-hosted” under region or server, and enter https://vault.example.com as the server URL. Then sign in with your email and master password as usual. To check live sync, change an entry in the web vault. If it shows up in the extension shortly after, websockets are working too.
Updates and common problems
The community script adds an update command inside the container. It downloads the script again and updates Vaultwarden and the web vault. My tip: take a snapshot on the host first. This is how I did my last update from 1.34.3 to 1.37.4 (117 is my container ID, so use yours):
pct snapshot 117 pre-vw-update
pct exec 117 -- update- config.json beats .env: See above.
- Admin token without quotes: The Argon2 hash contains
$characters. In the.envit belongs in single quotes. - Forgot the domain: If it still says
http://localhost, links in invitation emails lead nowhere. - Signups left open: Turn them off right after creating your own account. On my own server they were still open while I was writing this guide, so I closed them right away.
One last thing is monitoring. Vaultwarden has an endpoint at /alive that works well as an HTTP check. I show how to turn checks like that into phone notifications in Uptime Kuma and ntfy.
Wrapping up
Vaultwarden in an LXC needs little maintenance, and mine has been running for over a year. The community script handles the installation, Caddy takes care of HTTPS, and the Bitwarden apps work without limits. The real work is in the details: closing signups, setting the domain correctly, hashing the admin token and, above all, having backups you’ve actually restored at least once. Next on my list is a daily offsite backup of the database.
Did this guide help you? You can buy me a coffee on Ko-fi. It keeps MappleBox ad-free.