Uptime Kuma + ntfy: Homelab Push Alerts Without the Cloud
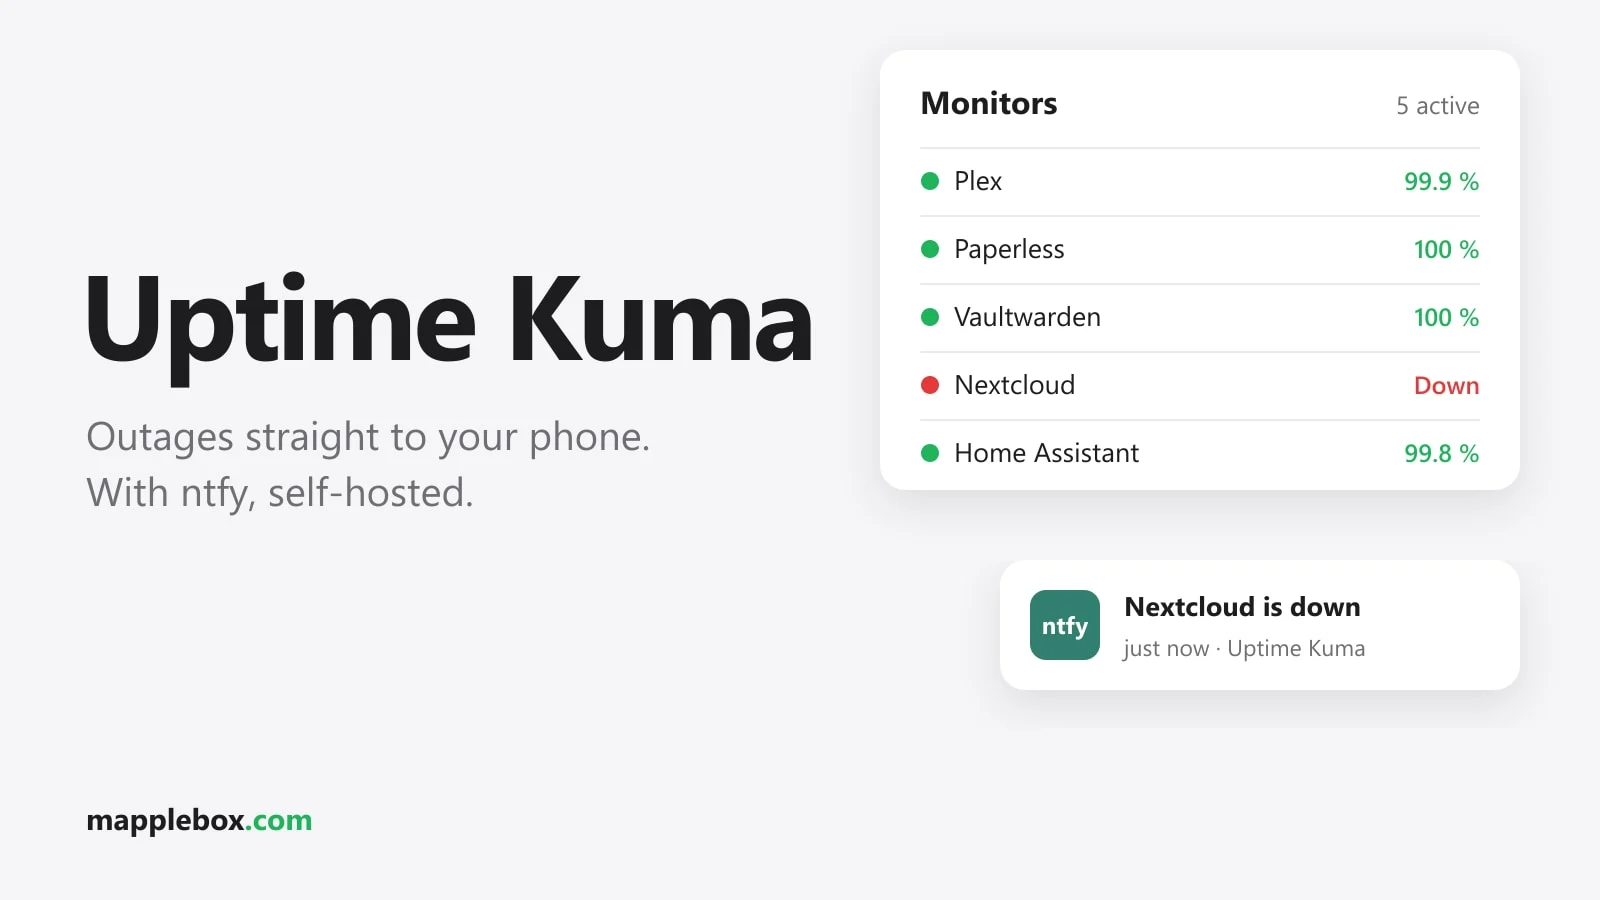
When something in your homelab goes down, you often notice only when the movie won’t start or your family asks why Home Assistant isn’t working. With Uptime Kuma and ntfy, you get a push notification on your phone before that happens, and none of your server data goes to a cloud service. By the end of this guide, Uptime Kuma watches all your services, ntfy sends the alerts, and both run self-hosted and free.
Quick summary
- Uptime Kuma is a monitoring tool with a web interface. It checks at fixed intervals whether your services respond.
- ntfy is a push server. Programs send a message to a topic (a kind of channel), and the ntfy app on your phone shows it as a notification.
- This guide is for anyone who self-hosts a few services at home and wants to know when they fail, without using a cloud service for it.
- You need a Linux host with Docker, basic Docker Compose knowledge, and an address where your phone can reach the ntfy server.
I run this setup across two locations (Berlin and France) with several Proxmox servers. At the end you’ll find the three pitfalls that cost me the most time, so you can skip them.
What you need
- A small Linux container or VM with Docker (1 vCPU and 1 GB of RAM is plenty; mine is a Debian LXC on Proxmox)
- Optional: a reverse proxy (Caddy, Nginx Proxy Manager, Traefik) for HTTPS
- The ntfy app for your phone (iOS and Android, free)
Before you start, sort out one thing. Your phone has to reach the ntfy server even when you’re away from home. There are two ways to do that. Either you have your own domain like ntfy.example.com with a reverse proxy in front of it, or you install Tailscale (a simple VPN) on your phone too and reach the server through the VPN. Without one of these, you only get alerts while your phone is on your home Wi-Fi.
Step 1: Create the Docker Compose file
Create a folder, for example /opt/monitoring, and the subfolders for the data right away. That way they belong to your user and not to the Docker daemon:
mkdir -p /opt/monitoring/ntfy/etc /opt/monitoring/ntfy/cache /opt/monitoring/kuma
cd /opt/monitoring
Then create a docker-compose.yml in /opt/monitoring:
services:
  uptime-kuma:
    image: louislam/uptime-kuma:2
    container_name: uptime-kuma
    restart: unless-stopped
    volumes:
      - ./kuma:/app/data
    ports:
      - "3001:3001"

  ntfy:
    image: binwiederhier/ntfy
    container_name: ntfy
    command: serve
    restart: unless-stopped
    environment:
      TZ: Europe/Berlin   # set your own time zone, e.g. America/New_York
    volumes:
      - ./ntfy/cache:/var/cache/ntfy
      - ./ntfy/etc:/etc/ntfy
    ports:
      - "8080:80"
My tip: use the :2 tag for Uptime Kuma instead of latest, so a major update never lands on you by surprise.
Step 2: Lock down ntfy
Without any configuration, anyone who knows your ntfy address can send to your topics or read along. So put the following into ntfy/etc/server.yml:
base-url: "https://ntfy.example.com"
behind-proxy: true
auth-file: "/var/cache/ntfy/user.db"
auth-default-access: "deny-all"
cache-file: "/var/cache/ntfy/cache.db"
upstream-base-url: "https://ntfy.sh"deny-allblocks everyone who isn’t logged in.behind-proxyis needed when a reverse proxy sits in front. Otherwise ntfy thinks every request comes from the proxy.upstream-base-urlis needed for iPhones. Apple only delivers instant push notifications through its own push service. ntfy.sh passes a short wake-up signal on to Apple, and the content of your message stays on your server. Without this line, alerts on iOS arrive with a long delay. After the wake-up, the iPhone fetches the message directly from your server, so it has to be able to reach it (domain or Tailscale, see above).base-urlis the address your phone uses to reach ntfy. Later, enter exactly this address in the app, or on iOS the push signals won’t match your subscription.
If you don’t have a reverse proxy, set base-url to http://<server-ip>:8080 (or the server’s Tailscale address) and leave out the behind-proxy line:
base-url: "http://<server-ip>:8080"
auth-file: "/var/cache/ntfy/user.db"
auth-default-access: "deny-all"
cache-file: "/var/cache/ntfy/cache.db"
upstream-base-url: "https://ntfy.sh"
Now start the containers and create the users:
docker compose up -d
docker exec -it ntfy ntfy user add --role=admin yourname
docker exec -it ntfy ntfy user add kuma
docker exec -it ntfy ntfy access kuma homelab-alerts write-only
docker exec -it ntfy ntfy token add kuma
For each ntfy user add, ntfy asks for a password and has you repeat it once. The kuma user can now only write to the homelab-alerts topic. Keep the token from the last command (it starts with tk_), because you’ll need it in Uptime Kuma in a moment.
Quick check that ntfy is running and the token works:
curl http://localhost:8080/v1/health
curl -H "Authorization: Bearer <your-token>" -d "Test from the terminal" http://localhost:8080/homelab-alerts
The first command should return {"healthy":true}, the second a JSON line with your message. If you get a 403 instead, the token or the topic permission is wrong.
Step 3: Set up Uptime Kuma
Open http://<server-ip>:3001. On first start, Uptime Kuma 2 asks which database to use. SQLite is plenty for a homelab. After that, you create your admin account.
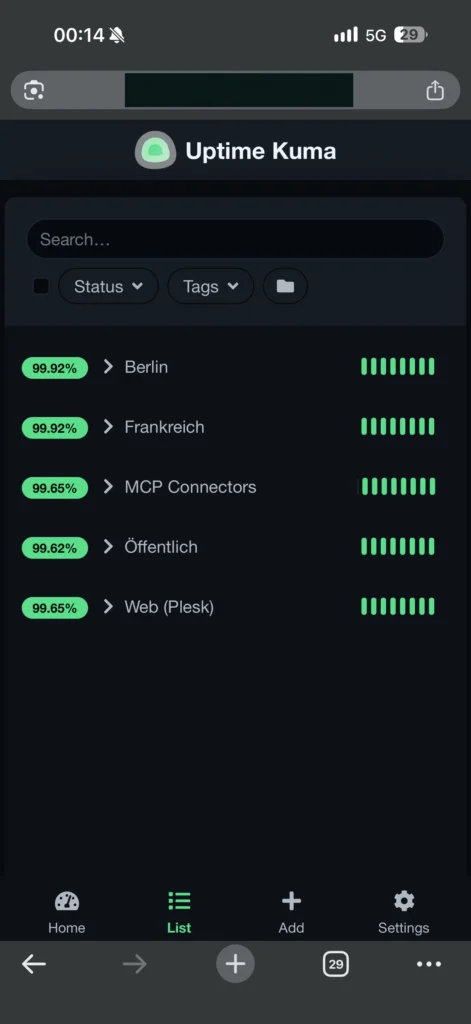
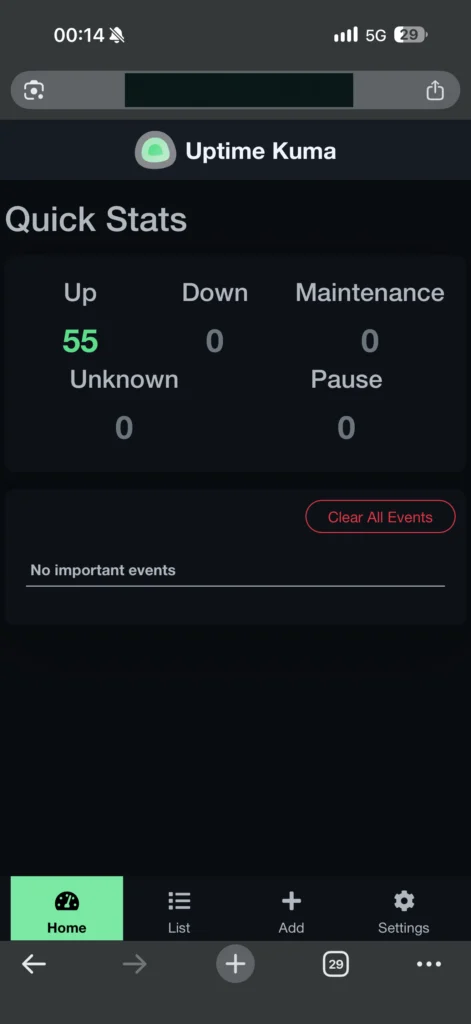
Create the notification under Settings → Notifications → “Set Up Notification” and pick the type “ntfy”:
- Server URL:
http://ntfy. Because Kuma and ntfy run in the same Compose stack, Kuma reaches the ntfy container directly by its service name. If ntfy runs somewhere else, usehttps://ntfy.example.com. - ntfy Topic:
homelab-alerts - Authentication Method: Access Token, plus the token from above
- Check “Default enabled”, so the notification is switched on automatically for every new monitor
Next, add your monitors. These types have worked well in my setup:
| What | Monitor type | Why |
|---|---|---|
| Proxmox hosts | HTTP(s) on port 8006, ignore certificate errors | Server dead or network gone |
| Web services like Plex, Home Assistant and Paperless | HTTP(s) | Service crashed, container stuck |
| Public domains | HTTP(s) with certificate expiry warning | Otherwise visitors are the first to notice an expired certificate |
| Second location | Ping over VPN (Tailscale/WireGuard) | Link between locations down |
Step 4: Connect the app and test
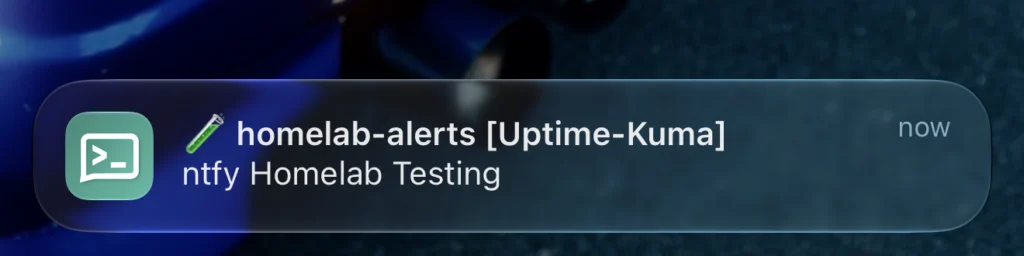
In the ntfy app, tap “+”, enter the topic homelab-alerts, choose “Use another server” with https://ntfy.example.com (exactly your base-url), and log in with your admin user. To check that everything arrives, click “Test” on the notification in Uptime Kuma.
Check that it works
docker compose psshows both containers as “running”.- The Test button in Uptime Kuma triggers a push notification on your phone.
- Turn off Wi-Fi on your phone and test again over mobile data. If the notification still arrives, your phone can reach the server from anywhere.
- Stop one monitored service as a test. After the retries you configured, a Down alert should arrive, and an Up alert once you start it again.
Common problems
1. ntfy returns 502 because Tailscale takes over the route
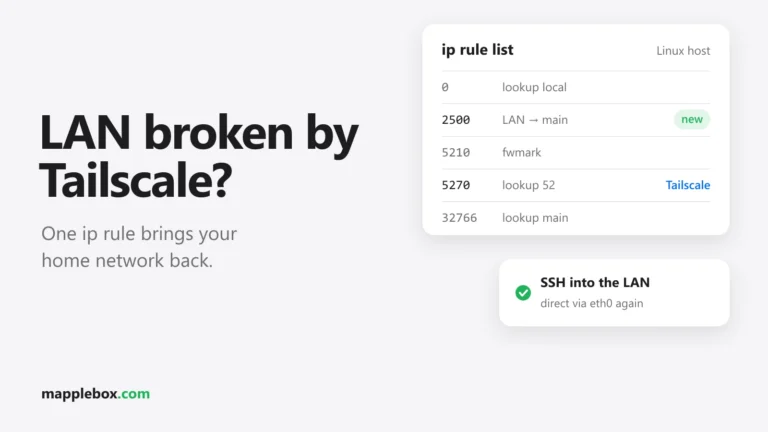
If your monitoring container runs Tailscale with --accept-routes so it can reach your second location, Tailscale may take over a route for your own LAN. Requests from the reverse proxy still arrive, but the replies go out through the tunnel instead of straight back, and the proxy shows 502 Bad Gateway. That’s exactly what happened to me.
The fix is a routing rule that puts your own LAN ahead of the Tailscale table:
ip rule add to 192.168.1.0/24 lookup main priority 2500Change the subnet to match your LAN. To make the rule survive a reboot, put it in a small systemd service that starts after tailscaled. That’s how I run it. Create /etc/systemd/system/lan-route-before-tailscale.service:
[Unit]
Description=Own LAN ahead of the Tailscale routing table
After=tailscaled.service

[Service]
Type=oneshot
RemainAfterExit=yes
ExecStart=/usr/sbin/ip rule add to 192.168.1.0/24 lookup main priority 2500
ExecStop=/usr/sbin/ip rule del to 192.168.1.0/24 lookup main priority 2500

[Install]
WantedBy=multi-user.target
systemctl daemon-reload
systemctl enable --now lan-route-before-tailscale.service
ip rule showThe output of ip rule show should now contain a line with 2500 and your subnet, listed before the rules Tailscale creates itself.
2. Uptime Kuma 2 and automation
If you create monitors with a script, for example with the Python library uptime-kuma-api, Kuma 2 expects a conditions field on every new monitor. Without it, creating the monitor fails. Just send conditions: "[]" along and you’re set. According to its README, the library officially supports only Uptime Kuma up to version 1.23.2 and hasn’t been updated since 2024. Creating monitors worked for me with this workaround, but other functions may fail with Kuma 2.
3. Too many false alarms
At first my phone went off at every short hiccup. Set the retries on all monitors to 2 or 3, and the alert only comes when a service is really gone.
Bonus: Keep an eye on Docker updates with WUD
Once ntfy is running, it can also tell you about updates. Install What’s Up Docker (WUD) on each Docker host in notification-only mode. WUD sends new image versions to a separate ntfy topic and doesn’t update anything by itself, so you decide when an update goes in. That’s how I use it too.
Here’s a minimal docker-compose.yml example for a Docker host. First create a separate ntfy user with write access to the docker-updates topic and generate a token for it, just like you did for Kuma above:
services:
  wud:
    image: getwud/wud
    container_name: wud
    restart: unless-stopped
    volumes:
      - /var/run/docker.sock:/var/run/docker.sock
    ports:
      - "3000:3000"
    environment:
      - WUD_TRIGGER_NTFY_HOMELAB_URL=https://ntfy.example.com
      - WUD_TRIGGER_NTFY_HOMELAB_TOPIC=docker-updates
      - WUD_TRIGGER_NTFY_HOMELAB_AUTH_TOKEN=<your-token>
An ntfy trigger only sends messages and never updates containers. You’ll find all other options, like priority or tags, in the WUD docs for the ntfy trigger.
Wrapping up
Plan for about an hour of setup, and after that it costs nothing. Since then I usually know about outages before anyone asks.
Questions, or a setup of your own that works differently? Let me know in the comments.
Did this guide help you? You can buy me a coffee on Ko-fi. It keeps MappleBox ad-free.