iCloud calendar in Claude: a self-hosted MCP server for Claude Code and the Claude app
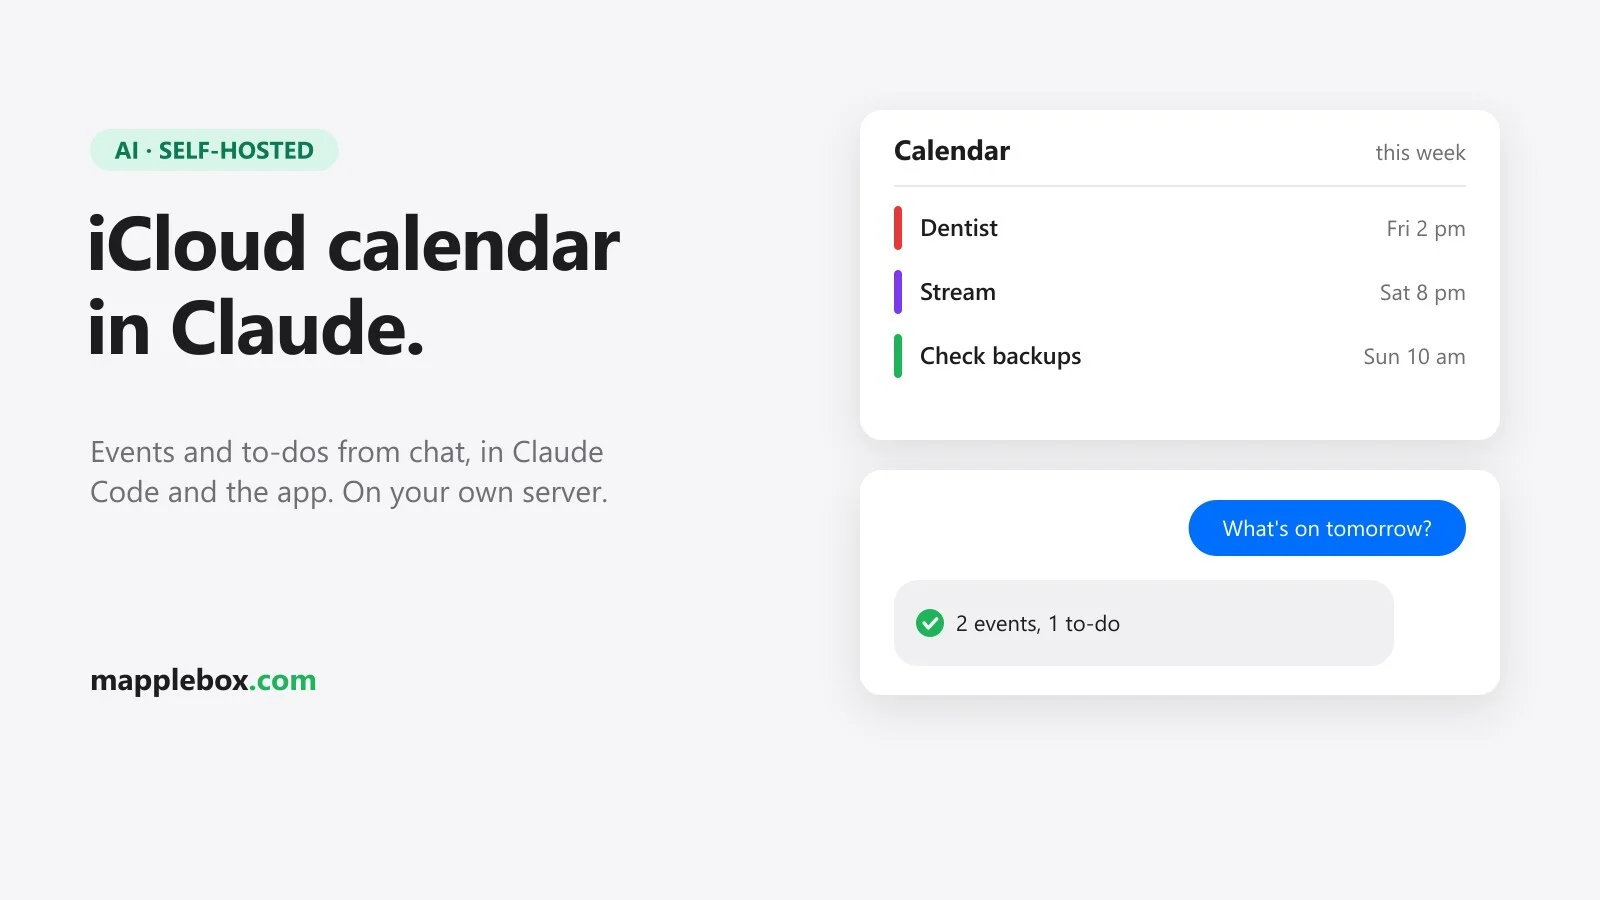
Claude can read your appointments and add new events right in your iCloud calendar. All it takes is an MCP server (Model Context Protocol: a small service that wraps an interface so Claude can use it as a tool). In this guide you’ll learn how to self-host such a server for your Apple calendar and connect it to Claude Code and the Claude app. I run exactly this setup and use it every day: “What’s on tomorrow?” or “Put the dentist in for Friday at 2 pm” ends up straight in the calendar on my iPhone and Mac.
Quick summary
- The server
caldav-mcptalks to iCloud over CalDAV, the standard protocol for calendars. That gives Claude tools likelist-calendars,list-eventsandcreate-event. - To sign in to iCloud you use an Apple app-specific password, never your regular Apple password.
- Everything runs with Docker in a small LXC (a Linux container on Proxmox). Caddy as a reverse proxy in front checks a secret key, and a firewall rule lets only Caddy reach the container.
- Claude Code reaches the server through an internal address. For the Claude app in the browser and on your phone there’s an optional second, public entrance with a login that only Anthropic’s servers may use.
- All files from this guide are in the repo mapplebox/homelab-mcp-stack:
Dockerfile,docker-compose.yml,.env.example,auth.env.exampleandREADME.mdin thecalendar/folder, and the firewall unitmcp-firewall.serviceand Caddy blocksCaddyfile.snippetsin thecommon/folder.
What you need
- A Proxmox server or any other Linux machine with Docker. I show it with Proxmox, the Docker parts work the same everywhere.
- Caddy as a reverse proxy (a web server that accepts requests, handles HTTPS and passes them on to the right service), installed from the Debian package, and your own domain. More background on Caddy and certificates for internal hostnames is in my guide on securing MCP connectors in your homelab.
- An Apple ID with two-factor authentication. Without 2FA you can’t create an app-specific password.
- Claude Code and/or a Claude account for the app. According to Anthropic, custom connectors are available on the Free, Pro and Max plans (exactly one on Free) as well as on Team and Enterprise.
- For the optional public entrance: a real public IPv4 address on your internet connection (more on that in step 8).
- Basic Linux shell skills: creating files with
nanoand running commands as root.
The guide uses placeholders you replace with your own values: 192.168.1.10 is your Caddy, 192.168.1.21 the calendar LXC, mcp-cal.int.example.com the internal and cal.example.com the public address.
Step 1: Create an app-specific password at Apple
An app-specific password is an extra password that lets a third-party app sign in to your iCloud account without knowing your real password. Here’s how to create one:
- Sign in at account.apple.com.
- Go to “Sign-In and Security” and then “App-Specific Passwords”.
- Click “Generate an app-specific password”, enter a name like “Claude Calendar” and follow the steps.
- Copy the password straight into a password manager. You’ll need it in step 4.
According to Apple Support you can have up to 25 of these passwords at a time. Changing your main Apple password automatically revokes all app-specific passwords. I also have Advanced Data Protection turned on, and the calendars still work.
Step 2: Create an LXC with Docker
Give the calendar server its own unprivileged Debian LXC. That way the Apple password lives apart from everything else in your homelab. Create the container in the Proxmox web UI and give it a fixed IP. Alternatively, set up a DHCP reservation, which permanently ties an IP address to the device in your router. Then turn on the features nesting and keyctl so Docker can run inside. On the Proxmox host it looks like this, where <vmid> is your container’s ID:
pct set <vmid> --features nesting=1,keyctl=1
pct reboot <vmid>
Inside the LXC you install Docker. The quickest way is Docker’s official install script, all other options are in the Docker docs for Debian:
apt update && apt install -y curl
curl -fsSL https://get.docker.com -o get-docker.sh
sh get-docker.sh
mkdir -p /opt/mcp-calendar && cd /opt/mcp-calendar
You create all further files for the container in /opt/mcp-calendar.
Step 3: Dockerfile for caldav-mcp and supergateway
caldav-mcp only speaks stdio out of the box, meaning input and output in a terminal. Claude needs an HTTP address, though. supergateway fills that gap: it starts caldav-mcp and serves it over Streamable HTTP (MCP’s current HTTP transport) at /mcp. You build both packages into a small image of your own. Create the file Dockerfile:
# CalDAV-only MCP (iCloud calendars + to-dos) exposed as Streamable HTTP via supergateway
FROM node:22-alpine
RUN npm install -g caldav-mcp@0.10.0 supergateway@4.1.0 && npm cache clean --force
USER node
EXPOSE 3000
CMD ["supergateway", "--stdio", "caldav-mcp", "--outputTransport", "streamableHttp", "--port", "3000", "--healthEndpoint", "/healthz"]
The versions are pinned so a rebuild doesn’t suddenly pull a different release. These are the ones running on my server. To update, enter new version numbers in the Dockerfile (and for the auth proxy in the compose file) and rebuild with docker compose up -d --build. The container runs as the restricted user node, and supergateway answers “ok” at /healthz, which comes in handy for testing.
Step 4: docker-compose.yml and the .env files
The compose file describes two containers. caldav-mcp is the actual calendar server. auth-proxy is mcp-auth-proxy, a login layer with OAuth 2.1 (the sign-in method the Claude app uses for custom connectors). Create docker-compose.yml:
# iCloud calendar MCP (/opt/mcp-calendar)
# caldav-mcp (CalDAV only) behind supergateway, plus an OAuth front door for claude.ai.
services:
  caldav-mcp:
    build: .
    image: local/caldav-mcp:0.10.0
    container_name: caldav-mcp
    restart: unless-stopped
    ports: ["0.0.0.0:3000:3000"]
    env_file: .env
    environment:
      CALDAV_BASE_URL: https://caldav.icloud.com
      TZ: Europe/Berlin

  auth-proxy:   # OAuth 2.1 front door for claude.ai custom connector
    image: ghcr.io/sigbit/mcp-auth-proxy:v2.10.2
    container_name: mcp-auth-proxy
    restart: unless-stopped
    depends_on: [caldav-mcp]
    ports: ["0.0.0.0:8080:8080"]
    env_file: auth.env
    environment:
      EXTERNAL_URL: https://cal.example.com
      NO_AUTO_TLS: "true"
      LISTEN: ":8080"
      DATA_PATH: /data
      TZ: Europe/Berlin
    volumes:
      - ./auth-data:/data
    command: ["http://caldav-mcp:3000"]
The 0.0.0.0: in front of the ports is on purpose. Without it, Docker also publishes the ports over IPv6, where the IPv4 firewall rule from step 5 doesn’t apply. https://caldav.icloud.com is the usual iCloud CalDAV address. Apple doesn’t document it on a page of its own, but it works this way for me. TZ is your time zone, so change Europe/Berlin to yours. For the auth proxy, EXTERNAL_URL is the public address, NO_AUTO_TLS turns off its own HTTPS because Caddy handles that, and the last argument http://caldav-mcp:3000 tells the proxy where to forward requests. All options are in the mcp-auth-proxy docs.
The file .env holds your Apple ID and the app-specific password:
CALDAV_USERNAME=your-apple-id@example.com
CALDAV_PASSWORD=<app-specific-password>
The file auth.env holds the password for the login page the Claude app signs in through. That page is publicly reachable, and anyone who knows the password can connect their Claude to your calendar. So generate it randomly:
openssl rand -base64 24PASSWORD=<output-from-openssl>If you pick your own password, leave out the $ character. Docker Compose reads it as the start of a variable and changes your password. Make both files readable for root only and create the data folder:
chmod 600 .env auth.env
mkdir -p auth-data
Don’t start the containers yet, the firewall comes first. The .env files never go into Git, which is why the repo only contains the templates .env.example and auth.env.example. Add the auth-data folder to your backups, that’s where the proxy keeps its data.
If Claude Code is all you need
You only need the auth proxy for the Claude app. If you only want the calendar in Claude Code, delete the whole auth-proxy block from docker-compose.yml, don’t create auth.env or auth-data, put only 3000 after --dports in step 5 and skip step 8. Then everything stays inside your LAN.
Step 5: Firewall unit so only Caddy gets in
Once the containers run, anyone on your LAN could reach port 3000 directly and talk to your calendar without going through Caddy. You stop that with an iptables rule (iptables is the firewall in the Linux kernel). Ports published by Docker bypass the normal rules, so your rule belongs in the DOCKER-USER chain. A chain is a list of rules that iptables checks in order, and DOCKER-USER is the list Docker sets aside for your own rules.
First check the name of the network interface that outside traffic comes in on:
ip -br linkIn an LXC it’s usually eth0, in a VM often ens18. If yours is different, replace eth0 everywhere in the unit below. With the wrong name the rule doesn’t apply, or Caddy gets a 502 later.
To make the rule survive every reboot, you wrap it in a systemd unit. That’s a small config file Linux uses to start services and commands at boot. Create /etc/systemd/system/mcp-firewall.service:
[Unit]
Description=Only Caddy (192.168.1.10) may reach the MCP ports 3000 and 8080
After=docker.service
Requires=docker.service

[Service]
Type=oneshot
RemainAfterExit=yes
ExecStart=/bin/sh -c "iptables -D DOCKER-USER -i eth0 -p tcp -m multiport --dports 3000,8080 ! -s 192.168.1.10 -j DROP 2>/dev/null; iptables -I DOCKER-USER -i eth0 -p tcp -m multiport --dports 3000,8080 ! -s 192.168.1.10 -j DROP"
ExecStop=/sbin/iptables -D DOCKER-USER -i eth0 -p tcp -m multiport --dports 3000,8080 ! -s 192.168.1.10 -j DROP

[Install]
WantedBy=multi-user.target
ExecStart first removes any old copy of the rule and then inserts it again, so it never ends up in the chain twice. The -i eth0 makes the rule apply only to packets coming from outside. Without it, the rule also blocks traffic between the two containers, and the auth proxy can no longer reach the calendar server. Enable the unit, check the rule and only then start the containers:
systemctl daemon-reload
systemctl enable --now mcp-firewall.service
iptables -L DOCKER-USER -n -v --line-numbers
cd /opt/mcp-calendar
docker compose up -d --build
The output of iptables -L should show your DROP rule exactly once. If iptables complains about a missing kernel module, load it on the Proxmox host. The security guide shows how.
Step 6: Internal entrance in Caddy with a Bearer token
You do this step on the machine that runs Caddy. I assume Caddy from the Debian package, so the Caddyfile is at /etc/caddy/Caddyfile. For Claude Code, an entrance that only works from your LAN and over Tailscale is enough. Tailscale is a VPN that lets your devices reach your home network from anywhere, and its devices get addresses from the range 100.64.0.0/10.
First generate a long random token. A Bearer token is a secret key the client sends with every request in the Authorization header. Store it in your password manager. The container doesn’t need it, only Caddy and Claude Code know it:
openssl rand -hex 32In the Caddyfile I use a snippet, a reusable building block that every internal site imports. It gets the certificate through a DNS challenge (Caddy proves it owns the domain with a DNS record, so this also works for hostnames the internet can’t reach) and blocks everything that doesn’t come from private networks or the Tailscale range. The example uses the DNS module for IONOS, other providers have their own modules at caddy-dns:
(int_only) {
	tls {
		dns ionos {env.IONOS_API_TOKEN}
	}
	@outside not remote_ip private_ranges 100.64.0.0/10
	respond @outside 403
}

mcp-cal.int.example.com {
	import int_only
	@nokey not header Authorization "Bearer <token-from-openssl>"
	respond @nokey 401
	reverse_proxy 192.168.1.21:3000
}
If the token is missing or wrong, Caddy answers with 401. Caddy from the Debian package doesn’t include the DNS module yet. You add it with caddy add-package, which downloads a new Caddy binary with the module and replaces the old one. According to the Caddy docs the command is still marked experimental. For another provider, use its module from caddy-dns:
caddy add-package github.com/caddy-dns/ionos
caddy list-modules | grep dns.providers
A Caddy update through apt replaces the binary with the standard version again. Just run caddy add-package once more afterwards. You hand Caddy your DNS provider’s API token as an environment variable. systemctl edit caddy opens an editor for an override config of the service, where you enter:
[Service]
Environment=IONOS_API_TOKEN=<your-ionos-api-token>
The name IONOS_API_TOKEN has to match {env.IONOS_API_TOKEN} in the snippet exactly. The hostname mcp-cal.int.example.com has to point to Caddy’s IP inside your LAN, for example through a DNS entry in your router or Pi-hole. Since the Caddyfile now holds a token, set its permissions to 640 with the group caddy and restart Caddy so it loads the new binary and the variable:
chown root:caddy /etc/caddy/Caddyfile
chmod 640 /etc/caddy/Caddyfile
systemctl restart caddy
Step 7: Add the calendar to Claude Code
On your computer you add the server with one command. --scope user makes it available in all your projects, and Claude Code stores it in ~/.claude.json:
claude mcp add --transport http --scope user calendar \
  https://mcp-cal.int.example.com/mcp \
  --header "Authorization: Bearer <token-from-openssl>"
Afterwards the token sits in plain text in ~/.claude.json and in your shell history. Treat the file like a password and remove the line from your history, for Bash for example in ~/.bash_history. The command only saves the configuration. claude mcp list shows whether the token works, and calendar should show up as “Connected”. After that you can simply ask Claude Code: “Which calendars can you see?” or “What’s in my calendar this week?”
Step 8 (optional): Public entrance for the Claude app
According to Anthropic, the Claude app’s requests come from Anthropic’s servers, whether you’re in the browser, on the desktop or on your phone. So your calendar server has to be reachable from the internet, and that’s why I protect this entrance twice. The first layer is the mcp-auth-proxy login from step 4. As the second layer, Caddy only lets requests to /mcp through if they come from the IP range Anthropic uses for outbound connections. The login pages stay public because you sign in there yourself in the browser, and your password protects them.
For this you need a real public IPv4 address. Many cable and fiber connections run on DS-Lite or CGNAT, which means you share the IPv4 address with other customers and port forwards never reach you. Your router usually shows whether that’s the case, or you can ask your provider. If so, the usual alternative is a small VPS (a rented server with its own IPv4) running Caddy, which passes requests on to your home network, for example over Tailscale. With a public IPv4, cal.example.com needs a DNS record pointing to that IP, and you forward ports 80 and 443 to Caddy on your router. Caddy uses these ports to get the Let’s Encrypt certificate for the public name.
cal.example.com {
	# Public OAuth front door for the claude.ai connector. MCP traffic only from Anthropic outbound IPs;
	# the OAuth login pages stay reachable (password-protected).
	@mcp_not_anthropic {
		path /mcp /mcp/*
		not remote_ip 160.79.104.0/21
	}
	respond @mcp_not_anthropic "Forbidden" 403
	reverse_proxy 192.168.1.21:8080
}
160.79.104.0/21 is the outbound IPv4 range Anthropic lists on its IP addresses page. Check there before you copy it to make sure it’s still current. After systemctl reload caddy you add the connector in Claude. Here’s how on the Free, Pro and Max plans; on Team and Enterprise an Owner adds the connector in the organization settings:
- In Claude, open “Customize” and then “Connectors”.
- Click “+ Add” and “Add custom connector”.
- Enter a name like “Apple Calendar” and the URL
https://cal.example.com/mcp, then click “Continue”. - Claude shows the detected authentication settings. Click “Continue” again. Choose “Sign in now” under Authentication, leave OAuth client on the detected default and add nothing under Request headers.
- Click “Add”. The mcp-auth-proxy login page opens, where you enter the password from
auth.env.
In a chat you turn the connector on via the “+” at the bottom left under “Connectors”. From then on it also works in the iPhone app. Menu names change now and then, so if in doubt, Anthropic’s help page wins.
Check that it works
- In the LXC:
docker compose psshows both containers as “running”, andcurl http://localhost:3000/healthzanswers “ok”. - From your computer without a token:
curl -i https://mcp-cal.int.example.com/mcpreturns 401. - With the token:
curl -i -H "Authorization: Bearer <token>" https://mcp-cal.int.example.com/mcpmust not return 401 anymore. A different error code is fine here, curl doesn’t speak MCP. - Straight to the container from another machine on your LAN:
curl -m 5 http://192.168.1.21:3000/healthztimes out. That means the firewall works. - In Claude Code:
claude mcp listshows “Connected”. If it says “Failed to connect”,claude mcp get calendarshows the reason. - Only with the public entrance:
curl -s -o /dev/null -w "%{http_code}\n" https://cal.example.com/.well-known/oauth-authorization-serverreturns 200, so the OAuth pages are reachable. - Only with the public entrance, from your home network:
curl -i https://cal.example.com/mcpreturns 403 because you’re not coming from Anthropic’s IP range. - Once port 443 is forwarded, test the internal entrance from outside. Connect your laptop to mobile data through your phone’s hotspot and call it via your public IP:
curl -i --resolve mcp-cal.int.example.com:443:<your-public-ip> https://mcp-cal.int.example.com/mcp. This has to return 403. - Have Claude create an event for tomorrow and check whether it shows up on your iPhone.
Common problems
dav-mcp crashes with iCloud
My first attempt was the server dav-mcp, which handles calendars and contacts in one. It always signs in over CardDAV too (the protocol for contacts), using the same URL as for the calendar. With iCloud, though, contacts live on a different server, so it failed every time. caldav-mcp sticks to CalDAV, and it runs reliably for me.
Signing in to iCloud fails
Check the logs with docker compose logs caldav-mcp. Usually it’s one of these: CALDAV_PASSWORD holds your regular Apple password instead of the app-specific one, or you changed your Apple password in the meantime, which revoked all app-specific passwords. In that case create a new one, put it in .env and restart with docker compose up -d. CALDAV_USERNAME is the email address of your Apple ID.
What about to-dos?
caldav-mcp can also create CalDAV tasks (create-todo). Since Apple moved Reminders to a new format with iOS 13, though, these tasks don’t show up in the Reminders app, and your existing reminders aren’t reachable over CalDAV. That’s why I only use the server for the calendar.
Caddy returns 502
That means Caddy can’t reach the container. Check that the firewall unit has the correct Caddy IP and that the interface name after -i matches the output of ip -br link.
Caddy won’t start after the restart
journalctl -u caddy -n 50 shows the reason. If Caddy reports an unknown module dns.providers.ionos, the DNS module is missing, often after an apt update. Run caddy add-package again. If you set the Caddyfile to 600, Caddy can’t read it anymore because it runs as its own user. That happened to me. Use 640 with the group caddy as in step 6.
The connector in the Claude app won’t connect
First check that the URL ends in /mcp. Then check that the IP range in the Caddy block still matches Anthropic’s page, otherwise Caddy blocks the requests with 403. If the login page doesn’t appear at all, EXTERNAL_URL usually doesn’t match the address you entered in Claude, or your connection has no public IPv4 of its own.
What you should know about security
- According to Apple, an app can use an app-specific password to access information like email, contacts and calendars in your iCloud. Anyone who gets hold of the
.envcan reach your iCloud mail, contacts and calendars. That’s the reason for the separate LXC,chmod 600and the firewall. - You can revoke the password at any time at account.apple.com under “App-Specific Passwords”. The server is signed out right away, and the rest of your Apple ID stays untouched.
- Through the server, Claude can also delete events (
delete-event). When Claude wants to write something, read what it’s about to do before you approve. - The login password in
auth.envprotects a public page. Don’t reuse it anywhere else. - Public hostnames get found fast. On my setup the first scanners showed up in the logs shortly after the certificates were issued. More on that and on CrowdSec in the security guide for MCP connectors.
Wrapping up
With two containers, one firewall rule and two Caddy blocks you have your iCloud calendar in Claude Code and in the Claude app. I use it every day to check, add and move appointments, and one sentence to Claude does the job. If Claude Code is enough for you, take the shorter path from step 4 without the auth proxy. The files from this guide are in the repo mapplebox/homelab-mcp-stack in the calendar/ and common/ folders.
Which services have you already connected to Claude? Let me know in the comments.
Did this guide help you? You can buy me a coffee on Ko-fi. It keeps MappleBox ad-free.