Self-Host Docmost: Your Own Notion Alternative
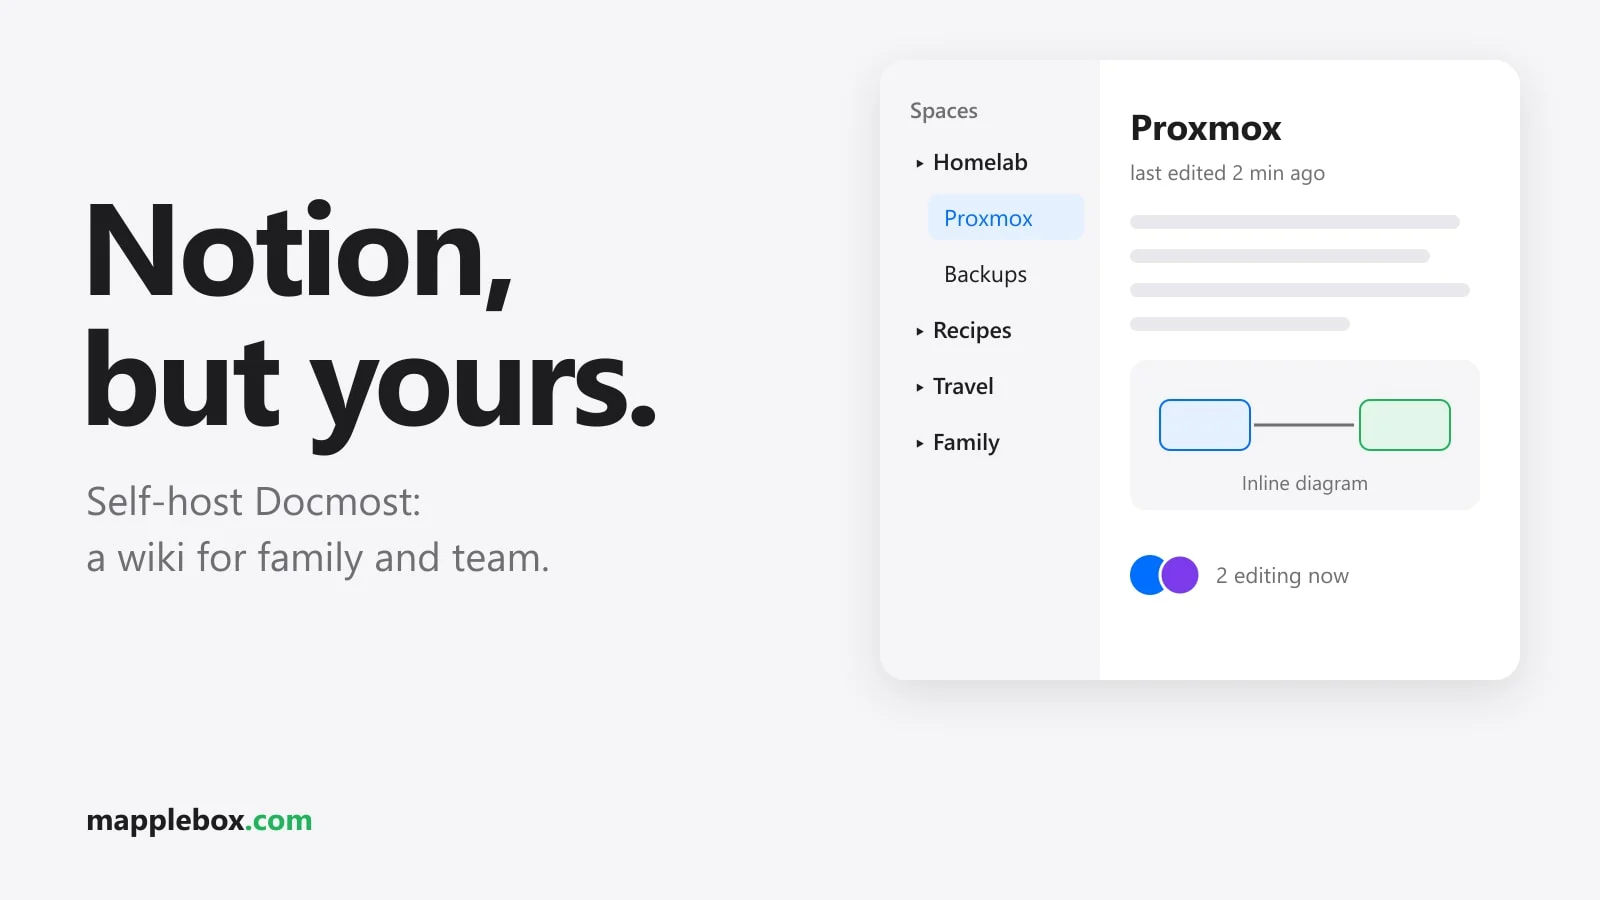
Recipes, travel plans, setup instructions for your parents’ router, notes on your homelab: a lot of people keep things like these in Notion. That works, but your data sits on someone else’s servers, and it costs money once your team grows past a certain size. Docmost is an open source alternative you run yourself. It feels like a mix of Notion and Confluence: pages organized in spaces, real-time collaborative editing and diagrams right in the text. In this guide I show you how to set up Docmost, invite your first people and put a backup in place.
Quick summary
- Docmost is a wiki and documentation tool that runs in your browser. You write pages, organize them in spaces and edit them together with other people at the same time.
- It’s for families, roommates, clubs or small teams who want to collect their knowledge in one place.
- The Community Edition is free and released under the AGPL-3.0 open source license. Some advanced features are only available in the paid Business and Enterprise editions.
- You need a small server with Proxmox or Docker. Docmost uses a PostgreSQL database and Redis as a cache.
What Docmost can do
According to the official docs, the free version includes these features:
- Spaces: Separate areas, for example “Family”, “Vacation” and “Homelab”. Each space has its own permissions.
- Real-time editing: Several people can write on the same page at once, like in Google Docs.
- Diagrams: Draw.io, Excalidraw and Mermaid are built in. So you can draw a network map or a flowchart right on the page.
- Page history, comments, full-text search, file attachments and groups for managing permissions.
- Import and export: Import from Notion and from ZIP archives, export as Markdown or HTML.
I run Docmost in an LXC on Proxmox at the French site of my homelab. That’s where I collect notes and how-tos I would otherwise have kept in Notion. You can read how the sites fit together in My homelab across two sites.
What you need
- A Proxmox host or a Linux machine with Docker and Docker Compose.
- For an LXC with a native install: 3 cores, 4 GB of RAM and at least 8 GB of disk, ideally 10 GB. These are the helper script’s defaults. My older Docmost install needs under 400 MB of RAM in day-to-day use, and newer versions may need more. The extra resources are mainly for installing and updating, because Docmost gets rebuilt then.
- A fixed IP for the container.
- Optionally an email account for sending invitations. It also works without one, more on that below.
Step 1, option A: Install on Proxmox with a helper script
This is how I installed Docmost. The Proxmox VE Helper-Scripts are community scripts that create a ready-to-use LXC. An LXC is a lightweight Linux container that needs fewer resources than a virtual machine. Run this in the shell of your Proxmox host:
bash -c "$(curl -fsSL https://raw.githubusercontent.com/community-scripts/ProxmoxVE/main/ct/docmost.sh)"Take a quick look at the script on GitHub first, since you run it as root. At the time of writing it suggests 3 cores, 4 GB of RAM and 8 GB of disk on Debian 13. The script installs PostgreSQL, Redis and Node.js directly in the container, builds Docmost under /opt/docmost and sets up a systemd service called docmost. It writes the configuration, including APP_SECRET and the database password, to /opt/docmost/.env on its own. At the end you’ll see the address http://192.168.1.x:3000.
My container runs an older Docmost version on only 7 GB of disk, and it’s more than 90 percent full, even though my own data is under 1 MB. The space goes to the Node modules and the build. Newer versions tend to get bigger, not smaller. So give the LXC 10 GB from the start, or an update will fail at some point.
Step 1, option B: Install with Docker Compose
This is the official method according to the Docmost docs. Create a folder and switch into it:
mkdir ~/docmost && cd ~/docmostThen generate a random secret:
openssl rand -hex 32Docmost uses the APP_SECRET for things like signing login sessions. It must be at least 32 characters long, and Docmost won’t start with the placeholder value. Now create the docker-compose.yml:
services:
  docmost:
    image: docmost/docmost:latest
    depends_on:
      - db
      - redis
    environment:
      APP_URL: "http://192.168.1.x:3000"
      APP_SECRET: "<your-secret>"
      DATABASE_URL: "postgresql://docmost:<your-password>@db:5432/docmost"
      REDIS_URL: "redis://redis:6379"
    ports:
      - "3000:3000"
    restart: unless-stopped
    volumes:
      - docmost:/app/data/storage
  db:
    image: postgres:18
    environment:
      POSTGRES_DB: docmost
      POSTGRES_USER: docmost
      POSTGRES_PASSWORD: <your-password>
    restart: unless-stopped
    volumes:
      - db_data:/var/lib/postgresql
  redis:
    image: redis:8
    command: ["redis-server", "--appendonly", "yes", "--maxmemory-policy", "noeviction"]
    restart: unless-stopped
    volumes:
      - redis_data:/data
volumes:
  docmost:
  db_data:
  redis_data:
Replace <your-secret> with the value from openssl, and replace <your-password> in both places with the same strong database password. Avoiding special characters like @ or / saves you trouble in the DATABASE_URL. APP_URL is the address you’ll use to open Docmost later. If you use a reverse proxy, enter something like https://wiki.example.com here. Start everything with:
docker compose up -dStep 2: Create your first workspace
Open http://192.168.1.x:3000. On first visit, Docmost shows a setup page. Enter a name for the workspace, your name, your email address and a password. That makes you the Owner, the workspace owner with all permissions. There’s no default login you need to change.
The interface is available in several languages. You can switch the language in your account settings under “Preferences” → “Language”. Then create your first spaces with “Create space”. For a family, two are enough to start: one for everyone and one just for you.
If you’re coming from Notion, export your workspace or individual pages there as a ZIP. In Docmost, open the target space, click the three dots next to “Pages” in the sidebar, choose “Import pages” and then “Notion”. According to the docs, the page structure is preserved. After the import, spot-check whether images and tables came through cleanly.
Step 3: Invite family and friends
Under Settings → Members you’ll find “Invite members”. Enter an email address and choose a role. The invited person sets their own password through the invitation link.
For the invitation to arrive by email, Docmost needs a mail server. The variables for it are MAIL_DRIVER=smtp, SMTP_HOST, SMTP_PORT, SMTP_USERNAME, SMTP_PASSWORD, SMTP_SECURE, MAIL_FROM_ADDRESS and MAIL_FROM_NAME. With Docker you add them to the environment block, with the helper script to /opt/docmost/.env. Then restart Docmost.
For a few family members you can also do without a mail server. Invite the person anyway. In the “Pending” tab, click the three dots next to the invitation and choose “Copy link”. Send that link through a messaging app. Without email, though, “Forgot password” won’t work either. Keep that in mind before you hand an account to your grandma.
If people outside your home network should have access, there are two ways: a VPN like Tailscale or a reverse proxy with HTTPS. With a reverse proxy you have to let WebSockets through, or real-time editing won’t work. Caddy does this automatically. I explain how I add CrowdSec protection to my Caddy in CrowdSec with Caddy and nftables.
Step 4: Set up backups
Docmost stores pages in PostgreSQL and file attachments on the file system. You need to back up both.
With Docker, back up the database as an SQL file:
docker compose exec -T db pg_dump -U docmost docmost > docmost-$(date +%F).sqlThe attachments live in the Docker volume docmost. To find where that is on disk, use docker volume ls together with docker volume inspect. The volume name gets the folder name as a prefix, so for example docmost_docmost.
With the helper script, attachments are stored under /opt/docmost/data. The easiest way to back this up is to save the whole LXC with Proxmox backup (vzdump), for example every night to a NAS. You can also pull a database dump inside the container:
su - postgres -c "pg_dump docmost_db" > /root/docmost-$(date +%F).sqlOn my install, the helper script named the database docmost_db. Run su - postgres -c "psql -l" to see what it’s called on yours. As a third safety net, export important spaces as Markdown now and then, through the three dots next to “Pages” and “Export space”. You can open these files without Docmost.
Check that it works
- At
http://192.168.1.x:3000/api/health, Docmost responds with a status. - Helper script:
systemctl status docmost postgresql redis-servershows all three as active. - Docker:
docker compose psshows three running containers. - Open the same page in two browsers and type in one of them. If the text shows up in the other right away, real-time editing works.
You can add the health endpoint as a monitor in Uptime Kuma. I explain how I built that in Uptime Kuma and ntfy in the homelab.
Common problems
Docmost won’t start. Usually the APP_SECRET is too short or still the placeholder, or the password in DATABASE_URL doesn’t match POSTGRES_PASSWORD. Check the logs with docker compose logs docmost or journalctl -u docmost.
Pages load, but other people’s changes don’t appear. The reverse proxy isn’t letting WebSockets through. Check the proxy configuration.
Links in invitations point to localhost. APP_URL doesn’t match the address you use to open Docmost. Fix it and restart.
Uploading large files fails. The default limit is 50 MB. You can raise it with FILE_UPLOAD_SIZE_LIMIT, for example to 100mb.
An update in the LXC fails. To start an update, type the command update in the LXC’s console. With Docker, you get the new version with docker compose pull and docker compose up -d. If the update in the LXC fails, check free space with df -h /. During the update the script rebuilds Docmost, which needs room. The script backs up the .env and keeps the data folder. A Proxmox snapshot before the update still doesn’t hurt. Docmost moves fast, and my own install is now many versions behind the current one. Read the release notes on GitHub before big jumps.
Honest limits compared to Notion
- Docmost is first and foremost a wiki. If you work a lot with databases, views, filters and formulas in Notion, you won’t find an equal replacement in Docmost.
- I couldn’t find an official mobile app. On your phone you use Docmost in the browser. That’s comfortable enough for reading, but slower than the Notion app for longer texts.
- According to Docmost’s pricing page, two-factor login (MFA), SSO, permissions on individual pages, AI features, the Confluence import and full-text search inside PDF and Word attachments are among the features reserved for the paid Business and Enterprise editions. For a family, MFA is the one you’re most likely to miss. That makes it all the more important not to expose Docmost openly to the internet.
- There’s no offline access. If your server is down, you can’t get to your notes. That’s why the occasional Markdown export is worth it.
Wrapping up
Docmost is a good choice if you want a shared wiki for family, friends or a small project and want the data to stay with you. Installing it with the helper script or Docker Compose takes about half an hour. Plan for enough disk space, set up the backup on day one and only allow outside access through a VPN or a secured reverse proxy. If you rely heavily on Notion databases, you’re better off staying with Notion. For pages, how-tos and diagrams, Docmost is more than enough.
Did this guide help you? You can buy me a coffee on Ko-fi. It keeps MappleBox ad-free.