Pi-hole on Proxmox LXC: Block Ads on Your Whole Network
Your ad blocker only works in the browser, while your smart TV, phone apps and the streaming box in the living room keep talking to ad and tracking servers? With Pi-hole you can block all of that for your whole network at once. In this guide you set up Pi-hole in a small LXC container on Proxmox, add it to your router and protect yourself against the usual mistakes. I run exactly this setup myself, and the tips below come from using it day to day.
What Pi-hole actually does
Every device on your network constantly asks a DNS server which IP address belongs to a name. DNS works like the phone book of the internet. Normally your router or your internet provider answers these questions. Pi-hole puts itself in between as your DNS server. When a device asks for a domain that is on a blocklist, it gets an empty answer back, so the ad never loads in the first place. Pi-hole passes all other requests on as usual.
The big plus is that you don’t install anything on the individual devices. As soon as your router hands out Pi-hole as the DNS server, every device on Wi-Fi and cable is covered automatically. You should know the limit, though: Pi-hole can’t separate ads that come from the same domain as the actual content. YouTube ads, for example, usually stay.
What you need
A tiny container is enough for Pi-hole. The table shows my setup as a reference. I run Pi-hole at my site in France as an LXC on a Proxmox host. You can read more about my two sites in My homelab across two sites.
| Component | My setup |
|---|---|
| Base | LXC with Debian 12 on Proxmox |
| Resources | 1 CPU core, 512 MB RAM, 2 GB disk |
| Pi-hole | Version 6 (Core 6.1.4, FTL 6.2.3, Web 6.2.1) |
| Blocklist | StevenBlack hosts, about 229,000 domains |
| Upstream | Unbound running locally in the container, DNSSEC on |
| DHCP | off, the router handles it |
You don’t need a Proxmox server for this. Pi-hole runs just as well on a Raspberry Pi 5*, which is where the name comes from. If you already have a mini PC for your homelab running Proxmox, an LXC is the most efficient option.
Step 1: Create the LXC with a community script
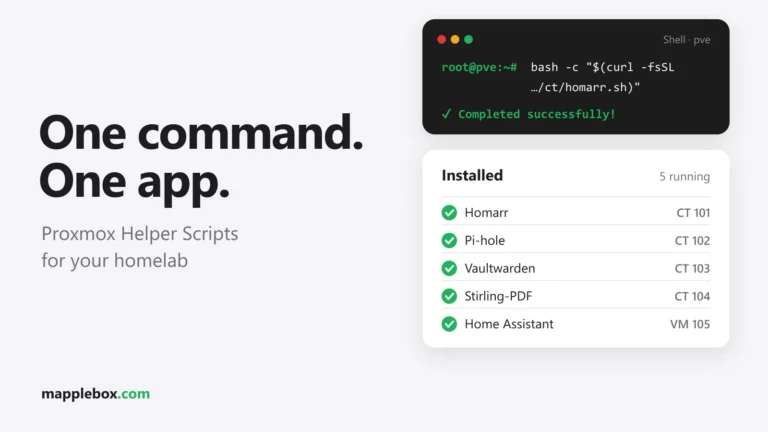
The easiest way to create the container is with the community Proxmox VE Helper-Scripts. The script creates the LXC, installs Pi-hole and asks you a few questions along the way. You run it directly in the shell of your Proxmox host:
bash -c "$(curl -fsSL https://raw.githubusercontent.com/community-scripts/ProxmoxVE/main/ct/pihole.sh)"Running a script from the internet as root is a matter of trust, of course. Look at its contents first if you’re unsure. You can keep the defaults, except for the disk. The default is 2 GB, and I’d give it 4 to 8 GB in the advanced settings instead (the reason is under common problems below). Two more things deserve a conscious decision:
- Fixed IP: A DNS server must never change its address. Either give the container a static IP in the script or reserve the address in your router with a DHCP reservation. I do the latter.
- Unbound: Near the end, the script asks
Would you like to add Unbound? <y/N>, meaning whether you also want to install Unbound as a local resolver. My tip is to typey. The follow-up question asks whether Unbound should run as a forwarder with DNS-over-TLS instead. AnswerN, so Unbound resolves names itself. I explain what it does further down.
After that, set the password for the web interface inside the container:
pihole setpasswordYou can then reach the dashboard at http://192.168.1.x/admin.
Step 2: Set Pi-hole as the DNS server in your router
So far, no device is asking Pi-hole anything. To change that, enter the container’s IP as the DNS server in your router’s DHCP settings. Every device then learns about Pi-hole automatically the next time it connects.
- UniFi: In the network settings of the LAN in question, the DHCP options include a field for the DNS server. Switch it from automatic and enter the Pi-hole IP there.
- Other routers: Look in the LAN or DHCP settings for the DNS server that the router hands out to devices. Enter the Pi-hole IP there.
The exact menu names change with the firmware, but the logic is the same everywhere. Keep in mind that devices only pick up the new DNS server when their DHCP lease renews. Turning Wi-Fi off and on again usually does the trick. Here’s how to check that it works: run nslookup doubleclick.net on any computer. If you get 0.0.0.0 back, Pi-hole is blocking.
Step 3: Pick your blocklists, fewer is better
Online you’ll find collections with dozens of lists and millions of domains. That’s overkill. The more lists you add, the more often something breaks, and you end up spending more time allowlisting than anything else. Start with a single list. I use the StevenBlack hosts list, which currently has about 229,000 domains for me, and it removes most of the ads and tracking.
Pi-hole updates its lists by itself once a week with a cron job (a scheduled task). You add new lists in the web interface under Lists and then load them with this command:
pihole -gWhat to do when something stops working
Sooner or later an app won’t load, a link in a newsletter goes nowhere or a shopping link won’t open. When that happens, open the Query Log in the web interface, filter by the affected device and look for blocked entries around that time. You can allow the suspicious domain right there or on the command line:
pihole allow example.comWith just one moderate list I haven’t had to unblock anything so far, and my allowlist is empty. With more aggressive lists that changes quickly. For a quick test, you can also pause Pi-hole for a few minutes in the dashboard. If things work then, the blocking is the cause.
Upstream DNS: Google, Cloudflare or Unbound?
Everything Pi-hole doesn’t block has to be resolved somewhere. The simple option is a public resolver like Cloudflare, Quad9 or Google. That works, but then that provider sees all of your requests.
With Unbound, Pi-hole resolves names itself and asks the responsible name servers directly, starting with the root servers. No single provider gets to see all of your DNS requests. If Unbound listens locally on port 5335 like mine does, enter this as the upstream in Pi-hole:
127.0.0.1#5335Next to 127.0.0.1#5335, the community script also adds Google’s 8.8.4.4 as a second upstream. Why that’s a problem is explained under common problems below. Remove it in the web interface under Settings > DNS, or inside the container with:
pihole-FTL --config dns.upstreams '[ "127.0.0.1#5335" ]'Also turn on DNSSEC in Pi-hole. DNSSEC checks that DNS answers haven’t been tampered with. With Unbound, the first request for a new domain takes a little longer, and after that the answer comes from the cache.
Redundancy: what happens when Pi-hole goes down?
A lot of people underestimate this. If Pi-hole is gone, it feels like the internet is down for the whole house, because no device can resolve names anymore. You have two options:
- A second Pi-hole: A second container on a different host, with both entered as DNS servers in the router. To keep the settings in sync, there are sync tools like Nebula-sync for Pi-hole 6.
- A public DNS server as the second entry in the router: Simpler, but devices often use the second server even while Pi-hole is running. Then ads slip through every now and then.
Whichever you choose, have the container monitored. I check my services with Uptime Kuma and ntfy, and a DNS check for Pi-hole only takes a minute to set up there. Also set the LXC to start automatically when Proxmox boots (Start at boot), or your whole network will be stuck after a power outage.
Common problems and fixes
- Silent upstream fallback: If you add other upstreams next to Unbound, you won’t notice when Unbound fails. I had Google in there as well. When Unbound didn’t come back up after a restart, Pi-hole simply kept resolving through Google and nobody noticed. So check
systemctl status unboundfrom time to time, or keep Unbound as your only upstream. - Privileged vs. unprivileged: If you switch an LXC from unprivileged to privileged after the fact, the files keep their old, shifted user IDs. Services like Unbound then can’t write to their own folders and won’t start. Decide this before you install.
- Small disk, big logs: Pi-hole itself is small, but the query log and the system journal keep growing. My 2 GB disk was recently 86 percent full. So plan for 4 to 8 GB. To grow an existing container, run
pct resize <CTID> rootfs +4Gon the Proxmox host, where<CTID>is your container’s number. - IPv6: If your router hands out its own DNS server over IPv6, some devices go around Pi-hole. Here’s how to check and fix it. On a computer in your network, look at which DNS servers it received:
ipconfig /allon Windows,scutil --dnson macOS,resolvectl statuson Linux. If an IPv6 address of your router shows up there, that device bypasses Pi-hole. Then open your router’s IPv6 or DNS settings for the home network. Either enter Pi-hole’s IPv6 address as the DNS server (ip -6 addr show eth0inside the container shows it), or turn off announcing an IPv6 DNS server. In the second case, devices ask over IPv4 and therefore go to Pi-hole. Reconnect a device afterwards and check again. The option’s name depends on your router, and some ISP routers don’t let you change it at all.
To update, run pihole -up inside the container. An LXC created with the community scripts also has the update command, which does the same thing through the script.
Wrapping up
Pi-hole is one of the homelab projects with the best ratio of effort to payoff. You set up the LXC in a few minutes, it barely uses any resources and it works for every device on your network, including the ones where you can’t install an ad blocker at all. Keep your blocklists moderate, use Unbound as your upstream and plan early for monitoring and a backup plan in case it goes down. After that, Pi-hole just runs quietly in the background.
* Affiliate link: As an Amazon Associate I earn from qualifying purchases. It costs you nothing extra. More info
Did this guide help you? You can buy me a coffee on Ko-fi. It keeps MappleBox ad-free.