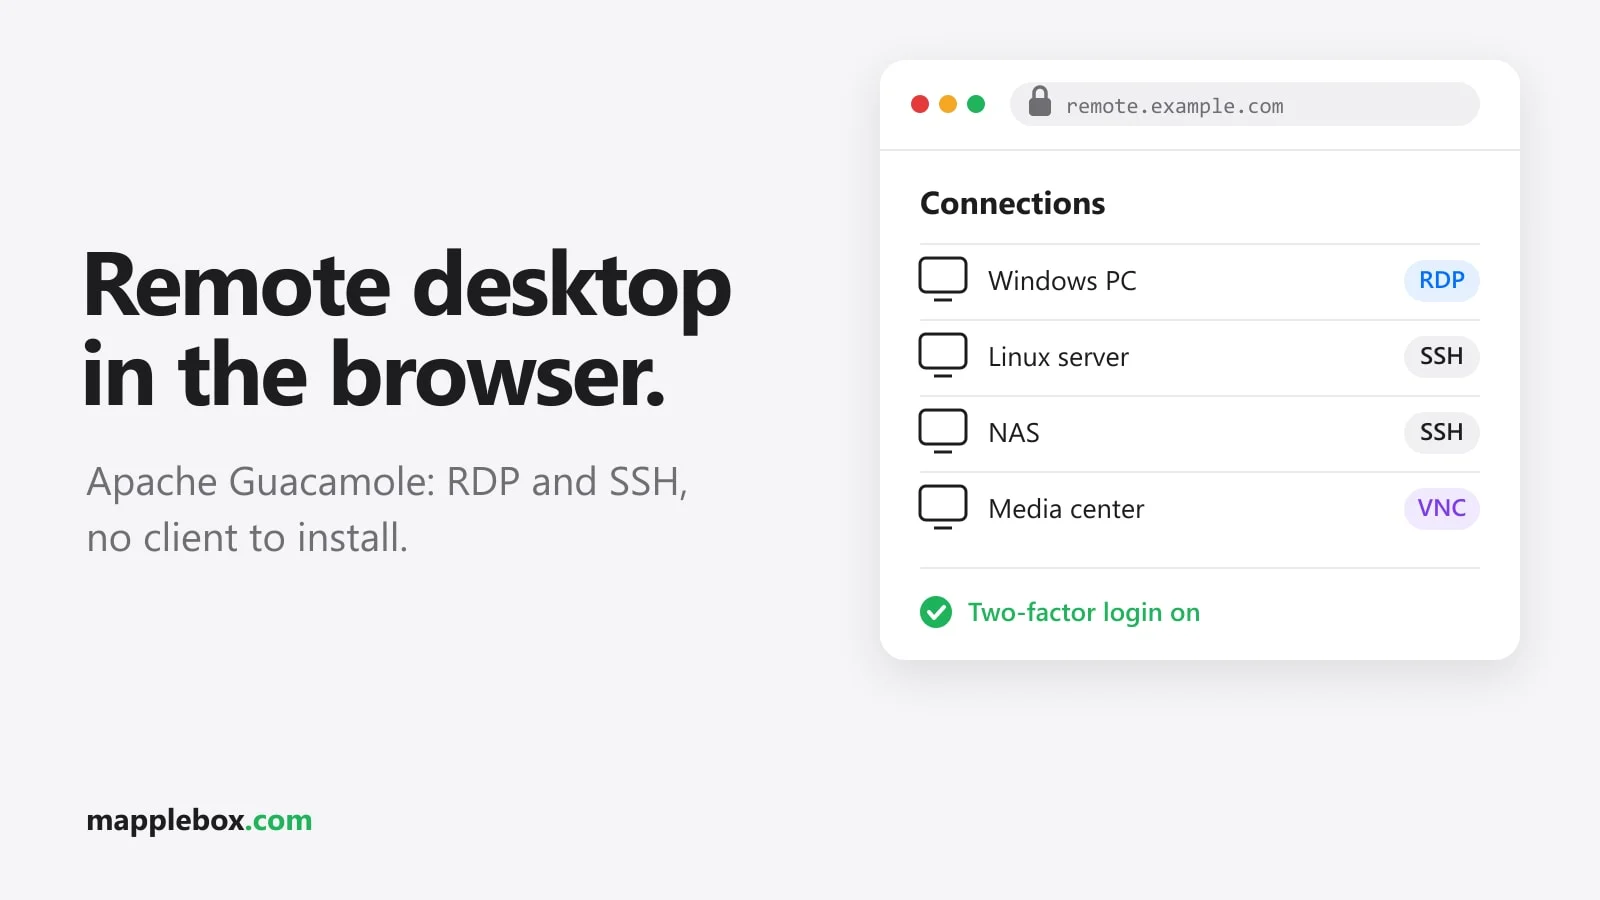
Apache Guacamole: Remote Desktop in Your Browser
Sometimes you quickly need your Windows PC or a Linux shell, but you’re sitting at someone else’s computer where you can’t install anything. Apache Guacamole solves exactly that: you open a web page and get the desktop or terminal right in your browser. In this guide you set up Guacamole on Proxmox, create an RDP connection to a Windows PC and an SSH connection, turn on two-factor login and make sure the whole thing isn’t sitting open on the internet.
Quick summary
- Guacamole is a remote desktop gateway. It talks RDP, VNC and SSH to your computers and shows the picture in your browser.
- On the device you connect from, all you need is an up-to-date browser.
- It’s a good fit for anyone who wants to reach several computers and servers from one place.
- You need a Proxmox host or a machine with Docker, plus target computers with RDP or SSH turned on.
How Guacamole works
Guacamole has two parts. guacd is a background service that makes the actual connections over RDP, VNC or SSH. The web app runs in Tomcat (a Java web server), handles login and management and sends the picture to your browser. It stores users and connections in a database, MariaDB in this case. From the outside you only see the web app. So the target computers only need to be reachable from the Guacamole server, not from your laptop.
What you need
- A Proxmox VE host with shell access. By default the container gets 1 core, 2 GB of RAM and 4 GB of disk. Alternatively, a Linux machine with Docker and Docker Compose.
- A Windows PC running Windows Pro, Enterprise or Education. Windows Home can’t accept incoming RDP connections.
- Optionally a Linux server with SSH running.
- A smartphone with an authenticator app for two-factor login.
- For access while you’re away: Tailscale or a reverse proxy with an extra login.
Step 1: Install Guacamole
I use the community’s Proxmox VE Helper-Scripts. The script creates a Debian LXC, compiles guacd from source, installs Tomcat 9 and MariaDB and sets up database authentication. Start it in the shell of your Proxmox host:
bash -c "$(curl -fsSL https://raw.githubusercontent.com/community-scripts/ProxmoxVE/main/ct/apache-guacamole.sh)"Read the script on GitHub before you run it as root. Compiling takes a few minutes. After that you can reach Guacamole at http://192.168.1.x:8080/guacamole. This is how I run Guacamole 1.6.0, in an LXC with one core and 2 GB of RAM, and that easily handles a few sessions at once. To update later, type update in the LXC’s console.
Without Proxmox, use the official Docker images guacamole/guacd and guacamole/guacamole plus a PostgreSQL database. Guacamole doesn’t create its tables on its own. According to the docs, you generate the matching SQL script with initdb.sh from the image and put it in a folder that the Postgres container loads automatically on first start:
mkdir -p guacamole/initdb && cd guacamole
docker run --rm guacamole/guacamole:1.6.0 /opt/guacamole/bin/initdb.sh --postgresql > initdb/initdb.sql
Next to it, create the file docker-compose.yml:
services:
  guacd:
    image: guacamole/guacd:1.6.0
    restart: unless-stopped

  postgres:
    image: postgres:16
    restart: unless-stopped
    environment:
      POSTGRES_DB: guacamole_db
      POSTGRES_USER: guacamole_user
      POSTGRES_PASSWORD: <your-db-password>
    volumes:
      - ./initdb:/docker-entrypoint-initdb.d:ro
      - ./db:/var/lib/postgresql/data

  guacamole:
    image: guacamole/guacamole:1.6.0
    restart: unless-stopped
    depends_on:
      - guacd
      - postgres
    environment:
      GUACD_HOSTNAME: guacd
      POSTGRESQL_HOSTNAME: postgres
      POSTGRESQL_DATABASE: guacamole_db
      POSTGRESQL_USERNAME: guacamole_user
      POSTGRESQL_PASSWORD: <your-db-password>
    ports:
      - "8080:8080"
Replace <your-db-password> in both places with the same long password and start everything with docker compose up -d. Then you can reach Guacamole at http://192.168.1.x:8080/guacamole. Postgres only loads the schema on the very first start into an empty database. If something went wrong, stop with docker compose down, delete the db folder and start again. The rest of this guide applies to both methods. Where the Docker method differs, it’s mentioned separately.
Step 2: First login and replacing the default account
Guacamole’s database schema creates a default user: username guacadmin, password guacadmin. Anyone who has read the docs knows these credentials. So replace them right after your first login, before you create any connections. The cleanest way is your own admin account:
- Log in as
guacadmin. - Click the username in the top right, open Settings and then the Users tab.
- Use New User to create your own user with a strong password, and tick Administer system under permissions.
- Log out and log back in with the new account.
- Under Users, open the
guacadminuser and delete it, or at least disable it.
The interface follows your browser’s language. If your browser is set to another language, the menu names are translated to match. If you’d rather keep guacadmin, at least change its password under Settings and Preferences.
Step 3: RDP connection to a Windows PC
On the Windows PC, first turn on Remote Desktop under Settings, System, Remote Desktop. Give the PC a fixed IP in your router. Then create the connection in Guacamole: Settings, Connections, New Connection.
| Field | Value |
|---|---|
| Name | Windows PC |
| Protocol | RDP |
| Hostname | 192.168.1.x |
| Port | 3389 |
| Username / Password | Your Windows username and password |
| Security mode | NLA (Network Level Authentication) or Any |
| Ignore server certificate | Tick the box |
| Keyboard layout | The layout of your keyboard, for example US English (Qwerty) |
Windows uses a self-signed certificate for RDP, which is why you tick Ignore server certificate. NLA means you log in before the session is set up. That’s the Windows default and more secure than the older modes. If you sign in with a Microsoft account, enter the email address and the account password, not your Windows Hello PIN. If you leave username and password empty, Guacamole asks for them when you connect.
After saving, the connection shows up on the home screen. One click opens the desktop in your browser tab. Press Ctrl+Alt+Shift to open the Guacamole menu. From there you can share the clipboard, upload files or disconnect.
Step 4: SSH connection to a Linux server
You create an SSH connection the same way. Choose SSH as the Protocol, the server’s IP as the Hostname, 22 as the Port and your Linux user as the Username. Instead of a password you can store a private key. To do that, paste the full contents of the key file into the Private key field. Guacamole expects the OpenSSH format that ssh-keygen creates. It’s best to make a separate key pair just for Guacamole:
ssh-keygen -t ed25519 -f ~/.ssh/guacamole -C guacamole
ssh-copy-id -i ~/.ssh/guacamole.pub user@192.168.1.x
Copy the contents of ~/.ssh/guacamole into Guacamole. That way you can remove the key from authorized_keys on the server at any time without touching your other logins. If you like, you can also set the terminal’s font size and color scheme under Display.
Step 5: Two-factor login with TOTP
TOTP means the six-digit codes from an authenticator app. Guacamole has an official extension for this, but the community script doesn’t preinstall it. In the LXC, download the version that matches your install and copy it to the extensions folder. guacd -v shows your version. For 1.6.0 it looks like this, and for a newer version you only change the first line:
VER=1.6.0
cd /tmp
curl -fsSLO https://downloads.apache.org/guacamole/$VER/binary/guacamole-auth-totp-$VER.tar.gz
tar -xzf guacamole-auth-totp-$VER.tar.gz
cp guacamole-auth-totp-$VER/guacamole-auth-totp-$VER.jar /etc/guacamole/extensions/
systemctl restart tomcat
On your next login, Guacamole shows a QR code after the password. Scan it with your authenticator app and confirm with the first code. From then on, Guacamole asks for a code at every login. Set up TOTP for your admin account first and test the login in a private browser window before you log out in your normal window. The community update script detects the installed TOTP extension and updates it too. In the Docker setup, the line TOTP_ENABLED: "true" in the environment block of the guacamole service is all you need. Then recreate the container with docker compose up -d.
You can add the guacamole-auth-ban extension the same way. It blocks an IP for five minutes after five failed logins. In the Docker image it’s already active. With the native install, you put it in the extensions folder yourself:
VER=1.6.0
cd /tmp
curl -fsSLO https://downloads.apache.org/guacamole/$VER/binary/guacamole-auth-ban-$VER.tar.gz
tar -xzf guacamole-auth-ban-$VER.tar.gz
cp guacamole-auth-ban-$VER/guacamole-auth-ban-$VER.jar /etc/guacamole/extensions/
systemctl restart tomcat
The community script’s update also updates TOTP, but not the ban extension. So after updating to a new Guacamole version, delete the old guacamole-auth-ban-*.jar from /etc/guacamole/extensions and repeat the commands above with the new version number.
Step 6: Secure access from anywhere
Guacamole is a key to every computer you add to it. Anyone who gets in lands straight on your Windows desktop or in your server shell. So never open port 8080 with port forwarding on your router.
The simplest secure option is Tailscale. Install Tailscale on the Guacamole LXC, or use a subnet router on your LAN, and open Guacamole through its Tailscale address when you’re away. Then not a single port is open. If you also need Guacamole on devices without Tailscale, like a work computer, put a reverse proxy with HTTPS in front of it. With Caddy it looks like this:
remote.example.com {
	redir / /guacamole/
	reverse_proxy 192.168.1.x:8080
}
Caddy automatically passes through the WebSocket connections Guacamole uses to send the picture. In this case, TOTP and the lockout after failed attempts are a must. Even better is an extra login in front, like Authelia or Authentik, plus a filter against scanners. I explain how I do that with CrowdSec in CrowdSec with Caddy.
Behind a reverse proxy, Tomcat would otherwise see only Caddy’s IP at every login. The lockout after failed attempts would then block the proxy itself, and with it every user. To make Guacamole read the real client IP from the X-Forwarded-For header, add the RemoteIpValve inside the <Host> section of /opt/apache-guacamole/tomcat9/conf/server.xml in the LXC. The path and the service name tomcat come from the current version of the community script (as of October 2026). Older or newer script versions may use different paths. Run systemctl cat tomcat and look at the CATALINA_BASE line to see where Tomcat lives on your install. Replace 192\.168\.1\.x with the IP of your Caddy server, with a backslash before each dot:
<Valve className="org.apache.catalina.valves.RemoteIpValve"
       internalProxies="192\.168\.1\.x"
       remoteIpHeader="x-forwarded-for"
       remoteIpProxiesHeader="x-forwarded-by"
       protocolHeader="x-forwarded-proto" />
Then restart Tomcat with systemctl restart tomcat. In the Docker setup, add REMOTE_IP_VALVE_ENABLED: "true" to the environment block of the guacamole service instead. Without further settings, the image then trusts proxies from private IP ranges.
Step 7: Backups
Guacamole holds more work than you’d think: users, TOTP keys and every connection with its credentials. All of that lives in the database. With the community script, the easiest option is a regular Proxmox backup (vzdump) of the whole LXC to a NAS. On top of that, pull a dump of the database inside the LXC. The script names it guacamole_db:
mariadb-dump -u root guacamole_db > /root/guacamole-$(date +%F).sqlTo restore, run mariadb -u root guacamole_db < /root/guacamole-DATE.sql. Also back up the /etc/guacamole folder, which holds the configuration with the database password and the extensions. In the Docker setup, back up the database with docker compose exec -T postgres pg_dump -U guacamole_user guacamole_db > guacamole-$(date +%F).sql, plus your docker-compose.yml. These dumps contain your credentials, so don’t store them unprotected.
Check that it works
Three services run in the LXC, and you can check each one:
systemctl status guacd tomcat mariadb
ss -tlnp
ls /etc/guacamole/extensions
In ss -tlnp you should see Java on port 8080, guacd on 4822 and MariaDB on 3306, the last two only on 127.0.0.1. The extensions folder contains the JDBC extension for the database and, if installed, TOTP and ban. Then log in through your browser and open each connection once.
In the Docker setup, docker compose ps shows whether all three containers are running. You’ll find startup errors with docker compose logs guacamole. Usually the database wasn’t initialized or the passwords don’t match.
Common problems
- RDP fails right away with an error: It’s almost always the security mode or the certificate. Tick Ignore server certificate and try NLA and Any one after the other.
journalctl -u guacd -f(Docker:docker compose logs -f guacd) shows the exact reason while you connect. - Login to the Windows PC fails: With Microsoft accounts, only the account password works. If Windows is set to Hello-only sign-in, go to Accounts and Sign-in options and turn off the option that allows only Windows Hello for Microsoft accounts.
- Connecting to Windows Home doesn’t work: Windows Home has no RDP server. Your only options are a VNC server on the PC or an upgrade to Pro.
- Wrong special characters or swapped keys: The Keyboard layout doesn’t match the keyboard you’re typing on.
- The IP only shows a blank page or Tomcat: The web app lives under
/guacamole, not directly at the IP. - Login stops working after an update: The version of extensions like TOTP has to match the Guacamole version. You’ll find the error message in
/opt/apache-guacamole/tomcat9/logs/catalina.out, or with Docker indocker compose logs guacamole.
Wrapping up
With Guacamole you have every computer in your homelab in one browser tab, with no client software, on any device. Installing it with the community script takes a few minutes. The next ten minutes matter more than the install: replace the default login, turn on TOTP and handle access through Tailscale or a secured reverse proxy. Once that’s in place, Guacamole is one of the most useful tools in the whole setup. For an overview of how the rest of my homelab is built, see My homelab across two sites.
Did this guide help you? You can buy me a coffee on Ko-fi. It keeps MappleBox ad-free.