Migrate a Proxmox LXC with Bind Mounts Using shared=1
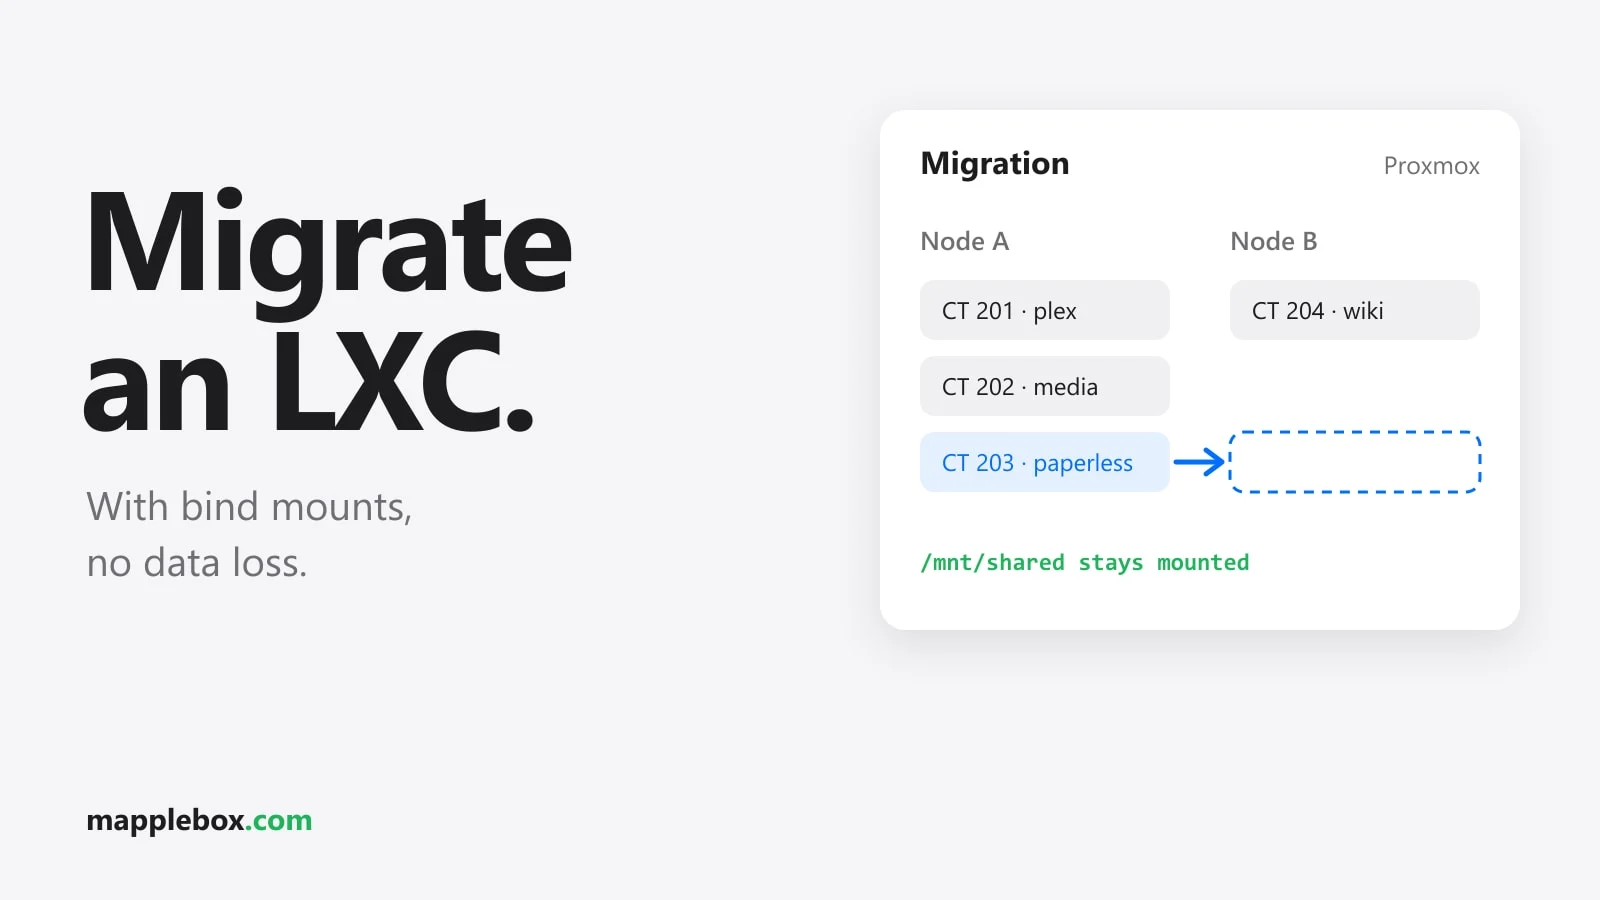
Want to move an LXC container to another Proxmox node in your cluster, but Proxmox refuses the migration? If the container has a bind mount, for example to a NAS, that’s the usual reason. In this guide you learn what Proxmox expects there, how to do the migration cleanly, and which mistake can bite you during a restore. For me, it affected exactly the containers with a bind mount to my NAS, a UniFi UNAS Pro*. Containers without mounts moved right away.
Quick summary
- A bind mount passes a folder from the Proxmox host into the container. Proxmox only migrates a container like that once you mark the mount point with
shared=1. - This guide is for you if you have a Proxmox cluster with at least two nodes and containers that access a shared NAS share.
- You need root access to the nodes’ shell and a NAS that’s added as NFS or SMB storage on all nodes.
- You also learn why a
pct restorewith a new disk size loses the bind mount, and how to prevent that during the restore itself.
What you need: the NAS as storage on all nodes
So the host path exists on every node, add the NAS as storage for the whole cluster. In the web interface, go to Datacenter > Storage > Add > NFS or SMB/CIFS. Give it a storage ID (for example nas) and either leave the Nodes field empty or select all nodes. Proxmox then mounts the share on every node under /mnt/pve/<storage-id>, so with the ID nas that’s /mnt/pve/nas. You’ll use this path for the bind mount in a moment.
Check on every node that the share is really there:
pvesm status
ls /mnt/pve/nas
The storage should show up as active in pvesm status, and ls should show the same folders on every node.
With SMB/CIFS and an unprivileged container there’s one more catch. In an unprivileged container all user IDs are shifted: root in the container is UID 100000 on the host, and UID 1000 in the container becomes 101000 (see the Proxmox wiki). Proxmox mounts the SMB share as root (UID 0), though. Inside the container the files then belong to nobody:nogroup, and depending on the permissions the container can read but not write. The CIFS mount options uid and gid fix this. Set them to the shifted ID of the user that needs to write inside the container, so 101000 for UID 1000 in the container:
pvesm set nas --options uid=101000,gid=101000The storage config applies to the whole cluster, so you only run the command once. The options only take effect once the share is mounted again on each node, which is easiest after a reboot. That applies to every node that may take over the container later. If read access is enough for the container, you can skip this step.
Why Proxmox refuses the migration
A bind mount in an LXC is a mount point (mp0, mp1 and so on) that points straight at a path on the host. In my setup that’s the NAS share, which Proxmox mounts on the host under /mnt/pve/nas. Inside the container it shows up as /mnt/media, for example.
Proxmox can’t know whether this host path exists the same way on the target node. It could be a local folder that only exists on one server. So it blocks the migration until you mark the mount point with shared=1. That tells Proxmox the path is available on every node:
pct set <id> -mp0 /mnt/pve/nas,mp=/mnt/media,shared=1Keep in mind that Proxmox doesn’t verify this. If the path is missing on the target node, the container won’t start there or will see an empty folder. If you add the NAS as cluster storage like above, the share is mounted at the same path on all nodes, and you’re fine.
If you’d rather edit the line directly in the config, you’ll find it in /etc/pve/lxc/<id>.conf:
mp0: /mnt/pve/nas,mp=/mnt/media,shared=1
Step 1: Write a backup to the NAS
Before the migration, write a vzdump backup of every affected container to the NAS. You can do that in the web interface under Backup or in the shell. For the storage to accept backups, “VZDump backup file” has to be enabled under its Content setting:
vzdump <id> --storage <nas-storage> --mode stop --compress zstdGood to know: the data on the bind mount is not in this backup. vzdump backs up the container’s root file system and the volumes Proxmox manages itself. A bind mount to a host path is skipped. For me that’s intended, since the media library lives on the NAS and shouldn’t end up in every container backup. So make sure the data there has its own backup.
Step 2: Migrate
Proxmox can’t live-migrate running containers. You have two options: restart mode, where Proxmox shuts the container down, moves it and starts it again on the target node, or the classic offline migration by hand. You start restart mode like this:
pct migrate <id> <target-node> --restartIf the container doesn’t shut down within 180 seconds, Proxmox kills it. Use --timeout <seconds> to give it more time. For me, restart mode was refused for the containers with a bind mount. If the same happens to you, migrate the classic offline way:
pct shutdown <id>
pct migrate <id> <target-node>
# then, on the target node:
pct start <id>
If the container disk sits on local storage that has a different name on the target node (for example local-lvm on one node and local-zfs on the other), add the target storage. Proxmox then copies the disk there over the network:
pct migrate <id> <target-node> --target-storage <storage>My tip for keeping IP addresses the same: let the containers get their address over DHCP and create a reservation for each MAC address in your router. The MAC moves along with the container config, so the container gets the same IP on the new node. Because of that, I didn’t have to touch the reverse proxy, monitoring or anything else that points at the IP.
Step 3: Check GPU paths after the migration
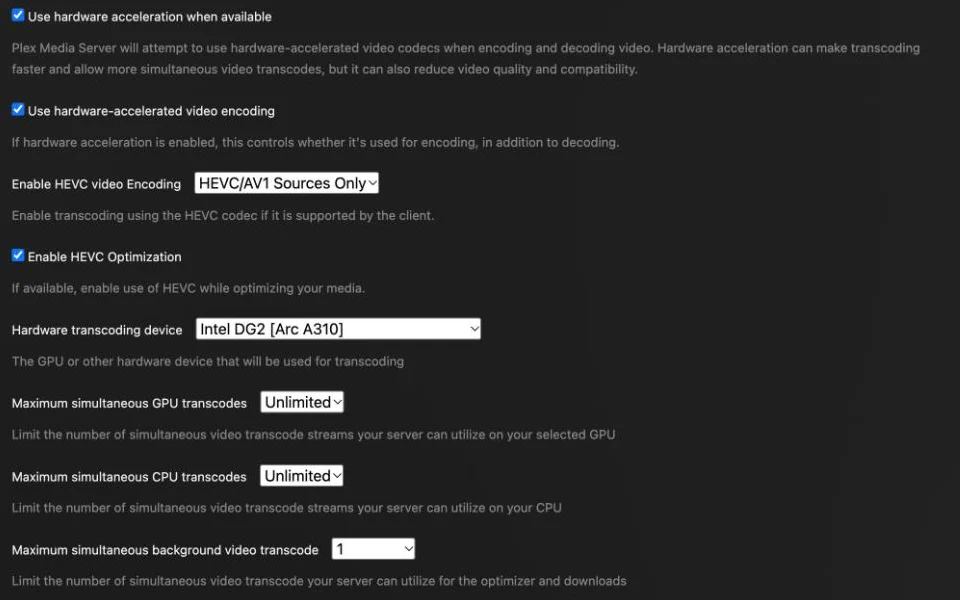
If an app in the container uses the host’s GPU, look at the device path after the migration. On the new host, the GPU may sit under a different path. In Plex, I had to switch HardwareDevicePath to the new device. To see which devices exist on the host, run:
ls -l /dev/dri/Also check the dev0 or lxc.mount.entry lines in the container config, so the right device gets passed through.
Check that it works
On the target node, the container should be running and see the share:
pct status <id>
pct config <id> | grep mp0
pct exec <id> -- ls /mnt/media
pct status reports status: running, the mp0 line contains shared=1, and inside the container you see the same files as on the NAS.
Common problem: pct restore loses the bind mount
I know this one from my own experience. Say you accidentally created a container with a disk that’s far too big. Proxmox can’t shrink a container disk directly, but during a restore you set the size fresh. Stop the container first. And remember that --force completely overwrites the existing container with that ID, including its disks. So only do this when the backup from step 1 is safely on the NAS. Check that first:
ls -lh /mnt/pve/nas/dump/vzdump-lxc-<id>-*
tar --zstd -tf /mnt/pve/nas/dump/vzdump-lxc-<id>-<date>.tar.zst > /dev/null && echo OK
You should see a .tar.zst file with the right date that’s more than a few bytes in size, and the tar command should print OK. Then start the restore:
pct stop <id>
pct restore <id> /mnt/pve/nas/dump/vzdump-lxc-<id>-<date>.tar.zst --rootfs local-lvm:32 --force
Afterwards the new 32 GB disk was there, but the mp0 line with the bind mount was missing from the new config. Without it, the container can’t see the NAS share.
The reason is in the Proxmox docs. As soon as you pass --rootfs or any --mpX parameter, pct restore switches to an advanced mode. That mode ignores the rootfs and mpX entries from the archive completely and only uses what you give it on the command line. Without these parameters, pct restore restores the mount points from the backup, bind mounts included.
So you can pass the bind mount along during the restore, and it never goes missing:
pct stop <id>
pct restore <id> /mnt/pve/nas/dump/vzdump-lxc-<id>-<date>.tar.zst \
  --rootfs local-lvm:32 \
  --mp0 /mnt/pve/nas,mp=/mnt/media,shared=1 \
  --force
If you already ran the restore without --mp0, add the line back afterwards:
pct set <id> -mp0 /mnt/pve/nas,mp=/mnt/media,shared=1My tip: after every restore, compare the current config with the one stored in the backup. It’s in the archive at ./etc/vzdump/pct.conf, and you can print it without unpacking:
tar --zstd -xOf /mnt/pve/nas/dump/vzdump-lxc-<id>-<date>.tar.zst ./etc/vzdump/pct.conf
pct config <id>
Anything that’s in the first output and missing from the second, add back with pct set. For me it was only the mp0 line.
Wrapping up: the steps at a glance
- Add the NAS under Datacenter > Storage on all nodes so
/mnt/pve/<storage-id>exists everywhere. - Mark bind mounts that exist on all nodes with
shared=1, or there’s no migration. - Make a vzdump backup first, and remember that the bind mount’s contents aren’t in it.
- Migrate with
pct migrate <id> <target-node> --restart, or offline: stop,pct migrate, start. Add--target-storageif the storage names differ. - With a DHCP reservation per MAC address, the IP stays the same.
- After the migration, check GPU paths in apps like Plex.
- When you run
pct restorewith--rootfs, pass the bind mount with--mp0right away, then compare the config with thepct.conffrom the archive.
Have you moved containers with bind mounts between nodes and run into other problems? Let me know in the comments.
* Affiliate link: As an Amazon Associate I earn from qualifying purchases. It costs you nothing extra. More info
Did this guide help you? You can buy me a coffee on Ko-fi. It keeps MappleBox ad-free.