Self-Host Habitica on Proxmox: Your To-dos as an RPG
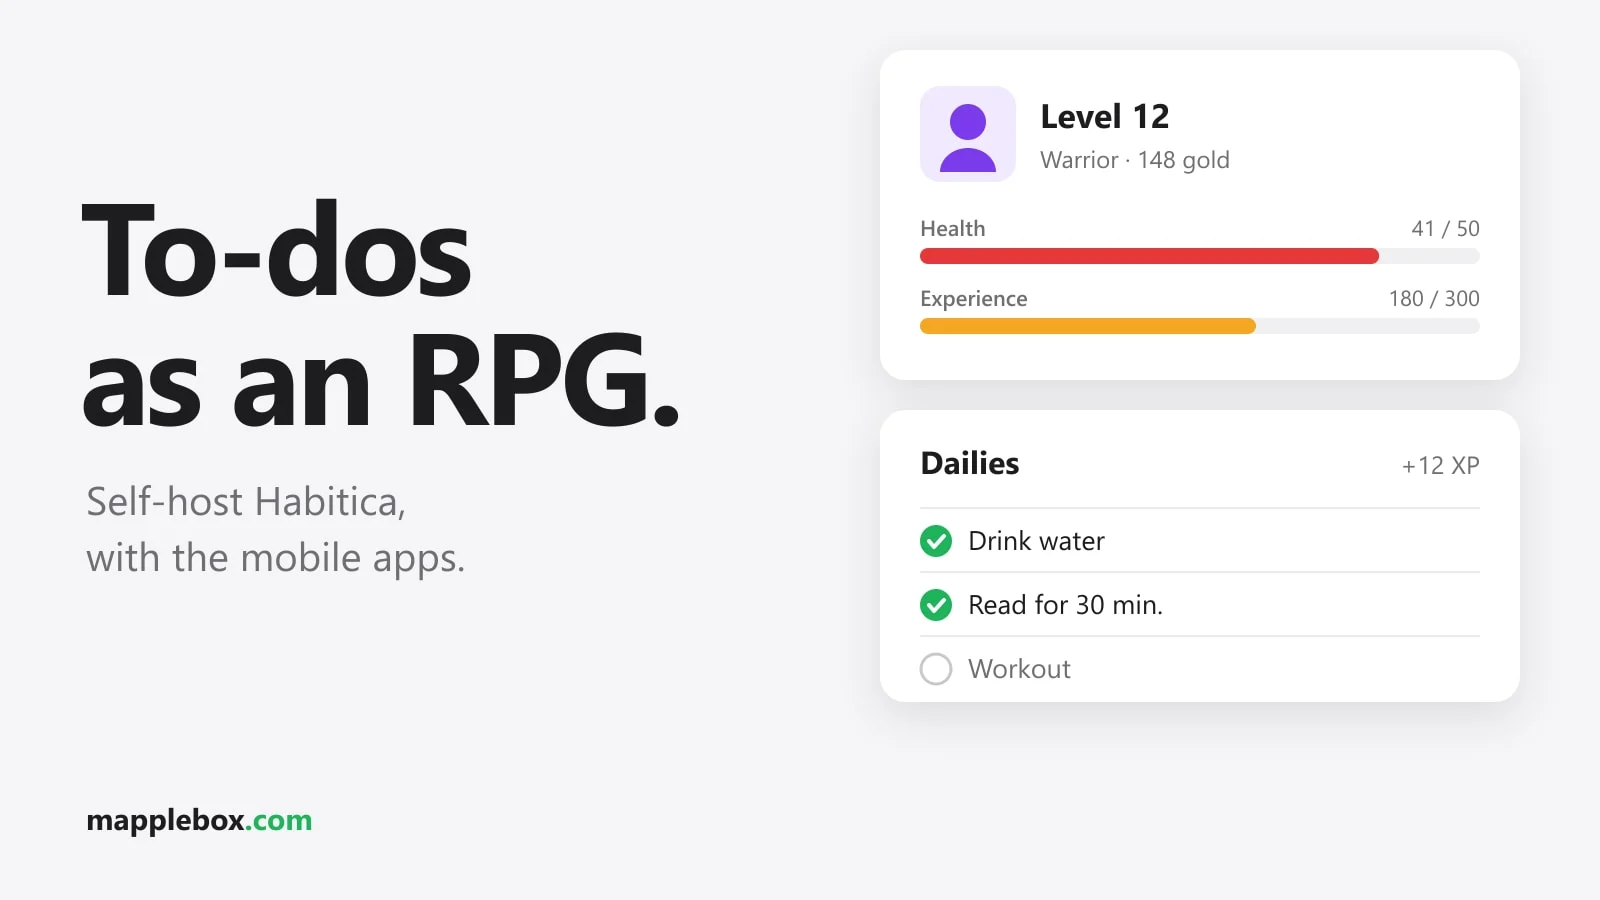
Habitica turns your tasks into a role-playing game. When you finish a to-do, your character earns experience and gold. When you skip a daily task, it loses health. With friends you can form a party and fight bosses together. In this guide you host Habitica yourself in an LXC on Proxmox, connect the phone apps to your server and set up backups.
Quick summary
- Habitica has three kinds of tasks: Habits (things you can check off as often as you like), Dailies (recurring tasks) and To-dos (one-time tasks).
- You can team up with friends in a party. If one person misses their Dailies during a boss quest, the whole group takes damage. That turns out to be surprisingly motivating.
- The code is open source. There is no official guide for running it in production, though, only one for local development.
- This is for anyone who wants to use Habitica on their home network with family or friends and would rather keep their data at home.
- You need a Proxmox host and a bit of patience with Node.js.
What you should know first
Self-hosting is not an officially supported way to run Habitica. The wiki in the GitHub repo has a page called Setting Up Habitica for Local Development that explains how developers start Habitica locally. This guide builds on that page. The steps for the built client and the systemd service are my own additions for long-term use and are not in the wiki. Habitica runs in development mode here (NODE_ENV is set to development). There are no ready-made release images and no support for your own server. That is fine for you and a few friends on your home network, but this setup is not suitable as a public service on the internet.
I originally installed both of my instances with the Habitica script from the Proxmox VE Helper-Scripts. That script was removed from the collection in November 2025. The maintainers said it broke with almost every Habitica release and was too much work to keep up. That’s why I’m showing you the manual install based on the official wiki. I run two instances with Habitica 5.41.2 in Debian 12 LXCs, each with 2 cores and 4 GB of RAM. When idle, they use about 600 MB of RAM.
What you need
- A Proxmox VE host.
- A Debian 12 LXC with 2 cores, 4 GB of RAM and at least 16 GB of disk. My instances still run on 8 GB disks and are already 60% full, because
node_modulesand the client build alone take up a lot of space. With 16 GB you have room for updates and backups. - Nesting enabled in the LXC, because the MongoDB database runs in a Docker container.
- An x86-64 (amd64) host. The libssl package below only exists for amd64, and MongoDB 7 needs a CPU with AVX support. Current mini PCs have it.
- Optionally a reverse proxy or Tailscale if you want to connect over HTTPS or while you’re away from home.
Step 1: Create the LXC
In the Proxmox web interface, use Create CT to create an unprivileged container from a Debian 12 template. Then go to Options and Features and turn on nesting and keyctl. You need both for Docker inside an LXC. Give the container a fixed IP, for example 192.168.1.x, with a DHCP reservation in your router. While you’re at it, set the swap under Resources to at least 4096 MB. The wiki recommends at least 4 GB of swap, because npm i and the client build can fail when RAM runs short. Run all of the following commands as root in the container’s console.
Step 2: Install packages, Docker and Node.js
Open the container’s console. First come the build packages listed in the wiki, plus openssl and nano for the configuration. Install Docker with the official install script, which also includes the Compose plugin:
apt update
apt install -y curl git libkrb5-dev make g++ openssl nano
curl -fsSL https://get.docker.com | sh
docker compose version
The wiki also installs the older libssl1.1 package from the Ubuntu archive. Debian 12 no longer ships it, so you download it by hand. The wiki fetches the file over unencrypted http; here you use the same address over https:
cd /tmp
curl -fsSLO https://archive.ubuntu.com/ubuntu/pool/main/o/openssl/libssl1.1_1.1.1f-1ubuntu2_amd64.deb
dpkg -i libssl1.1_1.1.1f-1ubuntu2_amd64.deb
Habitica requires Node.js 20. You can see this in the repo’s .nvmrc file and its package.json. The wiki recommends nvm for this, a small version manager for Node. The wiki still lists the older nvm version v0.39.7; the command below uses v0.40.8, the current release on GitHub at the time of writing. After installing it, reload your shell configuration so the nvm command is available:
curl -o- https://raw.githubusercontent.com/nvm-sh/nvm/v0.40.8/install.sh | bash
source ~/.bashrc
nvm install 20
nvm alias default 20
node --version
npm --version
node --version should start with v20, and npm --version with 10. Don’t use a newer Node version, because Habitica is pinned to Node 20.
Step 3: Get Habitica and install dependencies
The wiki simply clones the default branch. For Habitica that branch is called develop and contains the current development state. For long-term use, the release branch is the better choice, since it contains the latest published release:
cd /opt
git clone --branch release https://github.com/HabitRPG/habitica
cd habitica
npm i
npm i downloads a huge number of packages and then builds several parts, including the web client’s dependencies. This takes a few minutes. If it fails with EPIPE errors or just stops, the container is short on RAM. Check the swap from step 1 and run npm i again.
Step 4: Start MongoDB
Habitica stores everything in MongoDB. The repo includes the Compose file docker-compose.mongo-only.yml, which starts only the database. The wiki uses it through npm run docker:mongo:dev, but that keeps the database running in the foreground. With -d it runs in the background, and thanks to restart: unless-stopped it starts again automatically after a reboot:
cd /opt/habitica
docker compose -f docker-compose.mongo-only.yml up -d
docker ps
The container is called habitica-mongodb-only and uses the mongo:7.0 image. On first start, a health check sets up the replica set that Habitica expects. Wait until docker ps shows (healthy) next to the container, which can take a minute. The data ends up in the mongodb-data-docker folder inside the Habitica directory. MongoDB listens on port 27017 on all of the LXC’s interfaces, so don’t make this port reachable from outside your home network.
Step 5: Create config.json
Copy the configuration from the example file and generate two random keys right away:
cd /opt/habitica
cp config.json.example config.json
openssl rand -hex 32
openssl rand -hex 32
nano config.json
In config.json, change these entries:
BASE_URL: This is set tohttp://localhost:3000. Enter the address you’ll use to open Habitica later, for examplehttp://192.168.1.x:3000or your domain behind the reverse proxy.TRUSTED_DOMAINS: This is set tolocalhost,https://habitica.com. Add your address after a comma, for examplelocalhost,https://habitica.com,http://192.168.1.x:3000. The old community script did exactly the same.SESSION_SECRET: Paste the first value fromopenssl rand -hex 32here.SESSION_SECRET_KEY: Paste the second value here. Habitica uses it as an AES key and expects exactly 64 hex characters. A random password won’t work here.
The database connection in NODE_DB_URI already matches the MongoDB container from step 4. Leave NODE_ENV set to development. Save the file before you continue. The client build in the next step reads BASE_URL and TRUSTED_DOMAINS from config.json and bakes them in.
Step 6: Build the web client
For development, the wiki starts the web client with its own dev server on port 5173. For long-term use it’s simpler to build the client once. The Habitica server then serves the web interface itself on port 3000. This is how I run it:
cd /opt/habitica
npm run client:build
The build ends up in website/client/dist. Then test the server once in the foreground with npm start. If the log shows no errors and http://192.168.1.x:3000 shows the start page in your browser, stop it with Ctrl+C.
Step 7: Run Habitica as a systemd service
To make Habitica start on its own after a reboot, create a systemd service with nano /etc/systemd/system/habitica.service. Since Node is installed through nvm, the service loads nvm first:
[Unit]
Description=Habitica
After=docker.service network-online.target
Wants=docker.service network-online.target

[Service]
WorkingDirectory=/opt/habitica
ExecStart=/bin/bash -c 'source /root/.nvm/nvm.sh && npm start'
Restart=always
RestartSec=10

[Install]
WantedBy=multi-user.target
systemctl daemon-reload
systemctl enable --now habiticanpm start starts the server with node --watch, which is how the repo intends it for development. This is the part that makes this setup unofficial: development mode isn’t built for performance or for security on the open internet. For a few people on your home network it’s good enough. You can follow the logs with journalctl -u habitica -f.
Step 8: First steps in Habitica
Open http://192.168.1.x:3000 in your browser and sign up. Your account only exists on your server, so an account from habitica.com won’t work here. Next, you set up your avatar and get a few sample tasks.
- Add two or three Habits you want to build, for example drinking a glass of water.
- Create only a few Dailies. Too many missed Dailies cost you health at the end of the day and get frustrating fast.
- Put one-time things like a doctor’s appointment in your To-dos.
- Your friends sign up on your server too. Then you create a party and invite them by username.
Keep in mind that anyone who can reach your server can sign up. Without your own SMTP server, email isn’t set up, so password resets by email don’t work. That’s one more reason to keep the instance on your home network or behind Tailscale.
Step 9: Connect the phone apps to your server
Both official apps can now use your own server. The setting is hidden:
- iOS: Available since version 4.0.3. Log out, then tap the gryphon logo on the login screen eight times. Tap Production in the top right, switch to Custom and enter your server address.
- Android: The feature has been in the Play Store version since spring 2026. Tap the logo on the login screen several times until the message Server settings unlocked! appears. Then choose Custom Server and enter the address. According to the developers, Wear OS watches don’t support custom servers yet.
According to its network configuration, the Android app also allows unencrypted http connections. For access while you’re away from home, HTTPS through a reverse proxy or a Tailscale connection is still the better choice. If you do that, remember to update BASE_URL and TRUSTED_DOMAINS in config.json, rebuild the client with npm run client:build and restart the service with systemctl restart habitica.
Step 10: Backups
All of your data lives in MongoDB. According to config.json, the database is called habitica-dev by default. You can pull a dump straight from the container:
docker exec habitica-mongodb-only mongodump --db habitica-dev --archive > /root/habitica-$(date +%F).archiveTo restore, run docker exec -i habitica-mongodb-only mongorestore --drop --archive < /root/habitica-DATE.archive. The -i matters here, because without it the file never reaches the container. Stop the server first with systemctl stop habitica. Also back up your config.json. On top of that, a regular Proxmox backup of the whole LXC to a NAS is worth it, since that also covers Node, the build and the configuration. You only know a backup really works once you’ve restored it.
Check that it works
Habitica has a status endpoint. Inside the container, this request should return a response with "success":true and "status":"up". systemctl status habitica should show active (running), and docker ps should list the MongoDB container as (healthy):
curl http://127.0.0.1:3000/api/v3/status
systemctl status habitica
docker ps
You can also add the status endpoint as an HTTP check to your monitoring. I explain how I do that with alerts on my phone in Uptime Kuma and ntfy.
Common problems
- The server won’t start and reports database errors: The MongoDB container isn’t running yet, or the replica set hasn’t been initialized. Use
docker psto check whether the container shows as healthy. - The web interface doesn’t load: You forgot
npm run client:build, or didn’t run it again after a change. - Disk full: With less than the recommended 16 GB it gets tight quickly, especially during updates. Resize the disk in Proxmox under Resources.
- The MongoDB container keeps restarting: Check
docker logs habitica-mongodb-only. If MongoDB reports that the CPU doesn’t support AVX, the host is too old formongo:7.0. - Login works, but the page jumps back or redirects fail: Check
BASE_URLandTRUSTED_DOMAINSinconfig.json, then rebuild the client. - An update causes trouble: Updating means running
git pull,npm i,npm run client:buildandsystemctl restart habiticain order inside/opt/habitica. Before that, compare yourconfig.jsonwith the newconfig.json.examplein case new entries were added. Take a snapshot of the LXC first. This is exactly where the community script kept failing in the past.
Wrapping up
Self-hosting Habitica takes a bit more tinkering than many other self-hosting projects, because there’s no official way to run it long term. Once your instance is up, though, it stays out of your way day to day. With the apps on your phone and a party of friends or family, your to-do list becomes a small group game. Plan updates on purpose and take a snapshot first, and you’ll have peace and quiet for a long time.
Did this guide help you? You can buy me a coffee on Ko-fi. It keeps MappleBox ad-free.