Pelican Panel on Proxmox: Game Servers for Your Friends
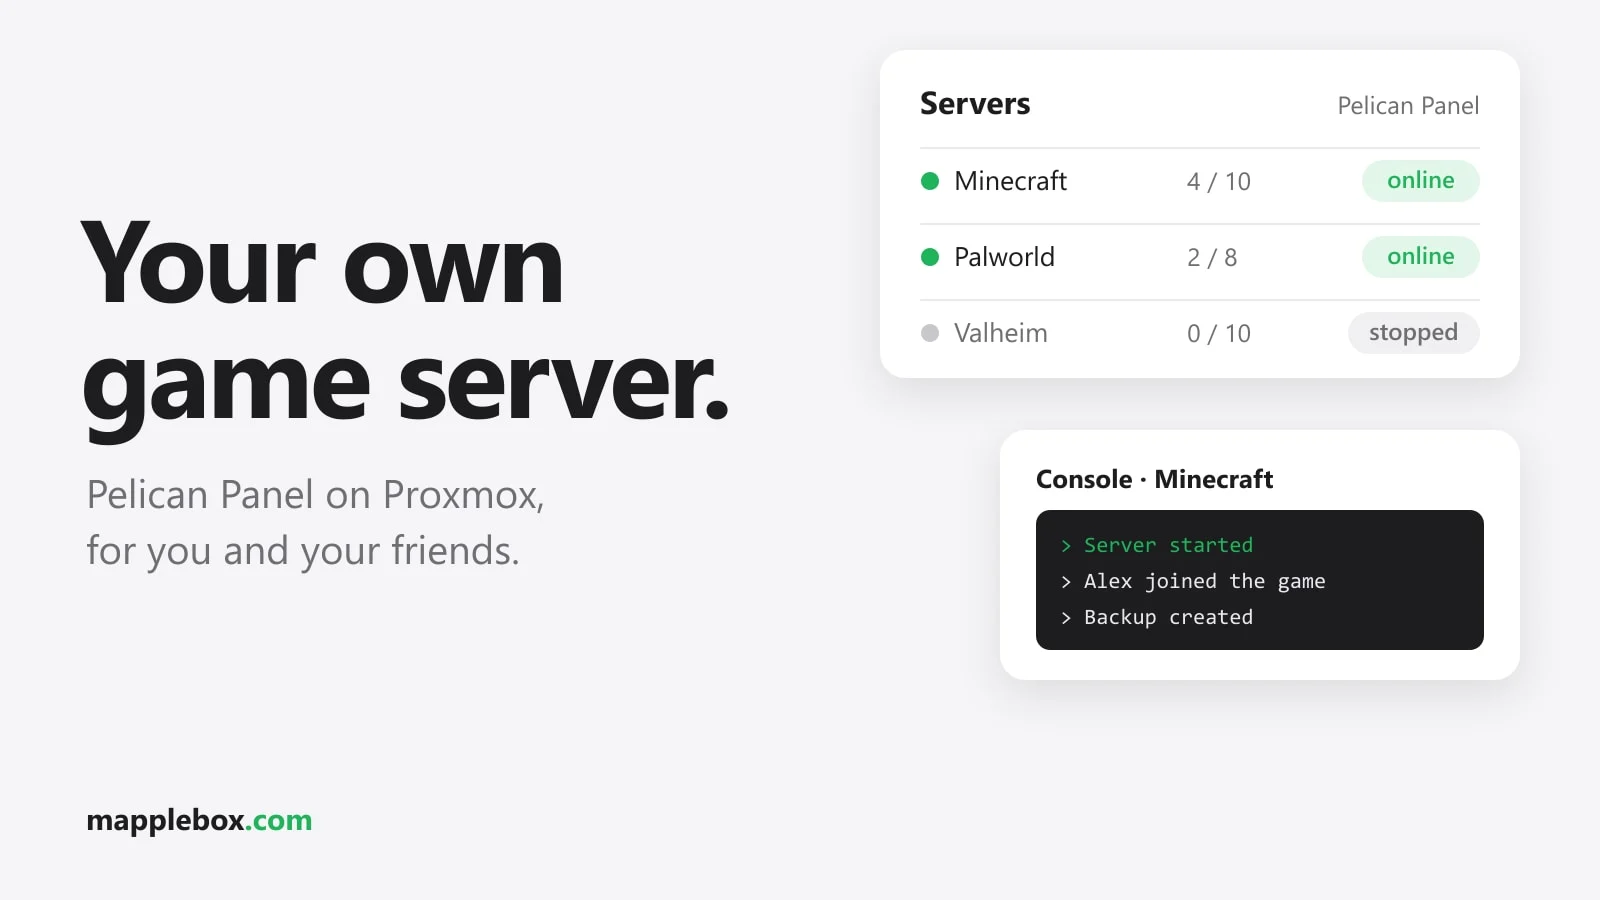
With Pelican Panel you can start game servers for your friends with a click in your browser. A Minecraft server, a Palworld server, maybe Valheim later on: everything runs on your own hardware, and you manage it all through a web interface with a console, file manager, backups and schedules. In this guide you set up the panel and the Wings daemon in two LXCs on Proxmox and create your first two servers.
Quick summary
- Pelican is an open source panel for game servers. It started as a fork of Pterodactyl and is under active development.
- The setup has two parts: the panel (the web interface) and Wings (the daemon, a background service that starts the game servers as Docker containers).
- Eggs decide which games you can run. An egg is a template that describes how a specific server is installed and started.
- This is for anyone who wants to run a few servers for friends or family without fiddling around in the shell every time.
- You need a Proxmox host with enough RAM for the games you want to host. Palworld alone needs a lot more than Minecraft.
Pelican is still young. At the time of writing, the current version is v1.0.0-rc.1 from October 10, 2026, a release candidate for 1.0. You can see which version is current on the releases page on GitHub. Before that there were betas for a long time. The community scripts below always install the latest release from GitHub, so you get at least rc.1. My panel and Wings still run on beta versions, and they’ve done so for months without major problems. Still, expect menus to change between versions. The menu names in this guide come from my install and the official docs, so a button or two may be labeled slightly differently in your version.
What you need
- A Proxmox VE host with shell access.
- For the panel: a small LXC. The script suggests 2 cores, 1 GB of RAM and 4 GB of disk. Mine has 10 GB of disk so logs and uploads have room.
- For Wings: a big LXC. Mine has 8 cores, 16 GB of RAM and 200 GB of disk, because game worlds, backups and Docker images grow quickly.
- Access to your router if friends should be able to play from outside without a VPN.
About sizing Wings: a Minecraft server for a handful of people gets by with a few GB of RAM. For Palworld, the egg documentation recommends at least 16 GB of RAM, ideally 32 GB, and a CPU with at least 4 cores. So size the Wings LXC for the hungriest game you plan to run.
Step 1: Install the panel with the community script
The official docs on pelican.dev describe a manual install with PHP, Composer and a web server. It’s easier with the community’s Proxmox VE Helper-Scripts, which do exactly that inside an LXC. That’s how I did it too. Run this in the shell of your Proxmox host:
bash -c "$(curl -fsSL https://raw.githubusercontent.com/community-scripts/ProxmoxVE/main/ct/pelican-panel.sh)"Before you run someone else’s script as root, take a look at the code on GitHub (community-scripts.github.io/ProxmoxVE). The script asks whether you want the default values or your own settings. It creates a Debian 13 LXC and installs PHP 8.4, Apache, MariaDB and the panel to /opt/pelican-panel. It also sets up the queue worker as a service and a cron job that runs php artisan schedule:run every minute. Without that cron job, your schedules wouldn’t run later on.
At the end, the script shows you a URL like http://192.168.1.x/installer. Open it to start the web installer. It first checks the PHP version, extensions and folder permissions, then walks you through these steps:
- Environment: A name for your panel, the App URL (leave
http://192.168.1.xas the script set it) and, under Admin User, the email, username and password for your admin account. - Database: The script has already created a MariaDB database. Choose MariaDB as the driver, host
localhost, port3306, databasepaneland userpelican. The password is stored in the container in/root/pelican-panel.creds, and you can read it withcat /root/pelican-panel.creds. The installer recommends SQLite, but stick with the database the script prepared. - Eggs: Here you pick your first game templates, for example Minecraft. They get installed in the background.
- Session and Cache: Go with the installer’s recommendation, Filesystem.
- Queue: Driver Database. The installer shows you a crontab command and a command for the queue worker. The script has already taken care of both, so you only tick the box I have done both steps below.
Then log in with your admin account. According to the docs, you should keep the APP_KEY from /opt/pelican-panel/.env somewhere safe, ideally off the server in your password manager. Without it you can’t recover encrypted data, even if you have a database backup. You can display it with grep APP_KEY /opt/pelican-panel/.env. Also give the panel LXC a fixed IP, for example with a DHCP reservation in your router.
Step 2: Install Wings in the second LXC
Wings starts each game server as its own Docker container, so the Wings LXC needs Docker. The Pelican docs warn in general that Wings usually doesn’t run in LXC containers. In practice, that’s almost always down to missing container features. The community script creates an unprivileged Debian 13 LXC and sets nesting=1 and keyctl=1. With those, Docker works inside the LXC, and for me it has run without problems for months. On the Proxmox host:
bash -c "$(curl -fsSL https://raw.githubusercontent.com/community-scripts/ProxmoxVE/main/ct/pelican-wings.sh)"By default the script only suggests 2 cores, 4 GB of RAM and 8 GB of disk. Choose the advanced settings in the dialog and give the container more resources right away. A single Minecraft image is already around 600 MB. The script installs Docker, puts Wings at /usr/local/bin/wings and creates the systemd service wings. Check inside the container:
wings version
docker --version
systemctl status wings
The service is set up, but it only starts cleanly once it has a configuration. Until then, systemctl status wings may show errors or restarts, and that’s normal. You’ll get the configuration from the panel in the next step. The Wings LXC needs a fixed IP too.
Step 3: Create the node in the panel
In the panel, a node is the machine that runs Wings. In the admin area, go to Nodes and create a new node. Depending on the version, the button says Create Node or, as in the official docs, Create New. The wizard has two pages. Under Basic Settings, enter the IP of the Wings LXC in the Domain Name field, for example 192.168.1.y. The field label then changes to IP Address automatically. As long as your panel runs over http, leave Communicate over SSL off. SSL doesn’t work with a bare IP anyway. Leave the port at 8080. Under Advanced Settings, the SFTP Port is set to 2022. These default ports work fine for me too. That’s also where you set Memory and Disk to Limited and enter how much RAM and disk the node may hand out to game servers. Leave some headroom for the LXC’s own system.
After saving, open the node and switch to the Configuration File tab (the official docs call it Configuration). Copy its contents to /etc/pelican/config.yml in the Wings LXC, for example with nano /etc/pelican/config.yml. The script has already created the folder. Alternatively, the panel offers an Auto Deploy Command button there. Choose Standalone as the type and run the command it shows in the Wings LXC. Then:
systemctl restart wings
systemctl status wings
If Wings throws errors, start it once in the foreground with wings --debug to test, then stop it with Ctrl+C. Finally, go to Allocations in the node and use Create Allocation to add the ports your servers may use. An allocation is a combination of IP and port. Pick the IP of the Wings LXC, and separate multiple ports with commas. For this example you need 25565 for Minecraft and 8211 for Palworld.
Step 4: Import eggs
Under Eggs in the admin area you can import more templates. The import dialog accepts a file, a URL to the raw .yaml or .json file, or a selection from GitHub. Most eggs come from the community repos under github.com/pelican-eggs. The Paper egg for Minecraft lives in the minecraft repo, and the Palworld egg in the games-steamcmd repo. There are two Palworld variants: the regular Linux version and a Proton variant for mods. To import by URL, use these links to the raw files:
https://raw.githubusercontent.com/pelican-eggs/minecraft/main/java/paper/egg-paper.yaml
https://raw.githubusercontent.com/pelican-eggs/games-steamcmd/main/palworld/egg-palworld.yaml
Step 5: Create a Minecraft server
Go to Servers and create a new server. Choose the node, the allocation with port 25565 and the Paper egg. For the Docker image, pick Java 21 or newer, depending on what your Minecraft version requires. For Memory Limit, 4096 MB is a good start for a small group. The panel points out that Wings adds a bit of overhead on top of the limit. CPU Limit is set in percent, where 100% equals one thread.
Under Feature Limits you set how many backups the server may have. If it says 0, you won’t be able to create backups later. After you create the server, Wings pulls the image, runs the install script and downloads the server JAR. The server’s console shows you when it’s ready. If you want a fresh world on a regular schedule, I show how I automate that in Regenerate a Minecraft world every week. For a Cobblemon server there’s a separate guide.
Step 6: Create a Palworld server
The process is the same, just with the Palworld egg and port 8211. The egg installs the server through SteamCMD (Valve’s command-line tool for downloading game servers), which takes a few minutes the first time. According to the egg docs, plan for about 5 GB of disk for the server files, and more for updates. Be generous with RAM, see above. In the Startup tab you set the most important variables: server name, server password, admin password and maximum number of players. According to the egg docs, the RCON port doesn’t need its own allocation.
Before you edit the config file Pal/Saved/Config/LinuxServer/PalWorldSettings.ini in the file manager, stop the server completely. Otherwise it overwrites your changes when it shuts down.
Step 7: Get your friends connected
On your home network, everyone connects directly to the IP of the Wings LXC plus the port. For friends outside your network you have three options:
- Port forwarding: In your router, forward only the game ports to the Wings LXC, so TCP 25565 for Minecraft Java and UDP 8211 for Palworld. Don’t open the panel, port 8080 or port 2022. This doesn’t work behind CGNAT (carrier-grade NAT, used by some internet providers), because you don’t get your own public IPv4 address.
- Tailscale: Your friends install Tailscale and get access to your Wings LXC. No port is open on your router. Inside an LXC, Tailscale needs the TUN device. To allow it, add the lines
lxc.cgroup2.devices.allow: c 10:200 rwmandlxc.mount.entry: /dev/net/tun dev/net/tun none bind,create=fileto the Wings LXC’s file/etc/pve/lxc/<CT-ID>.confon the Proxmox host and restart the container. Then install Tailscale in the LXC withcurl -fsSL https://tailscale.com/install.sh | shand sign it in withtailscale up. Invite your friends to your tailnet, or share just this one machine with them. That’s how I run it. - playit.gg: A tunnel service that works without port forwarding and also behind CGNAT. According to its pricing page, the free plan covers Minecraft Java and Bedrock plus a few other games such as Palworld at the time of writing. Some games and tunnel types need Premium. The plans change often, so check there for what’s currently free.
I wouldn’t put the panel itself on the public internet. Reach it through Tailscale when you’re away. Your browser needs to reach Wings on port 8080 as well as the panel, because the live console connects straight from your browser to Wings over a WebSocket.
Step 8: Backups and a nightly restart
Every server has a Backups tab where you can create a backup with one click. Wings stores local backups in the Wings LXC under /var/lib/pelican/backups. That protects you from a broken world, but not from a broken disk. So also back up both LXCs with Proxmox backup to a NAS or other storage.
You can automate this in the Schedules tab. Create a new schedule, for example with the cron expression 0 4 * * * for every day at 4 a.m. Inside it you create tasks: first Create Backup, then Send Power Action with Restart and a time offset of a few minutes. A nightly restart helps most with Palworld, which according to the egg docs struggles with a memory leak. Use Run Now to test the schedule right away.
Check that it works
- In the admin area under Nodes, your node shows a green status. In the node’s Overview tab you can see the installed version under Wings Version.
- In the Wings LXC,
docker psshows one container for each running game server. - Log lines appear in the server console and the resource graphs move.
- A friend outside your network can connect with the address and port.
Common problems
- The node stays red: Usually
config.ymlis wrong or Wings isn’t running. Check withjournalctl -u wingsand try startingwings --debug. - The console stays empty: Your browser can’t reach Wings on port 8080, for example because you can only reach the panel while away from home.
- Docker won’t start in the LXC: Nesting isn’t enabled. Turn on nesting and keyctl under the container’s Options and Features.
- The disk fills up: Images, worlds and backups add up. On my setup, a good two thirds of the 200 GB are in use. Delete old backups and grow the disk in time.
- An update fails: The community script creates an
updatecommand in each of the two containers that pulls the latest release from GitHub. Take a snapshot on the host first so you can roll back if an update goes wrong. While Pelican is at the release candidate stage, it’s worth reading the release notes on GitHub beforehand. - The installer reports a database error: Check host, database name, user and password against
/root/pelican-panel.credsin the panel LXC.
Wrapping up
With the panel and Wings in two LXCs, you have a small hosting platform for your friends. You can spin up new servers in a few minutes, and backups and restarts run on a schedule. Most of the work goes into planning resources and figuring out how your friends get in from outside. If your group also has a Discord, my guide on building your own Discord ticket bot with Python is a good fit.
Did this guide help you? You can buy me a coffee on Ko-fi. It keeps MappleBox ad-free.