Plex Hardware Transcoding: Intel Arc A310 in a Proxmox LXC
Does a big remux buffer in Plex every few minutes even though your server is basically idle? Then two things are worth a look: your Proxmox node’s network connection and transcoding. In this guide I’ll show you how to move Plex and other media containers to a faster node and set up hardware transcoding with an Intel Arc A310* in an LXC container, including the spots where Proxmox gets in the way. That’s exactly how my Plex runs since then.
Quick summary
- Transcoding means Plex converts a video into another format or a lower quality while it plays. With hardware transcoding, the GPU does that work instead of the CPU.
- An LXC is a lightweight container in Proxmox. For Plex to use the GPU inside it, you have to pass the card’s device through to the container.
- If your media lives on a NAS, the node’s network connection is often the bottleneck. Moving to a node with a faster connection fixes that.
- This guide is for you if Plex runs in an LXC on Proxmox and you want to use an Intel Arc for hardware transcoding.
What you need
- A Proxmox node with a GPU. Mine is an Intel Arc A310 as a PCIe card. For the move, you need a second node in the same cluster.
- Root access to the Proxmox shell, because that’s where you run
pctandvzdump. - Proxmox VE 8.2 or newer for the easy route through device passthrough (
dev0). On older versions, use option 2 further down. - Plex Media Server in an LXC, in my case a normal Linux install. If the media lives on a NAS, it should be mounted under the same path on every node.
- An active Plex Pass, because hardware transcoding is a Plex Pass feature.
Find the cause: why the remux buffers
First, check how your Plex host is connected. In my setup, the Proxmox cluster in France has two nodes: a Minisforum MS-01* and a Minisforum MS-A2* with a Ryzen 9 9955HX. The media lives on a NAS, a UniFi UNAS Pro*, and is mounted into the containers over SMB. Back then, Plex and the other media containers ran on the MS-01.
The MS-01 does have SFP+ ports, but I wasn’t using them because there was no free SFP+ port left on the switch. So it was only connected at 1 GbE. Right when I wanted to watch the remux, a subtitle sync job was running and reading an 82 GB remux. It maxed out the 1 GbE link, leaving almost nothing for Plex. So watch out for other jobs reading from the NAS at the same time.
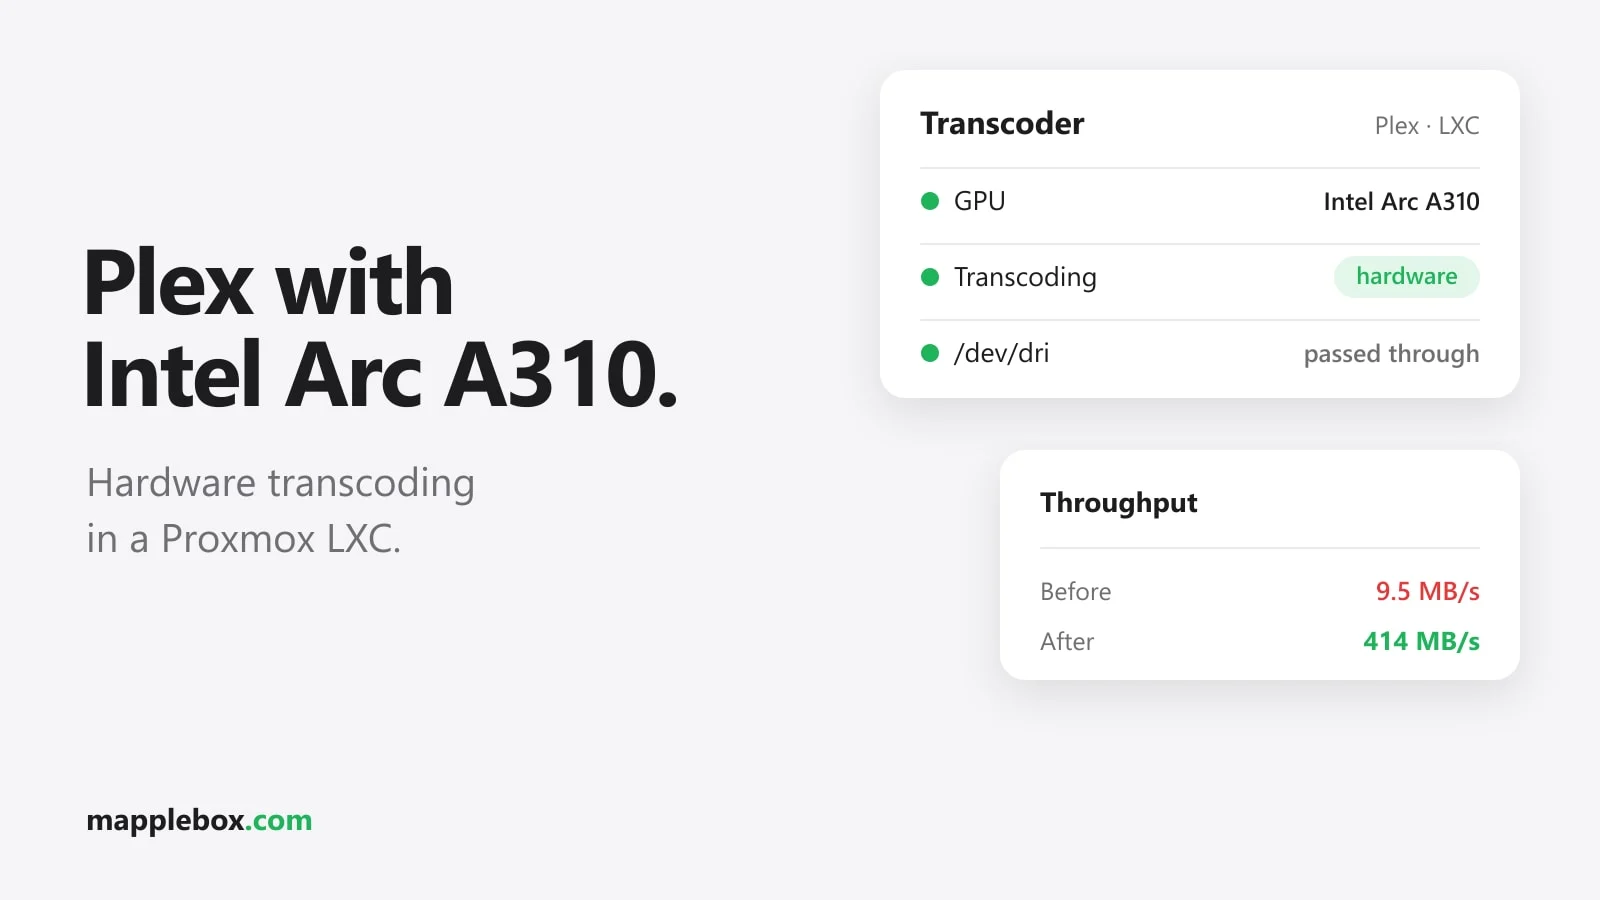
The MS-A2, on the other hand, is connected at 10 GbE through an SFP+ DAC cable*. After the move, NAS read throughput in Plex went from about 9.5 MB/s to about 414 MB/s for me.
Step 1: Move containers between Proxmox nodes
Before the move, write a vzdump backup of every container to the NAS. If something goes wrong during the migration, you can have the container back in a few minutes:
vzdump <id> --storage <nas-storage>The first hurdle is the NAS mount. Proxmox refuses to migrate a container with a bind mount because it doesn’t know whether the path even exists on the target node. With shared=1 on the mount point, you tell Proxmox that the path is available the same way on all nodes:
pct set <id> -mp0 /mnt/nas/media,mp=/media,shared=1Of course that’s only true if the NAS really is mounted under the same path on the target node. Check this first, otherwise the container starts over there without any media.
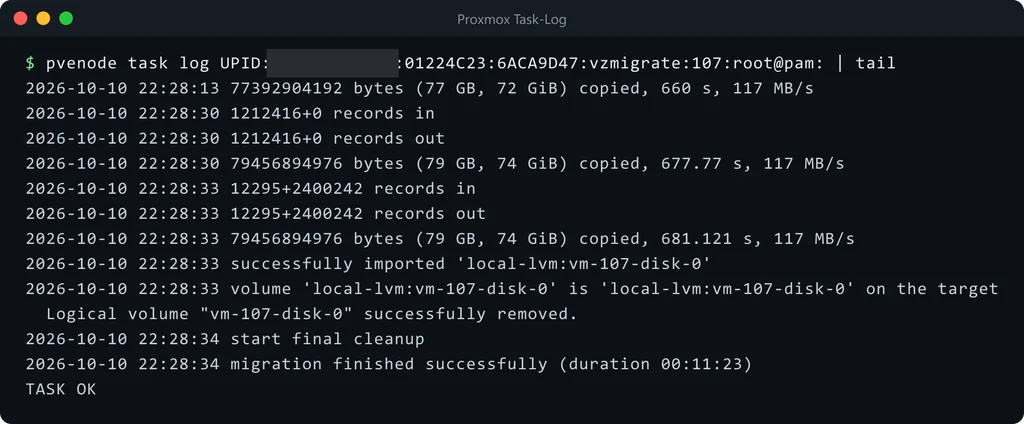
The second hurdle: Proxmox rejected a restart migration for me, where Proxmox stops the container itself and starts it again on the target. In that case, migrate offline. Stop the container, then:
pct shutdown <id>
pct migrate <id> <target-node>
pct start <id>
Run the last command on the target node, or start the container there in the web UI. My tip: pin the IPs to the MAC address with a DHCP reservation. The MAC stays the same during the migration, so the containers keep their IPs. Because of that, I didn’t have to touch anything on the reverse proxy or in the apps.
Step 2: Pass the Arc A310 through to the LXC
My MS-A2 has an Intel Arc A310 as a PCIe card. For hardware transcoding, Plex only needs the card’s render node, which is /dev/dri/renderD128 on my system. To see which one it is on yours, run this on the host:
ls -l /dev/dri/
ls -l /dev/dri/by-path/
Under by-path you’ll see the PCI addresses next to the device names. That helps if there are several GPUs in the system.
Option 1: dev0 in newer Proxmox versions
Since Proxmox VE 8.2, Proxmox can pass devices through directly. You do this in the web UI under Resources → Add → Device Passthrough, or from the CLI:
pct set <id> -dev0 /dev/dri/renderD128,gid=<render-gid>The gid is the ID of the render group inside the container, which you look up there with getent group render. The Plex user has to be in this group. For unprivileged containers this is the easiest way, because Proxmox takes care of the permissions.
Option 2: cgroup and mount entry
The classic way, which also works on older versions, is two lines in /etc/pve/lxc/<id>.conf:
lxc.cgroup2.devices.allow: c 226:* rwm
lxc.mount.entry: /dev/dri dev/dri none bind,optional,create=dir
The first line gives the container access to all character devices with major number 226, which are the DRM devices under /dev/dri. The second mounts the folder into the container. With unprivileged containers you also have to make sure the permissions on the device are right. That’s why my tip is to use dev0 instead if your Proxmox version supports it.
After restarting the container, ls -l /dev/dri inside the container should show the render node.
Step 3: Give Plex the right GPU
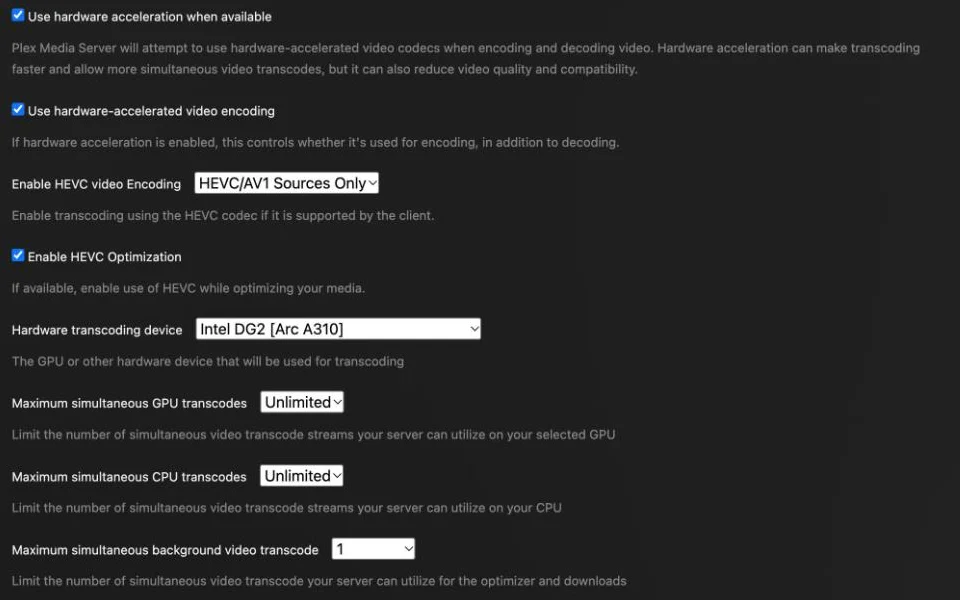
For hardware transcoding in Plex you need a Plex Pass. With Plex Pass, you turn on hardware acceleration in the Transcoder settings.
If there are several GPUs in the system, the HardwareDevicePath setting in Preferences.xml decides which device Plex uses. On a normal Linux install, the file is here:
/var/lib/plexmediaserver/Library/Application Support/Plex Media Server/Preferences.xmlStop Plex before you edit it, otherwise Plex overwrites your change when it shuts down. And make a copy first:
systemctl stop plexmediaserver
cp "/var/lib/plexmediaserver/Library/Application Support/Plex Media Server/Preferences.xml" /root/Preferences.xml.bak
In the <Preferences …> tag, add or change the attribute. Mine contains the Arc’s PCI ID:
HardwareDevicePath="8086:56a6:172f:4019@0000:0a:00.0"Before the @ come the vendor ID, device ID and the two subsystem IDs, and after it the PCI address. This is where I made my mistake. I had only entered 8086:56a6@0000:0a:00.0, without the subsystem IDs. Plex didn’t recognize the value and silently fell back to “Auto”. I only noticed days later in the web interface. So the safer way is through Plex itself: Settings, then Transcoder, then “Hardware transcoding device”. The Arc shows up there in the list with its full name, and Plex writes the value in the right format. You can find your card’s PCI address on the host with:
lspci -Dnn | grep -iE "vga|display"Then start Plex again with systemctl start plexmediaserver.
Check that the GPU is really doing the work
Start a movie and force a lower quality in the app so Plex has to transcode. The Plex dashboard then shows “(hw)” after the transcode for the running session. If it’s missing, Plex is transcoding on the CPU, and usually the permissions on the render node inside the container are wrong.
Since the move, my Plex runs on the MS-A2 with the A310 and reads from the NAS at about 414 MB/s.
Is your Plex running with a different GPU in an LXC? Share your setup in the comments.
* Affiliate link: As an Amazon Associate I earn from qualifying purchases. It costs you nothing extra. More info
Did this guide help you? You can buy me a coffee on Ko-fi. It keeps MappleBox ad-free.